What makes an AI photo look real?
Skin texture and light direction. Those two account for most of what people register as fake, and they register it in under a second, before they could tell you why.
Everything else on this list matters, but it matters later. A photo with real skin and one honest light source survives a second look even when the hands are slightly wrong. A photo with poreless skin fails immediately no matter how good the rest is.
That ordering is the useful part. Most advice on this topic gives you twenty equally weighted tips. In practice the first three rules below do the work, and the remaining six clean up the edges.
If you want the result without doing the work by hand, MakeAiPhotos generates new photographs of you from one selfie with the texture and lighting rules already applied. Open the generator and start from a photo of yourself.

One phone selfie to 5 AI photos of the same person

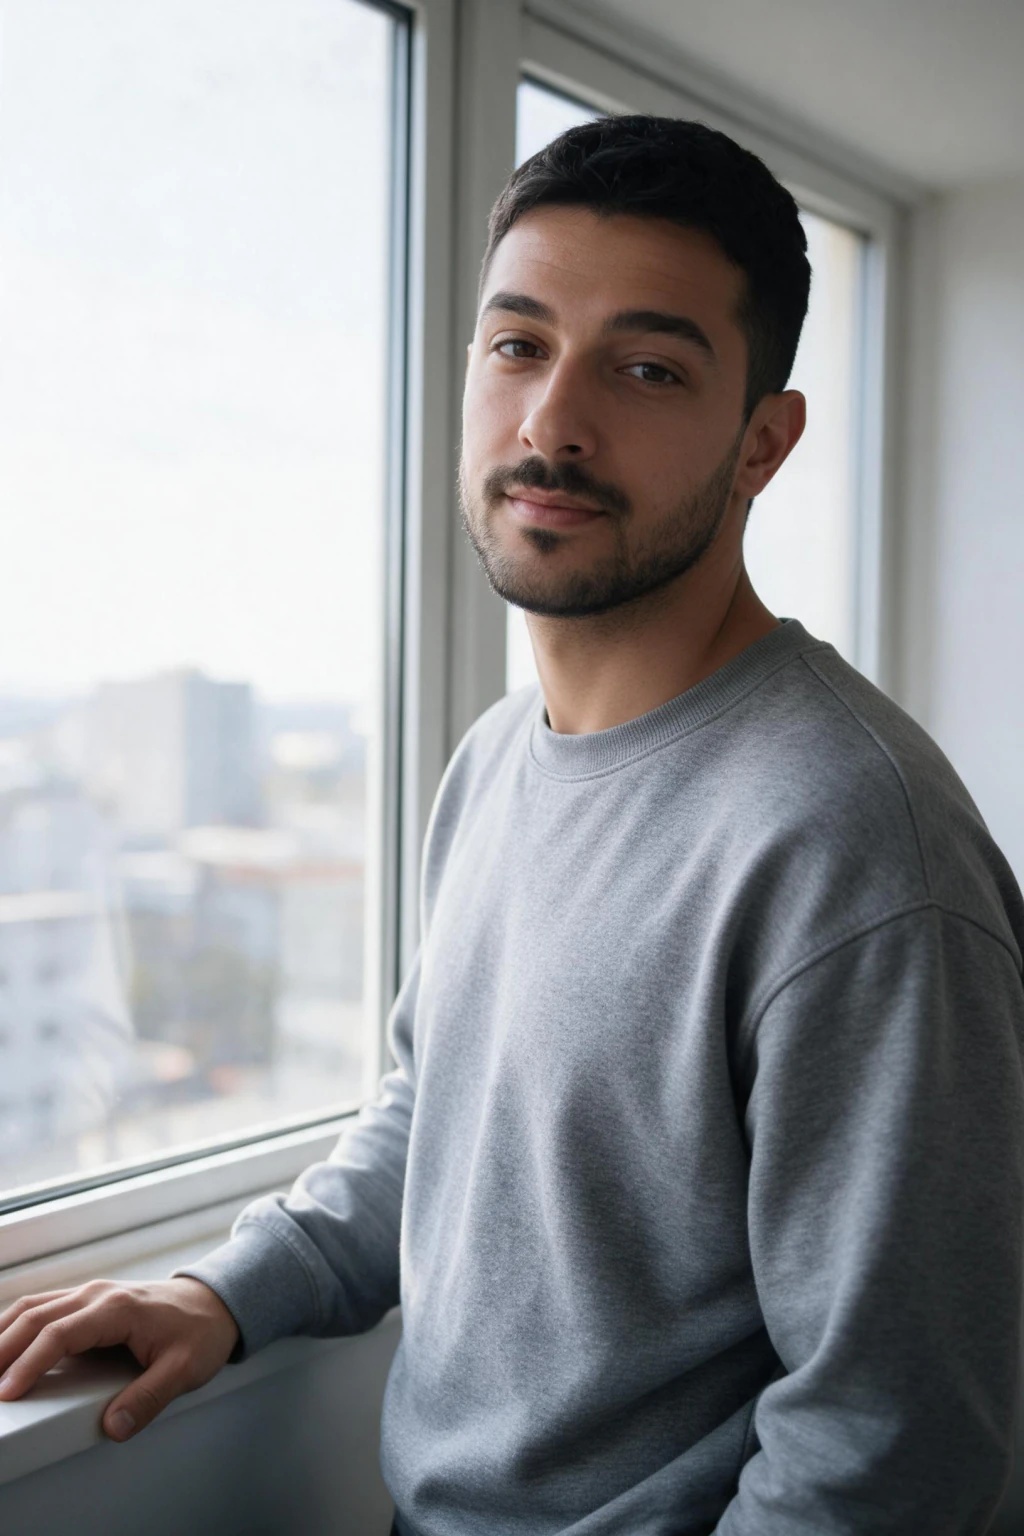
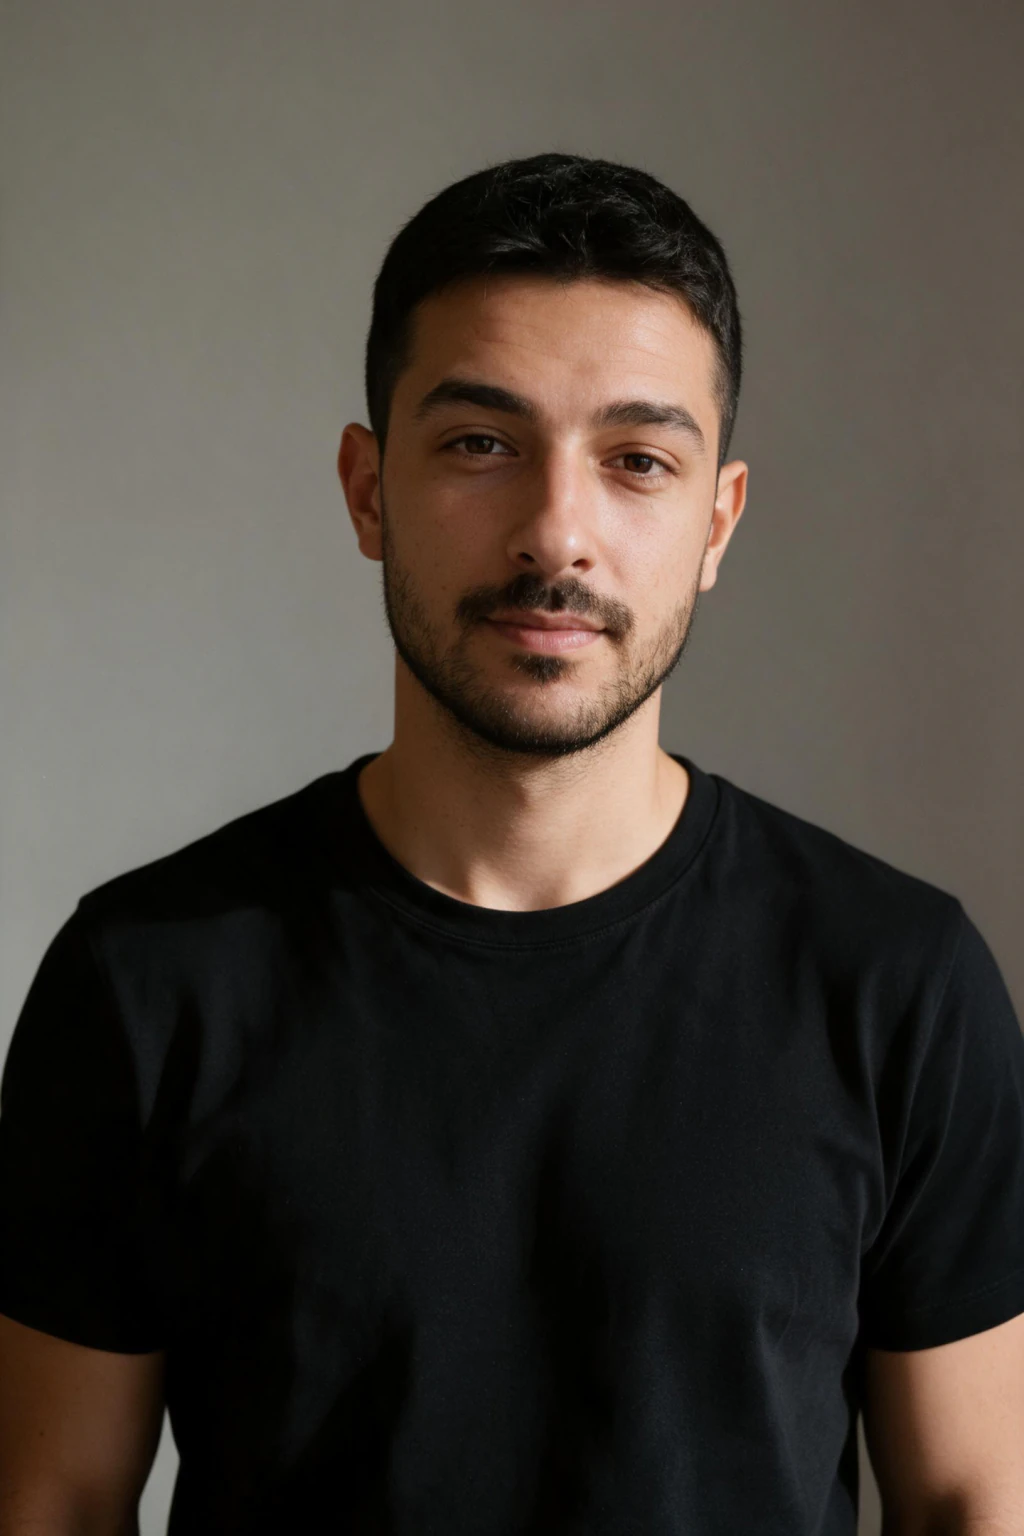
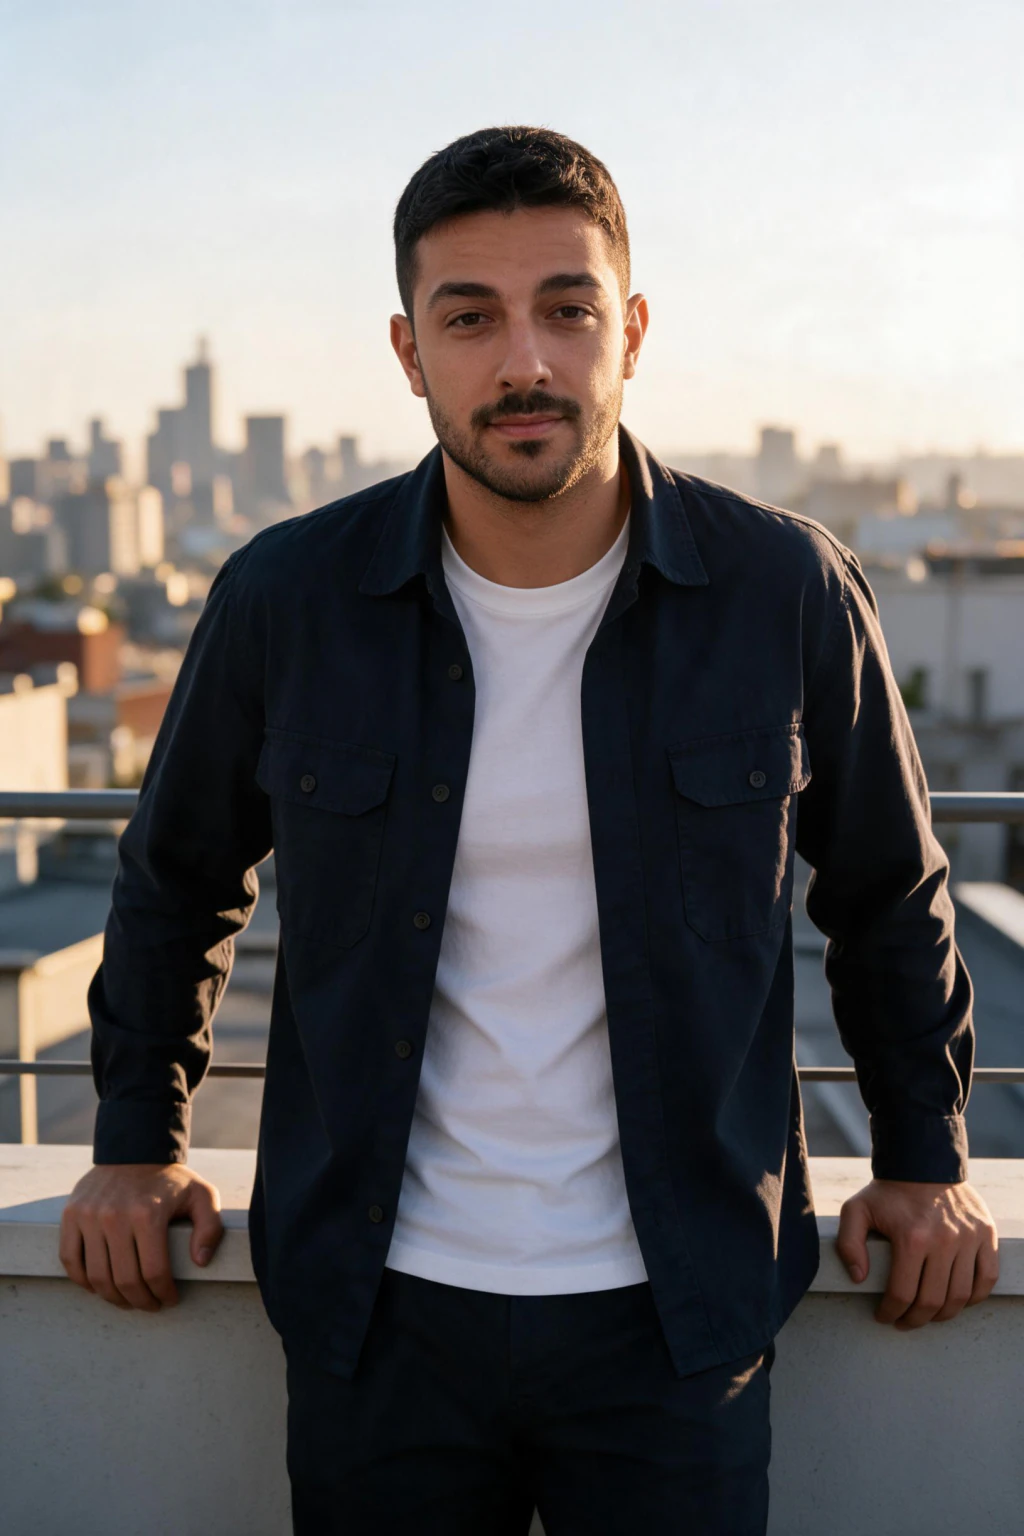
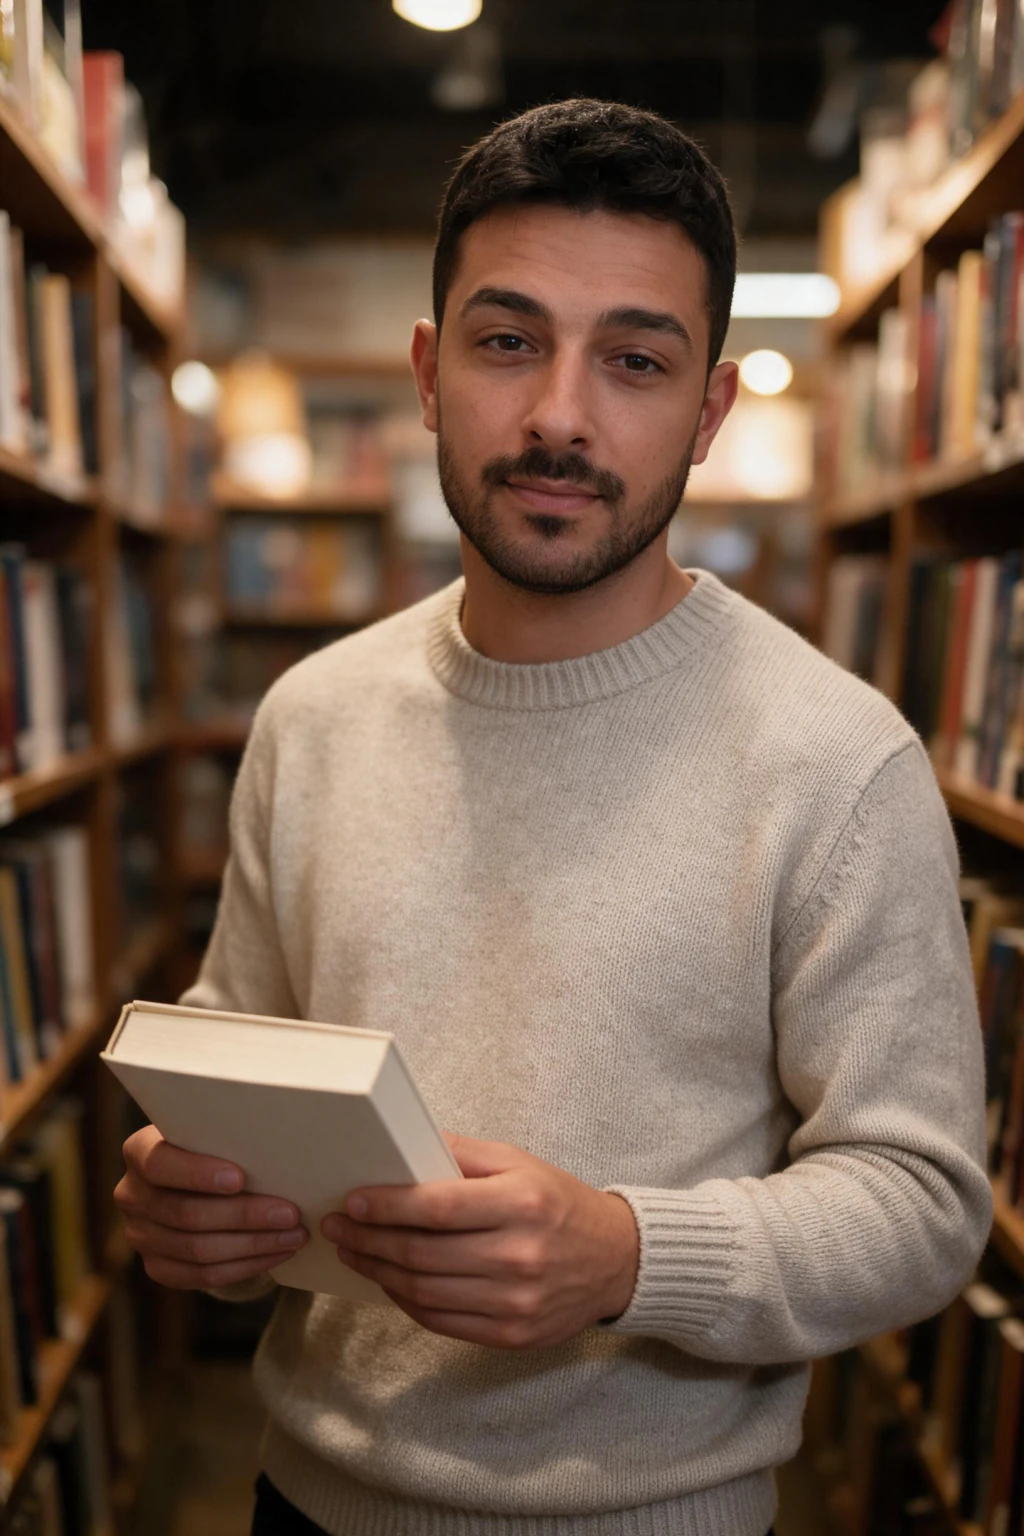
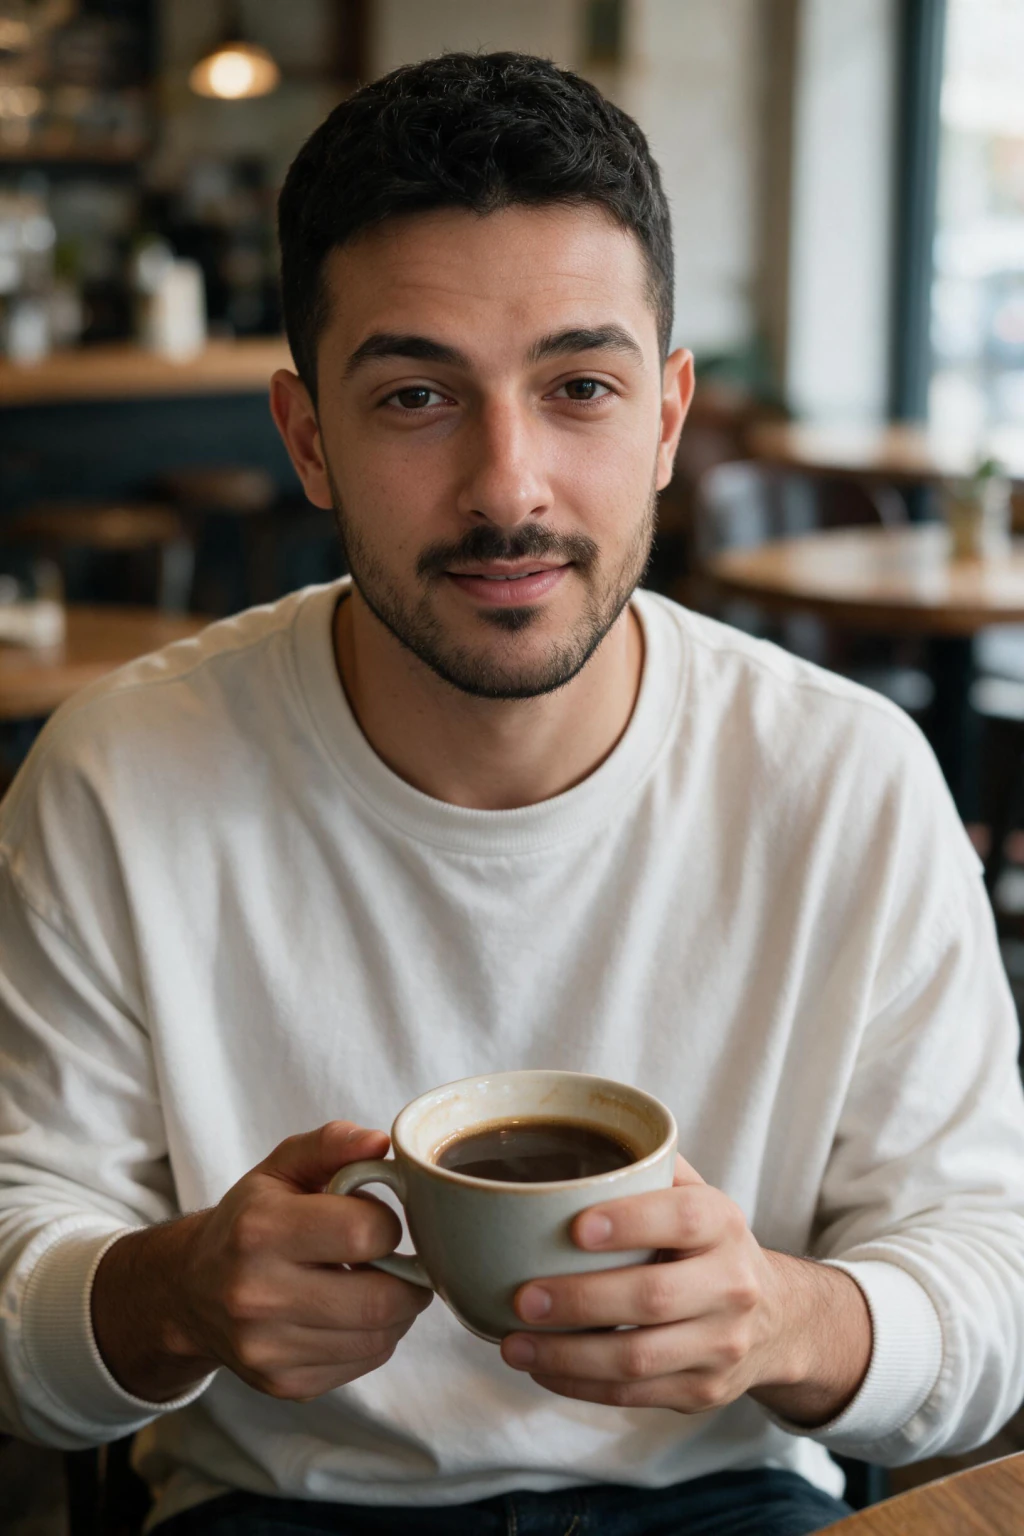
Rule 1: keep the skin texture
Real skin has pores, fine lines, uneven tone, a shine on the forehead and nose, and colour that shifts across the face. Generated skin defaults to smooth, even and matte.
This is the fastest tell there is. People cannot always name it, but they see a face that looks lit from inside and they distrust it.
The fix at the source: never upload a selfie taken with beauty mode, portrait smoothing or a filter. The generator inherits whatever texture the input had, and a smoothed input can only produce a smoother output.
The fix at the prompt: ask for visible skin texture, natural skin, and unretouched explicitly. Ask against retouching, glamour and airbrushing. Most models bias toward flattering unless told otherwise. Copy-paste wording is in the best AI prompts for realistic photos.
Our fuller troubleshooting list for this problem sits in the realistic AI photo fix list.
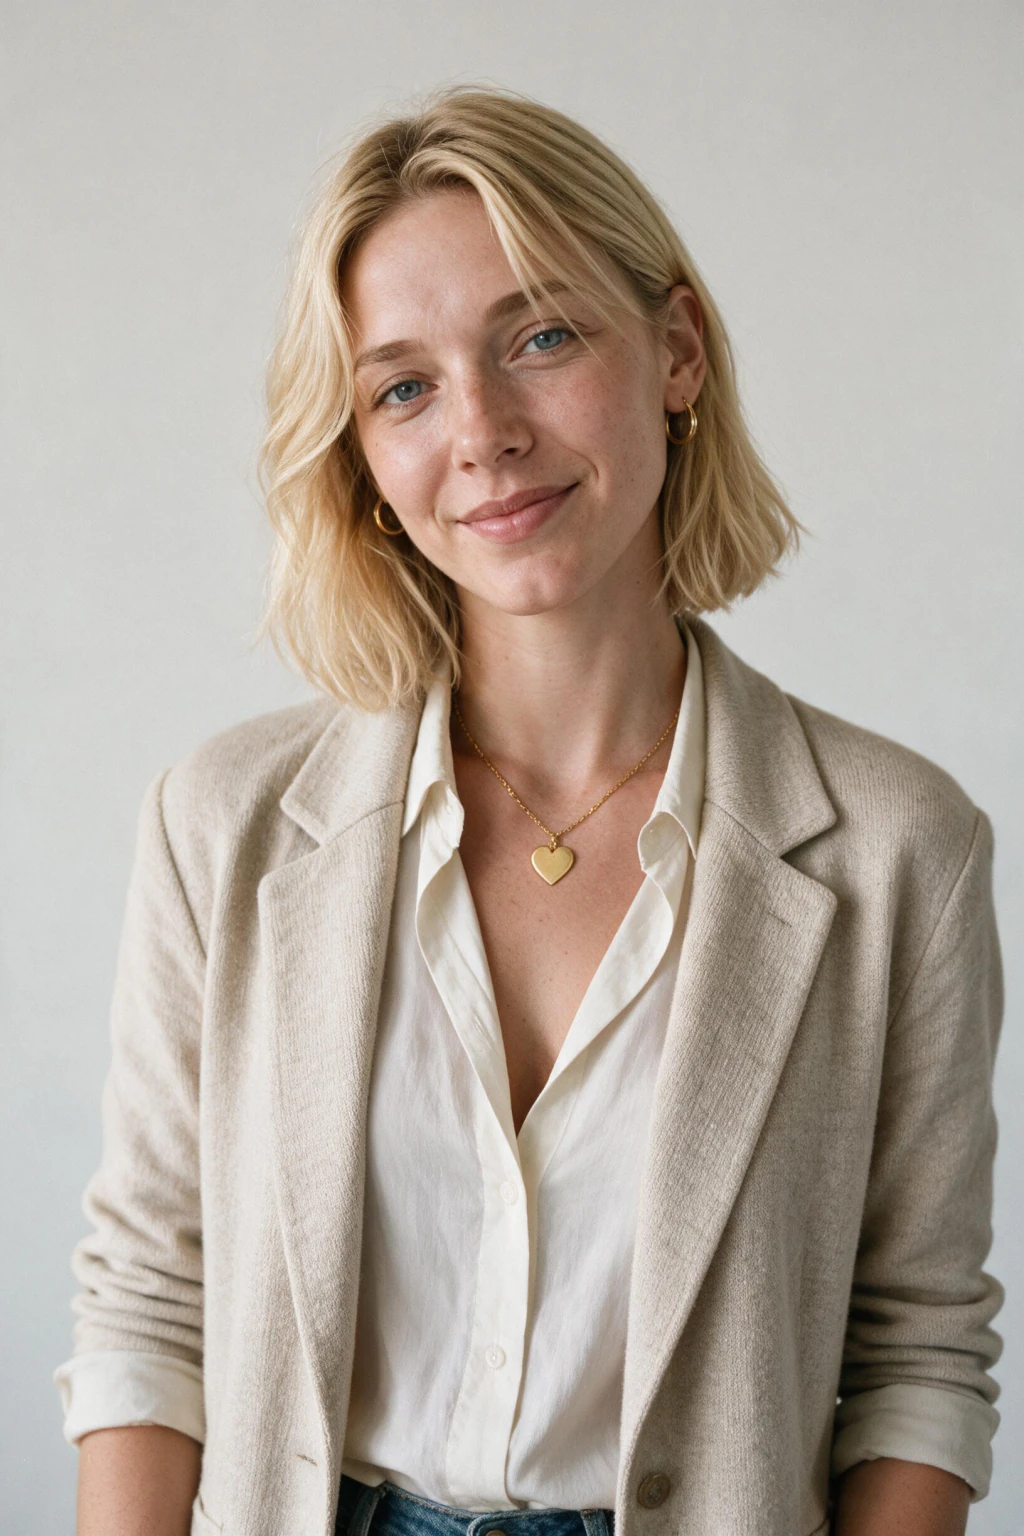
Rule 2: use one light source and keep the shadows honest
Photographs have a light source. Renders often have several, or none in particular, and the result is a face lit evenly from every direction with no shadow under the chin, nose or brow.
Name the light in the prompt and name where it is. Late afternoon sun from the left. A single window at head height. Overhead café light. Overcast, flat, no direct sun.
Then check the output for agreement. If the shadow under the nose points one way and the shadow under the jaw points another, the photo is wrong even if you cannot say which shadow is at fault.
The cheapest realistic lighting is overcast daylight or golden hour. Both are soft, both are directional, and both are what most real phone photos of people actually look like.
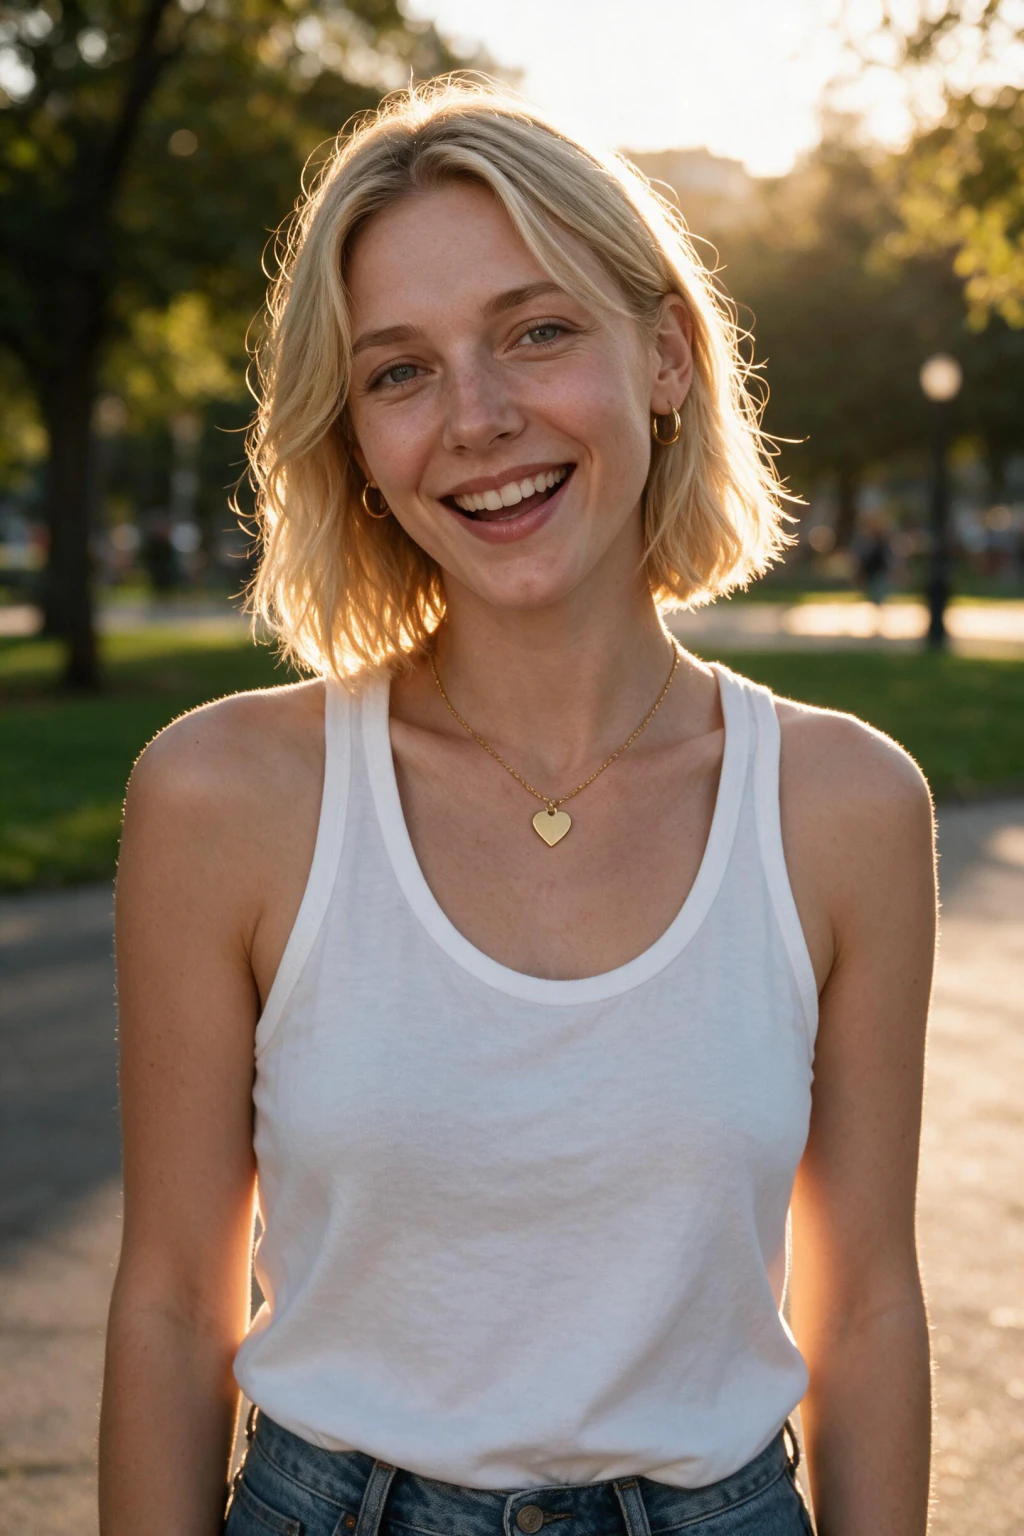
Rule 3: stop the background blur from being perfect
AI backgrounds fall off into blur too evenly. A real lens blurs by distance, so a wall four metres behind you is softer than a chair two metres behind you, and the transition is uneven.
The tell most people notice is a subject cut cleanly out of a uniformly creamy background, especially around hair. Real hair against a real background has stray strands that mix into what is behind them.
Ask for a specific background with depth in it: a street with cars at different distances, a room with furniture, a park with a treeline. Depth forces the model to vary the blur.
Ask against the shortcut words. Bokeh, dreamy, cinematic depth of field and studio backdrop all push toward the exact effect that gives it away.
Rule 4: do not let the face drift
A photo can be technically flawless and still read as fake because it is not quite you. Jaw slightly narrower, nose slightly straighter, eyes slightly larger, five years younger.
Anyone who knows you spots this instantly, and on a dating app or a verification check the drift is what causes the actual problem rather than any generation artefact.
The fix is upstream. Upload a sharp, front-facing selfie where your whole face is visible and evenly lit, and never ask the prompt to improve, enhance, beautify or slim anything.
MakeAiPhotos generates new photos from one selfie without reshaping the face, which is the point of the tool. Check the first result against a mirror before you generate ten more.
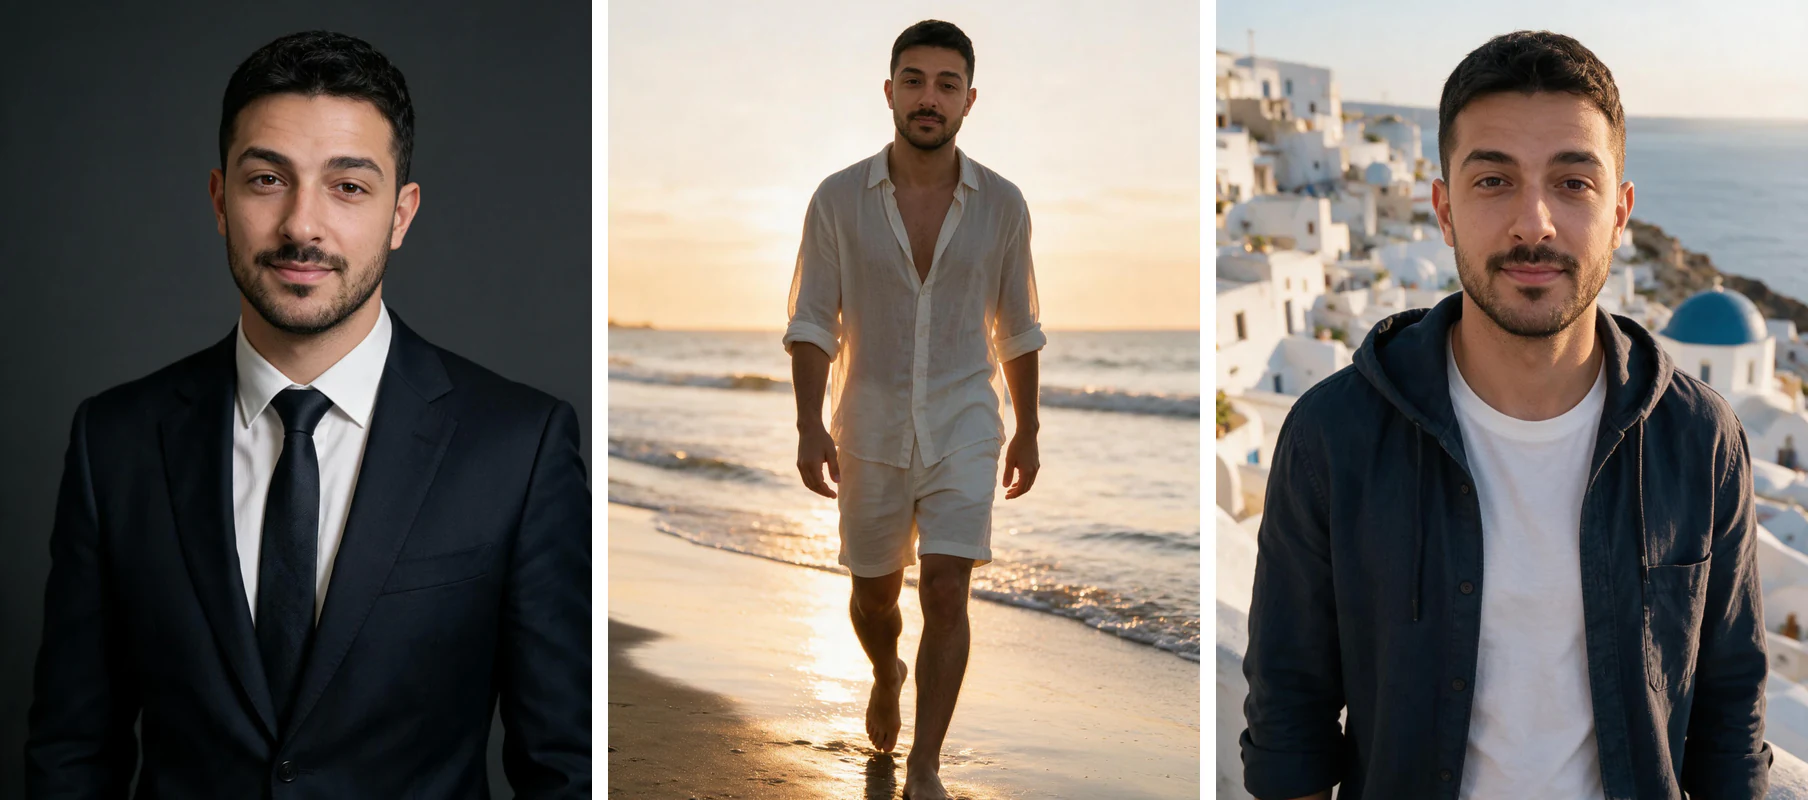
Rule 5: check the hands, rings and watches
Faces improved fast. Hands did not, and neither did small hard objects with structure: watch dials, ring bands, glasses hinges, earrings, zips and buckles.
Scan every result at full size for fingers that merge, a ring that becomes part of a finger, a watch with no dial, or glasses arms that do not reach the ears.
The lazy fix is composition. Hands in pockets, a hand holding a cup, arms crossed, or a chest-up crop removes the problem rather than solving it, and no viewer thinks a chest-up portrait is suspicious.
If a hand is the subject, generate several and pick, because this is still the highest failure rate area in every current model.
Rule 6: vary the set so it does not read as one session
Any single photo can pass, which is why do AI generated photos look real is a yes at the single-photo level. A set of six is where people catch it, because the six share a look: same skin quality, same light, same distance from the camera, same expression energy.
Real photos of a real person come from different days, different cameras and different light. Some are slightly soft. One is slightly overexposed. The framing is inconsistent.
So vary deliberately. Change the time of day, the weather, the distance, the crop, and the clothing between shots. Include one that is not perfectly composed.
This rule matters most on AI dating photos, where all six photos sit side by side and the comparison is unavoidable. There is more on that in the 6-photo formula, and the number of slots you have to fill differs per app, which is covered in how many pictures you need for Hinge.
Rule 7: leave the imperfections in
Symmetry is the enemy. Real people have one eye slightly higher, a crooked collar, a stray hair across the forehead, a crease where the shirt was folded.
Generated photos default to tidy, and tidy is uncanny at scale. A perfectly aligned collar on a perfectly pressed shirt in perfectly even light is three small wrongnesses stacked.
Ask for the imperfections by name: slightly messy hair, a shirt with natural creases, an off-centre composition, a candid rather than posed expression.
The test that works: would this photo survive being taken by a friend on a phone. If it looks like it needed a crew, it looks generated.
Rule 8: make the clothes agree with the scene
Every row is the same failure: the person is lit and dressed for one world while standing in another. It is subtle, it is common, and it is the reason a photo can feel wrong while every individual element looks fine.
Say the weather, say the temperature, say the season. Those three words fix most of this table at once.
| Scene | What breaks it | What to specify instead |
|---|---|---|
| Winter street | A t-shirt with no visible cold response | Coat, breath in the air, hands in pockets |
| Beach at midday | Perfectly styled hair, no squint | Wind in the hair, a squint against the sun |
| Office interior | Sunlit rim light from nowhere | Window light from one side, overhead office light |
| Rain | Dry clothing and dry ground | Damp shoulders, wet pavement reflections |
| Gym | Clean, dry, styled | Flushed skin, damp hairline, real gym lighting |
| Evening out | Daylight skin tones | Warm indoor light, visible light sources in frame |
Rule 9: the input selfie decides the ceiling
Everything above is downstream of one file. A soft, dim, filtered selfie cannot produce a sharp, well-lit, textured result, because the model has nothing to work from.
What a good source selfie looks like: rear camera, beauty mode off, face front-on and fully visible, soft even light on the face, no sunglasses, no hat brim shadow, no heavy makeup, no filter, taken within the last year.
One is enough. MakeAiPhotos works from a single upload and there is no model training step to sit through, which also means there is no long wait to discover the input was wrong.
If the first result looks off, replace the selfie before you change anything else. It fixes more than any prompt edit will.
There is a longer checklist in what photos to upload, including the specific lighting setups that work indoors.
Which of these rules matters most?
Applied in that order, the nine rules take a generated photo from obviously generated to indistinguishable at normal viewing size for most people.
There is a limit worth stating plainly. A generated photograph will not survive forensic analysis, and it should not be used to claim something untrue about you. The goal here is a photograph of your real face that looks like a photograph, not a disguise.
Rules 1 to 3 fix most of it
Skin texture, one light source, and background depth. These three are what a viewer processes in the first second, and they are where nearly every obviously generated photo fails.
Fix these before touching anything else.
Rules 4 and 9 decide whether it is you
Facial drift and a weak source selfie both produce a photo that is realistic and wrong. This is the failure that costs you on a dating profile or a professional page.
Realism and resemblance are separate problems.
Rules 5 to 8 are the second look
Hands, set variety, imperfection and scene consistency. Nobody catches these in a second, everybody catches them in ten.
These are what separate a photo that passes a scroll from one that passes a friend.
Frequently Asked Questions
- How do you make AI photos look real?
- Keep visible skin texture, use one dominant light source with consistent shadows, and give the background real depth instead of even blur. Those three fix most of the giveaway. Then check hands and jewellery, and vary framing across a set so it does not read as one session.
- Why do my AI photos look fake?
- Usually smoothed skin and flat lighting. Beauty mode on the source selfie, or a prompt asking for a flattering, cinematic or studio look, pushes the model toward poreless skin and even light. Ask for natural skin texture and name where the light is coming from.
- Can people tell if a photo is AI generated?
- At a glance, most people cannot when texture and lighting are right. They catch it on a second look through hands, jewellery, and a set of photos that all share the same light. A single well-made photo is far harder to spot than six.
- What selfie should you upload for realistic AI photos?
- One sharp, front-facing selfie taken on the rear camera with beauty mode off, in soft even light, with your whole face visible and no sunglasses or filter. The source file sets the ceiling for everything generated from it.
- Do AI photos still get hands wrong?
- Less often than before, but hands and small structured objects like watch dials, ring bands and glasses hinges remain the highest failure areas. Compose around them where you can, and generate several versions when a hand has to be visible.
- Is it better to prompt for photorealistic or for a camera?
- Name the camera conditions rather than the word photorealistic. Describing the light, the lens distance, the weather and the setting produces more realistic output than any single style word, which models tend to read as a look rather than as physics.