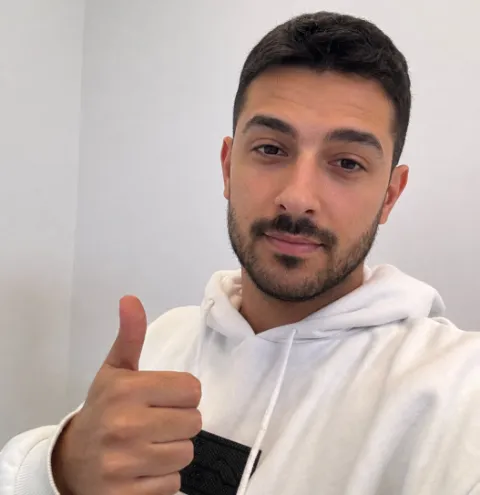
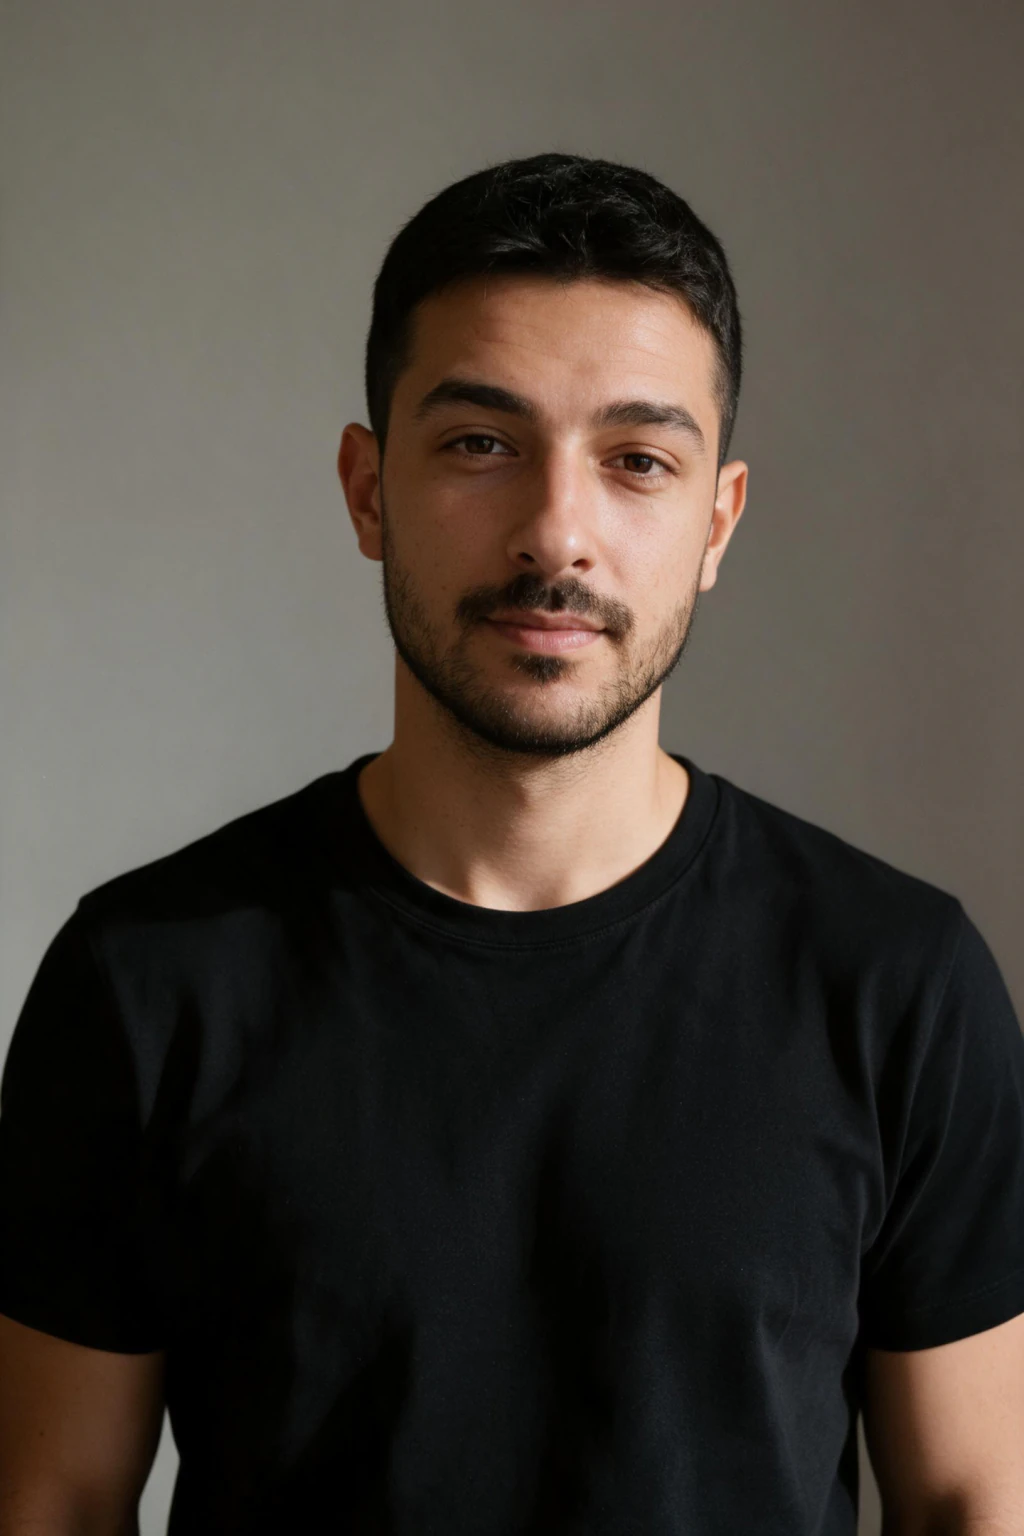
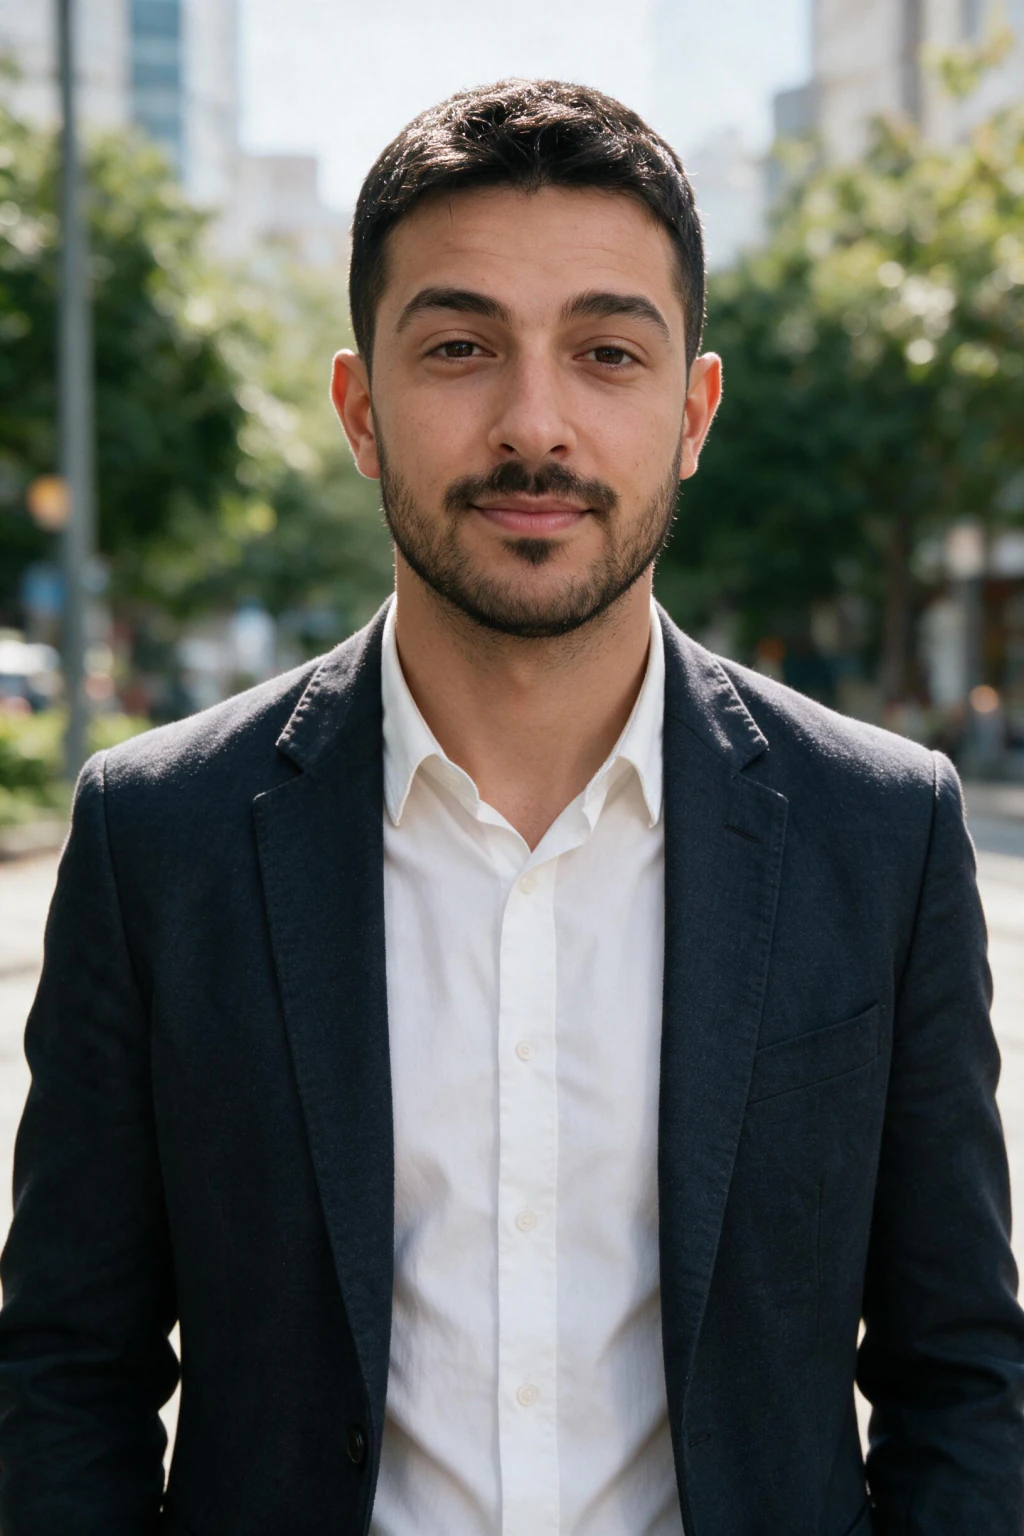
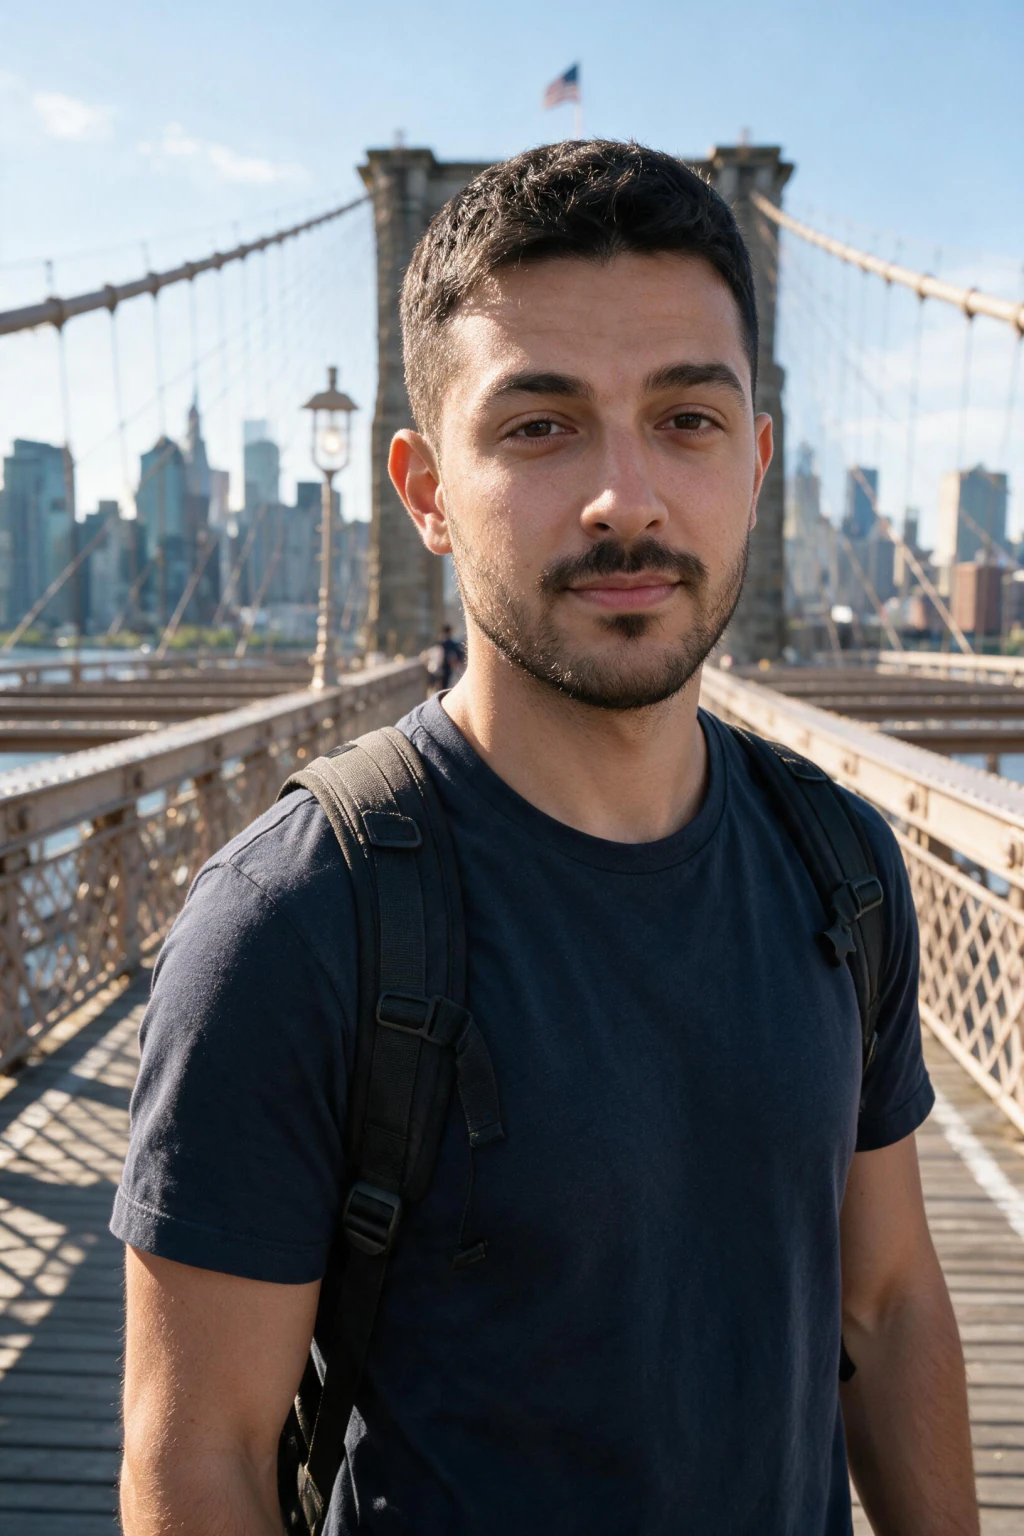
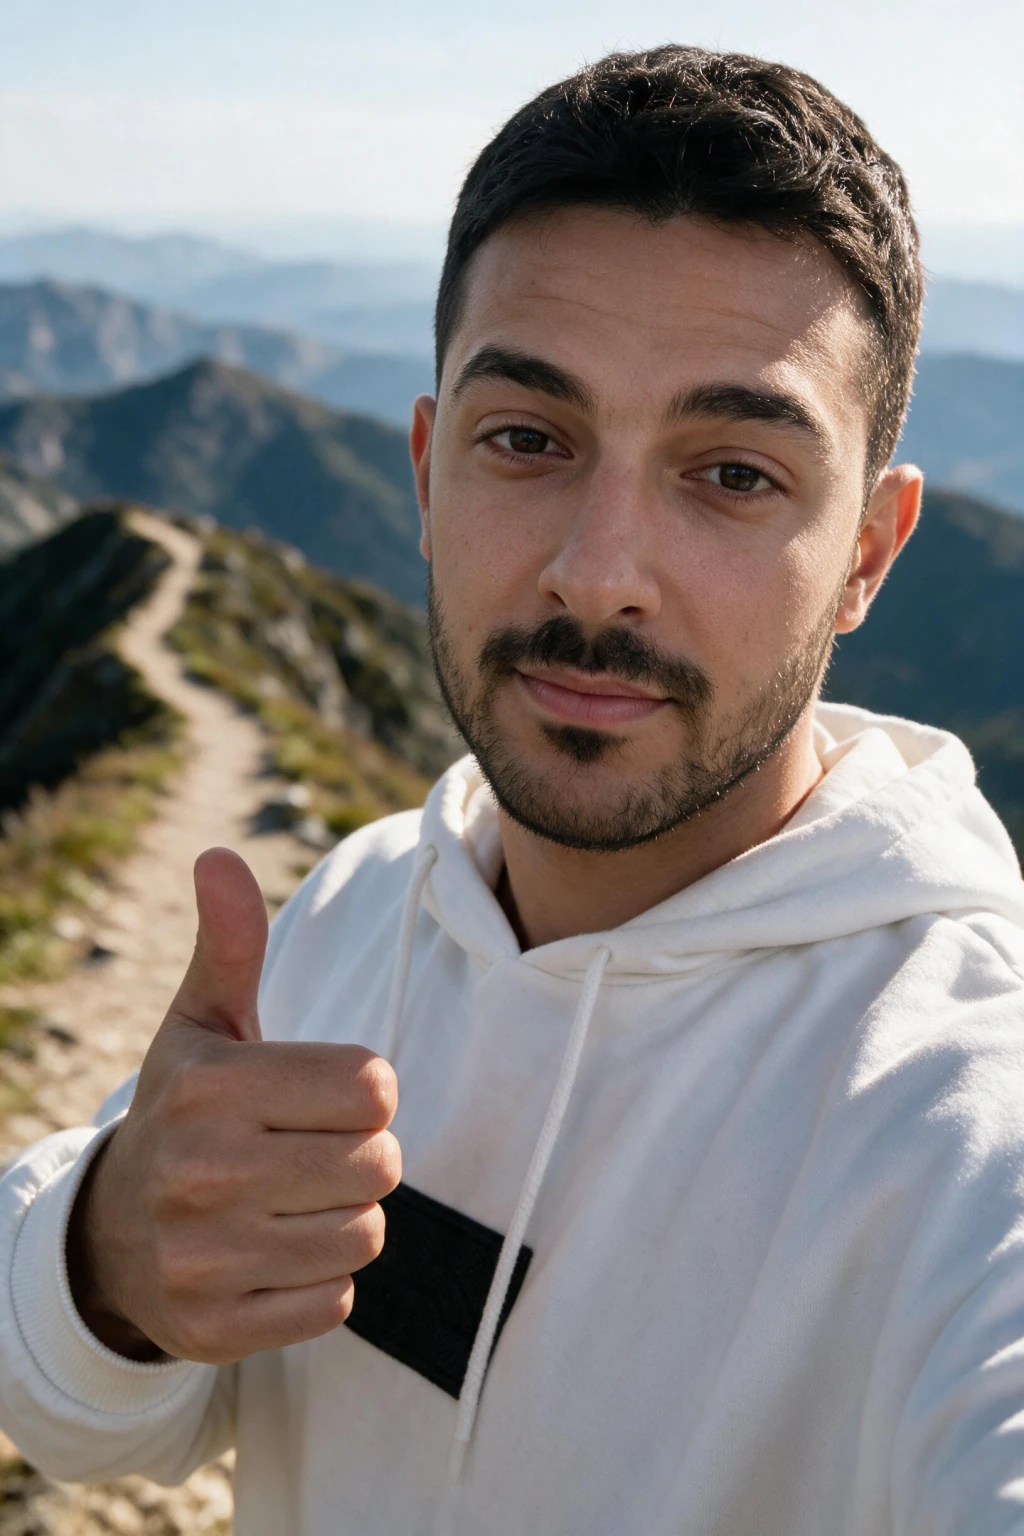
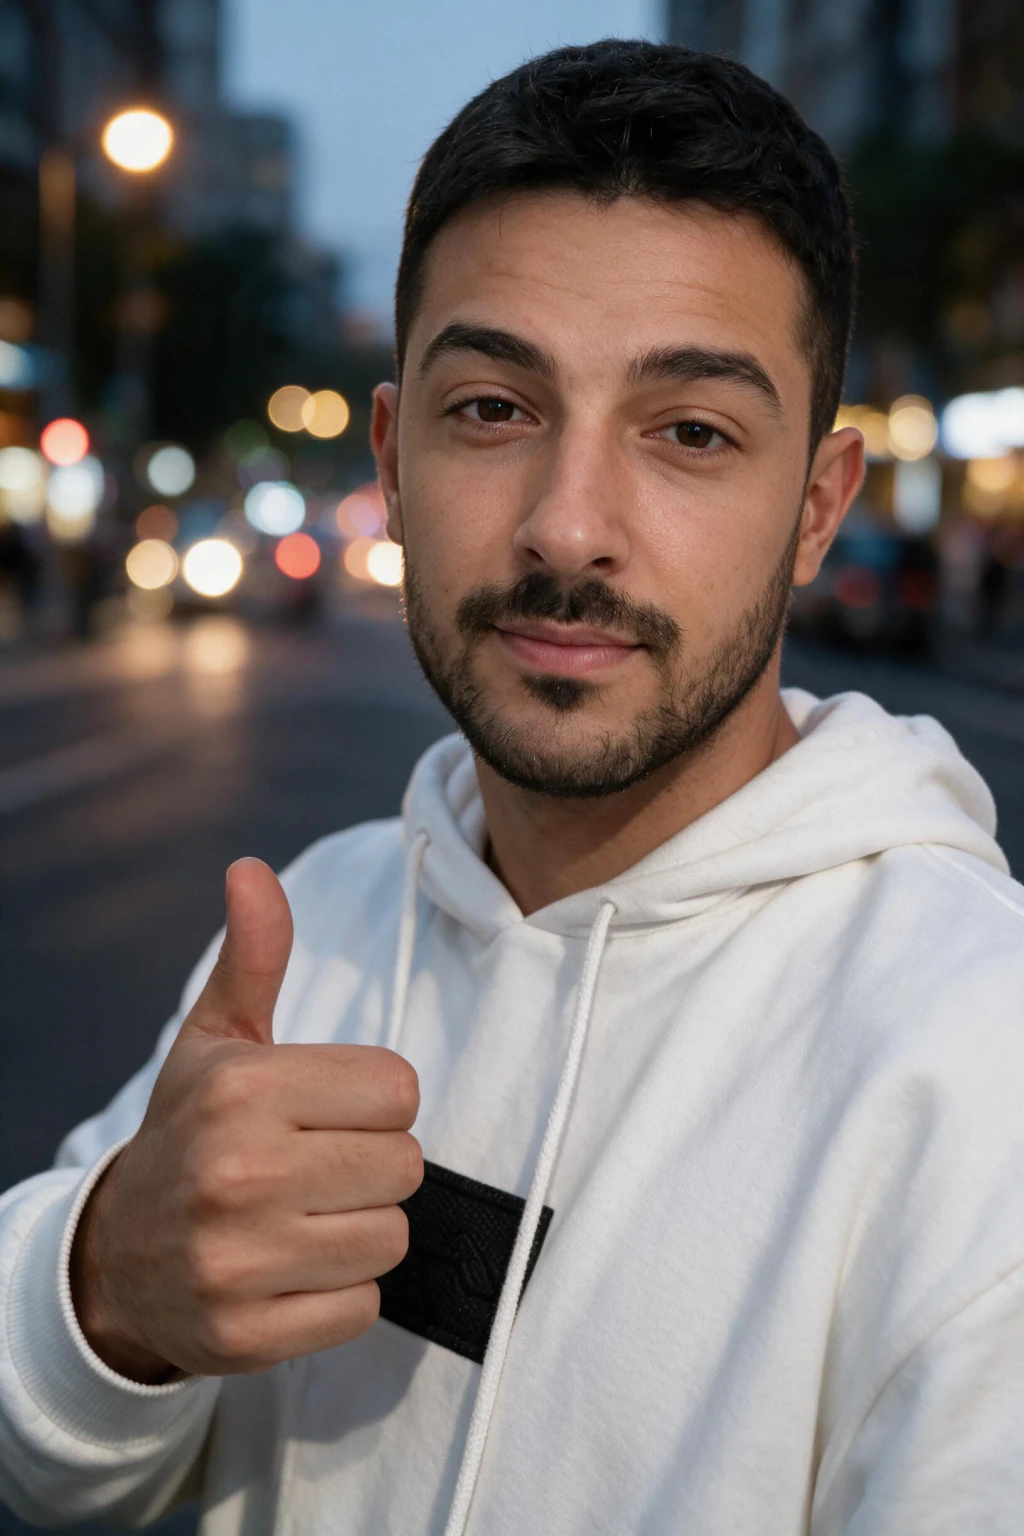
What photos should you upload for the best AI photos of yourself?
Upload one recent selfie taken on the rear camera in soft window light, with a natural expression and your eyes fully visible. That is the entire input. A single clear, front-facing photo gives a selfie-trained generator enough accurate information about your bone structure, skin and proportions to build a face model that still reads as you in a completely different scene.
The word doing the most work in that sentence is visible. Sunglasses, a low hat brim, a hand across your cheek or a heavy filter each remove information the model cannot recover, and it will quietly invent a replacement rather than tell you something is missing. What you leave out of the frame shapes the output as much as what you put in it.
Most disappointing results trace back to the upload rather than the tool. A dim photo shot at arm's length with beauty mode running teaches the model a narrowed, smoothed, distorted version of your face, and every photo you get back inherits that. Spending five minutes on the input changes the entire batch.


One good selfie feeds every one of these packs. Shoot it once, use it everywhere.
Why sunglasses wreck the likeness more than anything else
Sunglasses are the single most common reason a likeness comes back wrong. Your eyes carry more identity signal than any other feature on your face, and a lens covering them removes the eye shape, the lid crease, the brow line and the catchlights all at once. The model does not get a partial answer there, it gets nothing.
What happens next is the part people find surprising. The generator does not fail or warn you, it fills the gap with an average, drawn from every face it has ever seen. The result is a photo where your jaw, hair and skin tone look right and the eyes belong to somebody else, which is exactly the uncanny mismatch people describe when they say a photo is close but not them.
Eye shape is also the feature other humans use first. Friends recognize you across a room from the shape of your eyes and brows long before they resolve your nose or mouth, which is why a wrong eye reads as a wrong person even when everything else is accurate. Getting the eyes right is not a detail, it is the whole recognition test.
A hat brim causes the same failure in a weaker form. The brim throws a shadow across the upper half of your face, so the eyes are technically in frame but sitting in darkness with no detail to read. The model gets a vague hint instead of a lens, so the output drifts toward an average rather than jumping straight to it.
Prescription glasses are a different case entirely and usually fine. Clear lenses leave your eye shape and lid crease visible, so the model keeps the identity information and simply learns that you wear glasses. Watch for one thing only: a hard reflection across the lens that hides an eye, which puts you back in sunglasses territory for that side of your face.
The fix takes ten seconds. Take the glasses off, push the hat back or remove it, face a window so the light reaches your eye sockets, and shoot again. If you can see your own catchlights, those small bright reflections in each eye, when you zoom into the photo, you have given the model what it needs. There are more failure patterns in why AI photos of me do not look like me.
The 5-point check to run before you upload
Run your selfie against these five checks in order. If it fails one, reshoot rather than uploading anyway and hoping, because you only upload once and the model learns whatever you hand it. The whole check takes about a minute, and a reshoot takes five.
Step 1, your eyes are clear and lit. No sunglasses, no tinted lenses, no hat brim dropping a shadow, no hair falling across an eye. Zoom in and look for a small bright catchlight in each eye. If both are there, the strongest identity signal in your face made it into the file.
Step 2, the light is soft and even. Face a window during daylight so the light lands at roughly 45 degrees across your face, or step outside into open shade. You want gentle shaping without a hard shadow line, accurate skin tone, and no bright window sitting directly behind your head.
Step 3, beauty mode and filters are off. Open your camera settings and switch off beauty mode, skin smoothing and auto-retouch, then check that no app filter is applied. Smoothing erases pores and narrows features, and the model has no way to know that version of you was edited rather than real.
Step 4, the camera distance is honest. Prop the phone about two arm lengths away, use the self-timer on the rear camera, or hand the phone to someone. An arm's-length front camera shot puts a wide lens close to your face, which widens your nose and pushes your ears back into proportions that are not yours.
Step 5, the photo is recent and it is the original file. Use something under about a year old that matches your current hair, beard and glasses. Send the file straight from your camera roll rather than a screenshot or a copy that passed through a chat app, since both throw away the fine detail the model needs.
What to upload and what to skip, at a glance
Use this table as a fast audit of the photo you were about to send. The middle column is the part worth reading twice, because it names what the model actually learns from each kind of input rather than just labelling the photo good or bad.
One pattern runs through every bad row on that list. The model never tells you information is missing, it quietly substitutes something plausible instead, so a flaw in your upload arrives back as a confident detail in the output that you then have to argue with. Nothing in the results will point at the photo that caused it, which is why the audit belongs before the upload.
| What you upload | Verdict | What the model learns from it | Do this instead |
|---|---|---|---|
| Rear camera selfie in soft window light | Best input | Your true proportions, real skin texture and clear eye detail | Nothing, this is the target |
| Sunglasses or tinted lenses | Never upload | No eye shape, no lid crease, no catchlights, so it invents all three | Take them off and reshoot in the same light |
| Cap or hat with a low brim | Risky | Shadowed eye sockets and a hidden hairline | Push the brim back or take the hat off |
| Beauty mode or a smoothing filter | Never upload | A narrowed, poreless face it treats as your real one | Switch beauty mode off in camera settings, then reshoot |
| Arm's-length front camera shot | Weak | A widened nose and ears pushed back by the wide lens | Rear camera on a timer, about two arm lengths away |
| Group photo, even cropped tight | Never upload | Two faces it may blend into one identity | A solo frame where you are the only person in it |
| Photo older than about a year | Risky | A version of you that no longer matches today | Shoot fresh with your current hair, beard and glasses |
| Screenshot or chat app copy | Weak | Compression artifacts where facial detail should be | Send the original file from your camera roll |
| Night shot under one lamp | Weak | Half a face, since the shadow side carries almost no data | Wait for daylight or stand facing a window |
Why lighting outranks the phone you shot it with
If you change one thing about your selfie, change the light. A three year old phone in soft window light beats the newest flagship in a dim room every time, because the sensor is not the constraint, the information reaching it is. Light is what makes skin texture, eye detail and true color legible in the first place.
Soft, even light wraps around your face instead of carving it up. Standing a step back from a window during the day, or outside in open shade, gives you gentle shaping across the nose and cheekbones, accurate skin tone, and eye sockets that are lit rather than hidden. That combination is what a face model needs most.
Three lighting traps account for most bad uploads. Overhead lighting drops shadows into your eye sockets and under your nose, which costs you the same eye detail sunglasses do. Direct backlight from a bright window behind you turns your face into a dark shape. A single lamp at night lights one side and leaves the other with nothing to read.
There is a quick test that needs no equipment. Turn slowly on the spot while watching your face in the camera preview, and stop at the angle where the shadows under your eyes are softest and both sides of your face are similarly bright. That is the direction to shoot, and it usually means facing the light source rather than standing beside or in front of it.
Do you need ten photos, or does one good selfie really work?
You upload one selfie. Not eight, not ten, not fifteen. Older generators asked for large batches because they averaged their way past bad frames, and volume was how they compensated for a weak signal in any single photo, which is where every guide telling you to gather ten or twenty selfies originally came from.
That advice stuck around longer than the technology behind it. Modern selfie-trained models build a face map from a single strong input, so adding nine mediocre photos to one good one does not reinforce the good one. It hands the model nine other opinions about your face, and it has no way to know which one you meant.
The practical effect is that all your effort belongs in one photo instead of spread across a pile. Take three or four versions of the same shot, look at them at full size, and upload the one where your eyes are clearest and the light is most even. Then stop, because a second upload does not average out to something better.
A per-tool breakdown of the counts sits in how many selfies for AI photos, if you want to compare what different generators ask for. The short version is that quality of the single input has replaced quantity as the thing that decides your results, so the ten minutes you would have spent digging through old photos belong by the window instead.
Camera distance, angle and expression
Distance changes your face more than any editing app does. Holding the phone at arm's length puts a wide front-camera lens close to your features, which enlarges whatever is nearest the glass, so your nose widens, your forehead grows and your ears retreat. The model learns those proportions as fact and rebuilds them in every photo it renders.
Two arm lengths on the rear camera fixes it completely and costs you nothing but a timer. Prop the phone on a shelf, a stack of books or a windowsill at roughly eye height, set a ten second timer, and step back. Shooting at eye level rather than above or below also keeps your jawline and forehead in their real proportion.
Expression matters less than people fear, but it does set the tone of the whole batch. A relaxed neutral face or a light genuine smile gives the model clean, unstrained features to learn, while a wide forced grin distorts your cheeks and squints your eyes. Keep your mouth relaxed and let your eyes do the work.
Does the same selfie work for headshots, dating and travel packs?
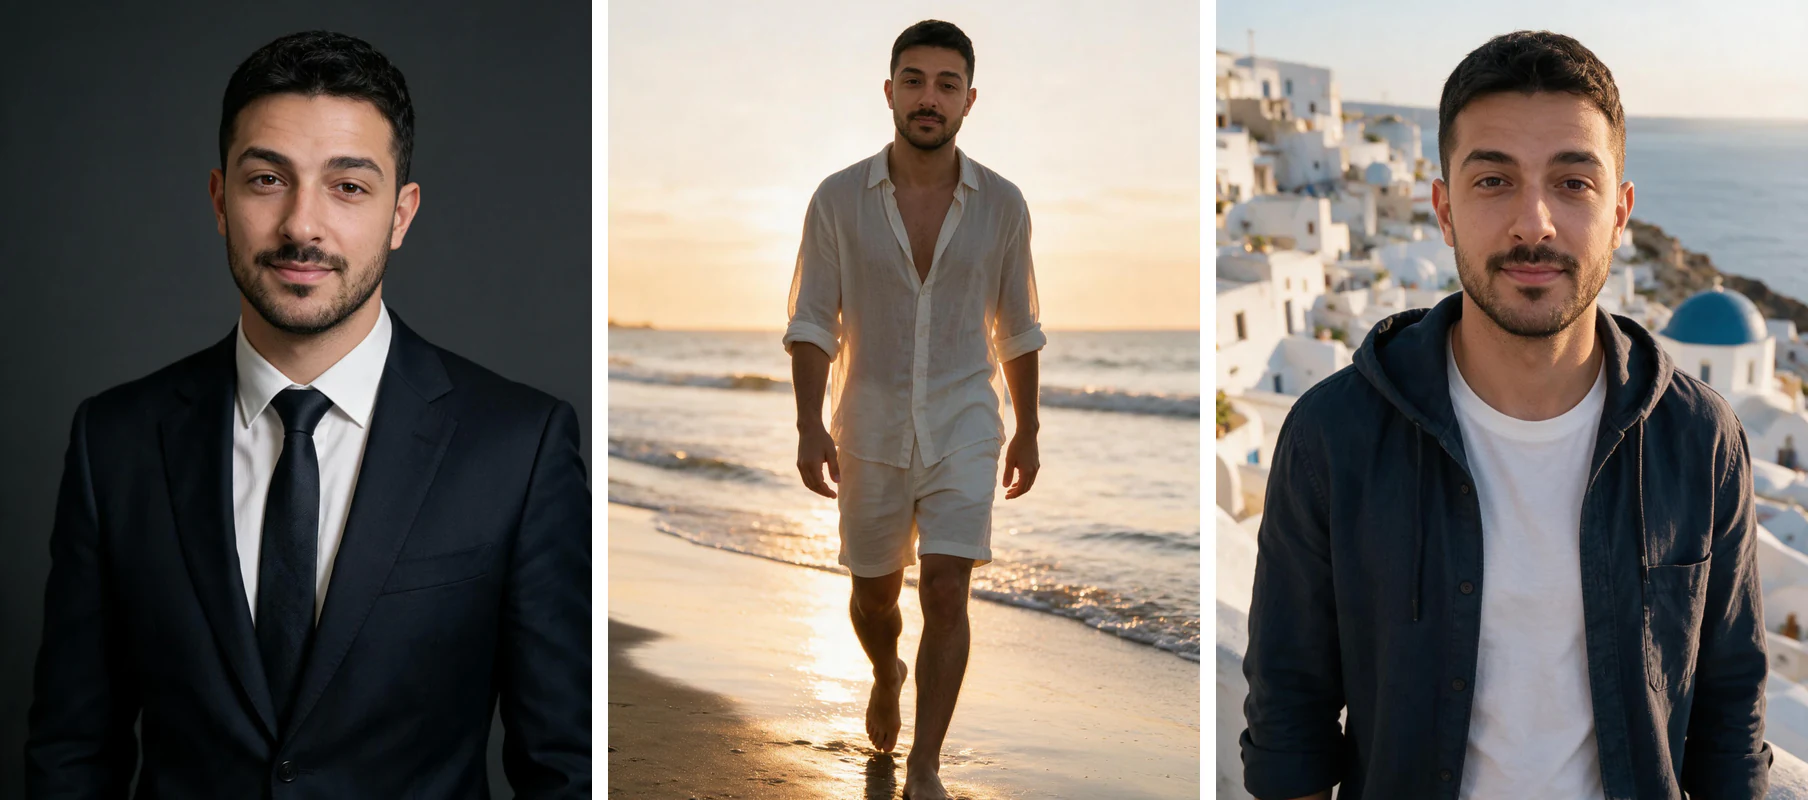
Yes, and this is the part that saves you the most time. One clean selfie feeds every pack you run afterwards, so a work portrait, a dating set and a travel set can all come out of the same ten minutes you spent by the window. You are not shooting a new input for each look.
What changes between packs is the styling around your face, not the face itself. Professional packs render tidy hair and work clothes with even lighting, dating and lifestyle packs render warmer light and relaxed settings, and travel packs place you in daylight outdoors. All of them are rendering the same learned face into different scenes.
So shoot the input for accuracy rather than for a specific look. Do not try to make your selfie look like a LinkedIn photo, or like a beach photo, because the pack handles that. Your only job in the upload is to hand over an honest, well lit, unobstructed version of your face.
What happens after you upload, and how to judge the results
The run is a single step now, so nothing sits between your upload and your first photo. Each photo comes back in about 2 minutes, with no model training to wait through. Photos arrive one at a time, so you see each result before you spend credits on the next.
Judge the batch at full size rather than at thumbnail size, and start with the eyes. Check that both eyes have matching catchlights pointing the same direction as the light in the scene, that skin still has visible pores and texture, and that the light on your face agrees with the light in the background. Those three checks catch nearly everything.
If most of a batch looks slightly off in the same way, the input is the cause rather than the pack, and a reshoot fixes far more than a rerun does. Output comes back at up to 4K with no watermark, packs are one-time rather than a subscription, and the current numbers live on the AI photo pack pricing page.
Frequently Asked Questions
- What photos should you upload for the best AI photos of yourself?
- One recent selfie shot on the rear camera in soft window light, with a natural expression and your eyes fully visible. Skip sunglasses, low hat brims, beauty mode, filters, group photos and anything dim or blurry. You upload a single photo, so that photo decides how closely the results match your real face.
- Can I upload a selfie wearing sunglasses?
- No, and this is the mistake that ruins more likenesses than any other. Your eyes carry more identity signal than any other feature, and a lens removes the eye shape, the lid crease, the brow line and the catchlights at once, so the model fills the gap with an average face. Take them off and reshoot.
- What about a hat or a cap?
- A hat is workable only if the brim is pushed back and daylight still reaches your eyes. A low brim drops a shadow across your eye sockets, which causes the same failure as sunglasses in a weaker form, and it hides your hairline as well. Safest choice is to take the hat off for the upload.
- Do prescription glasses cause problems?
- Usually not. Clear lenses leave your eye shape and lid crease visible, so the model keeps the identity information and learns that you wear glasses. Check the photo for a hard reflection across a lens that hides an eye, because that reflection puts that side of your face back into sunglasses territory.
- How many photos do I need to upload?
- One. Older generators asked for batches of ten or more because they averaged their way past weak frames, but a modern selfie-trained model builds your face map from a single strong input. Nine extra mediocre photos give the model nine competing opinions about your face rather than more accuracy.
- Do arm's-length selfies hurt my AI photos?
- Yes, more than most people expect. A front camera held at arm's length uses a wide lens close to your face, which widens your nose, enlarges your forehead and pushes your ears back, and the model treats those distorted proportions as your real ones. Use the rear camera on a timer about two arm lengths away.
- What lighting is best for the selfie you upload?
- Soft, even daylight. Face a window during the day or step outside into open shade so the light lands across your face at roughly 45 degrees. Avoid overhead light that shadows your eyes, backlight that darkens your face, and a single lamp at night that leaves one side with no detail.
- Can you use an old photo for AI photos?
- Only if it still matches how you look now. Aim for something under about a year old with your current hair, facial hair and glasses, and send the original file rather than a screenshot or a chat app copy. An outdated photo hands the model a past version of you, and every output inherits the mismatch.