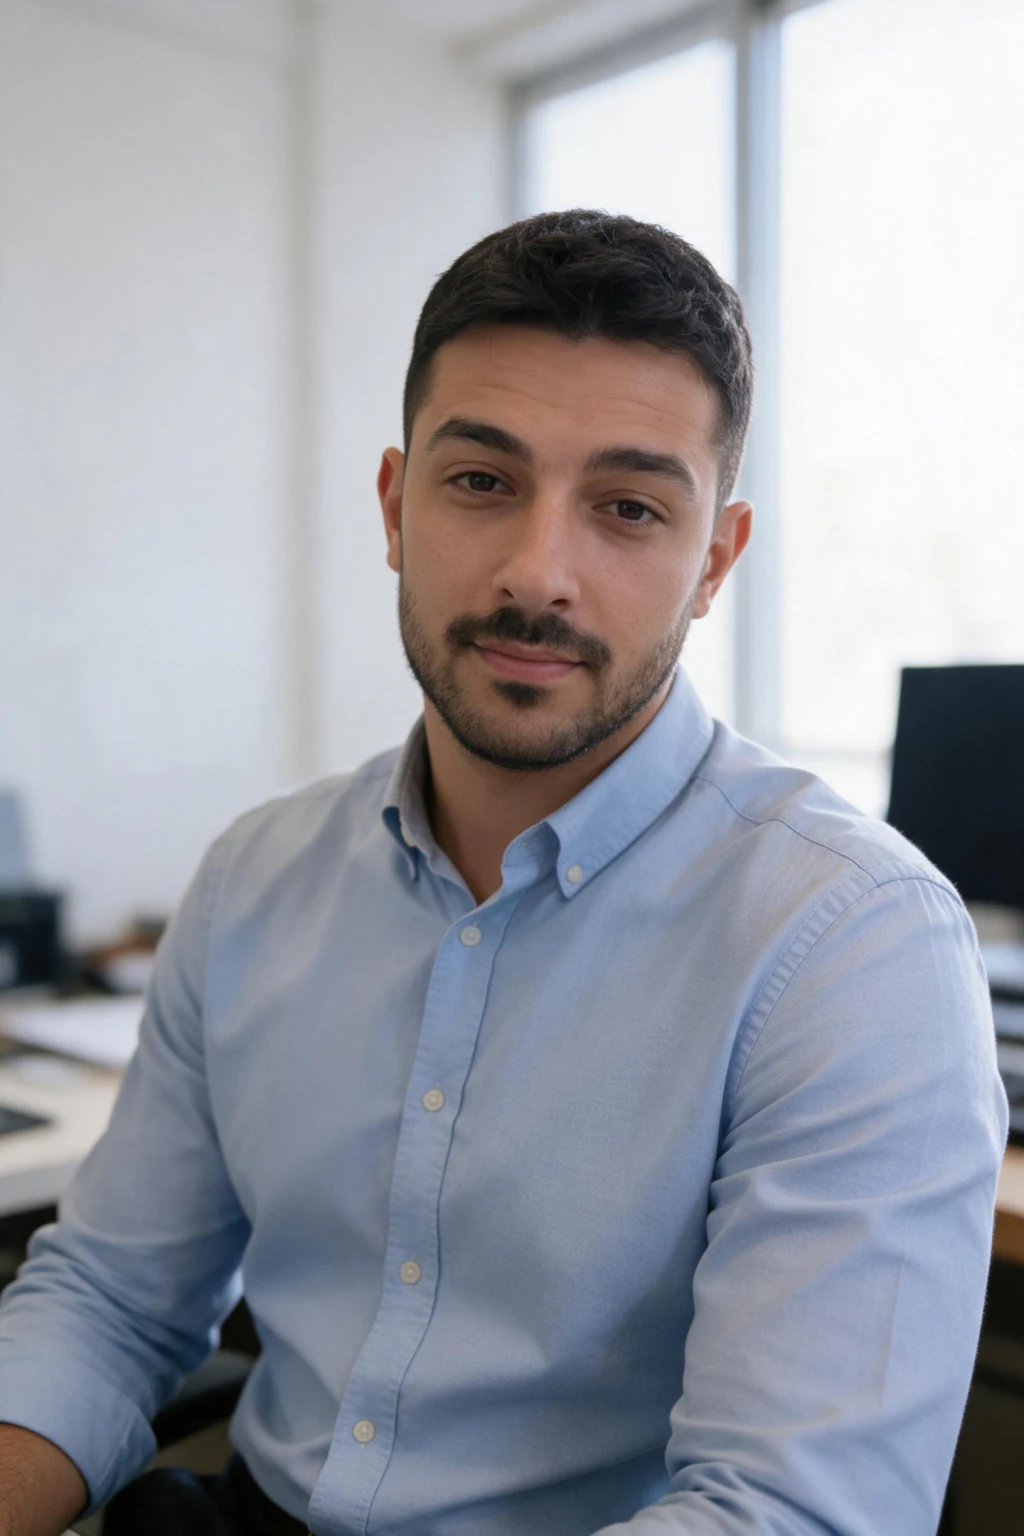
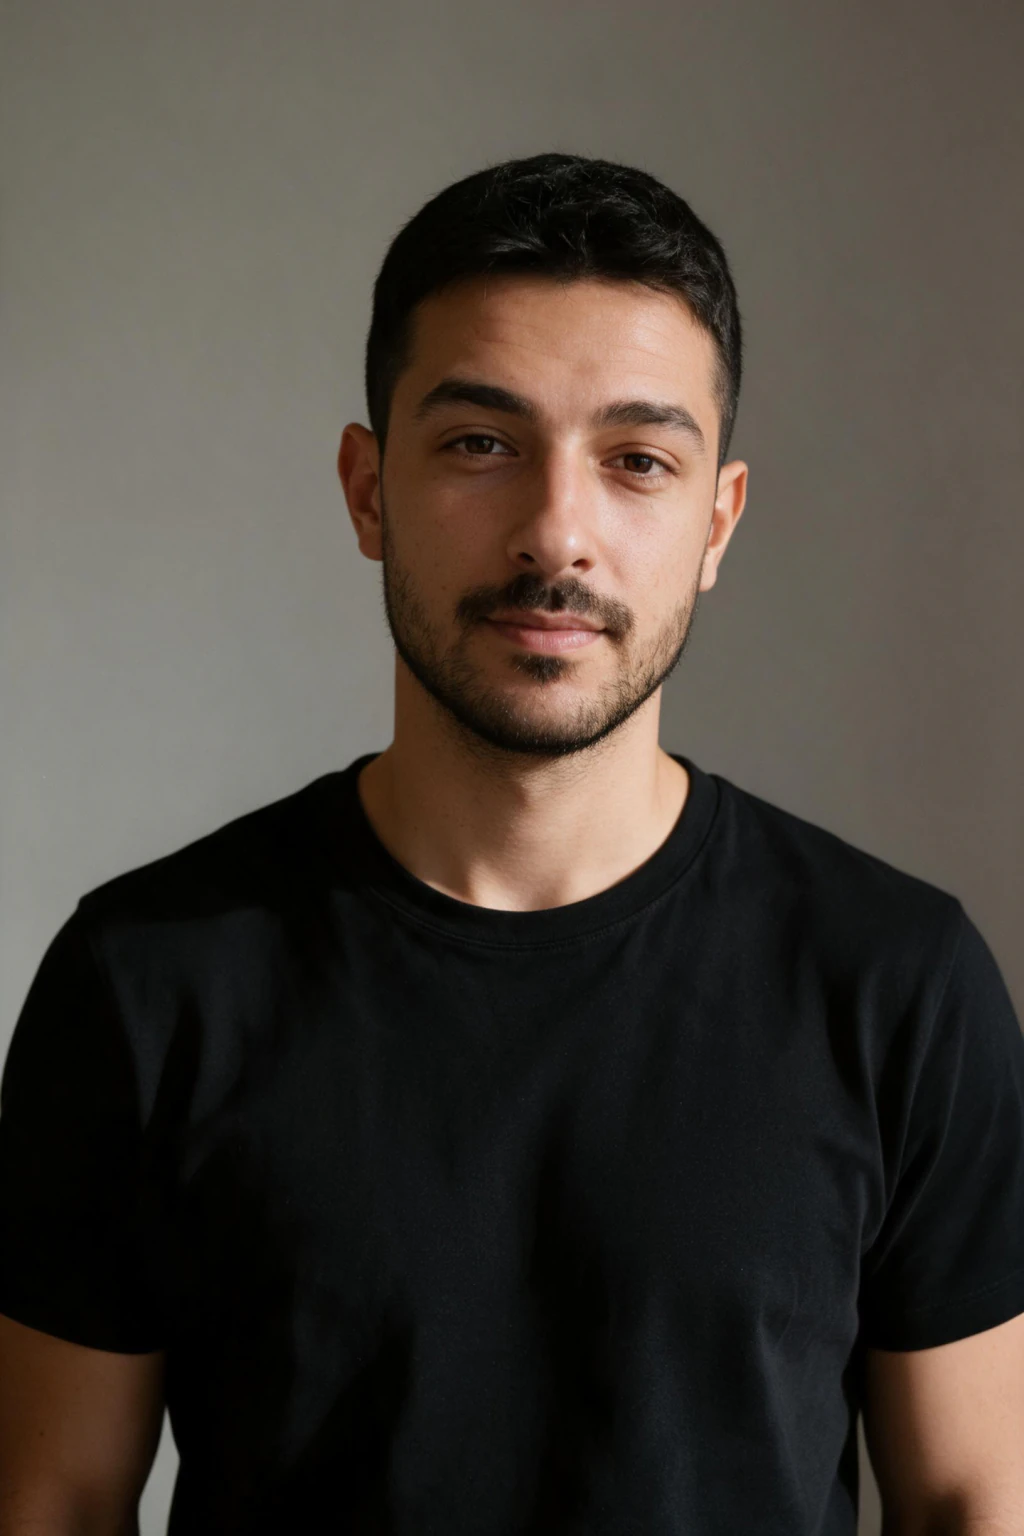
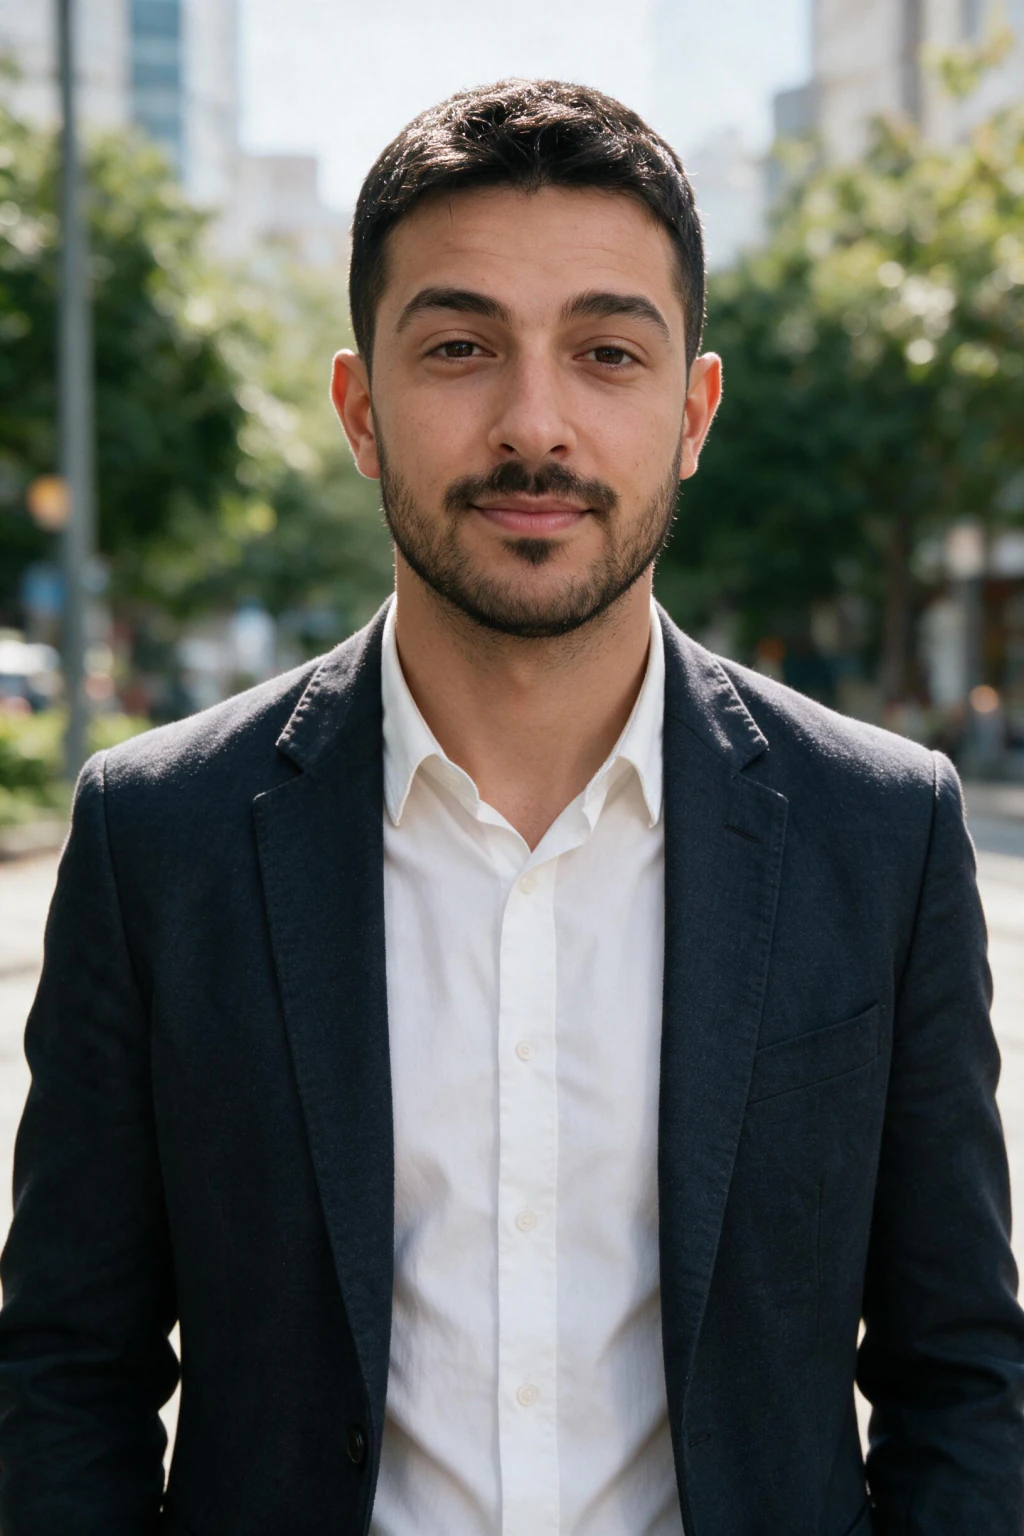
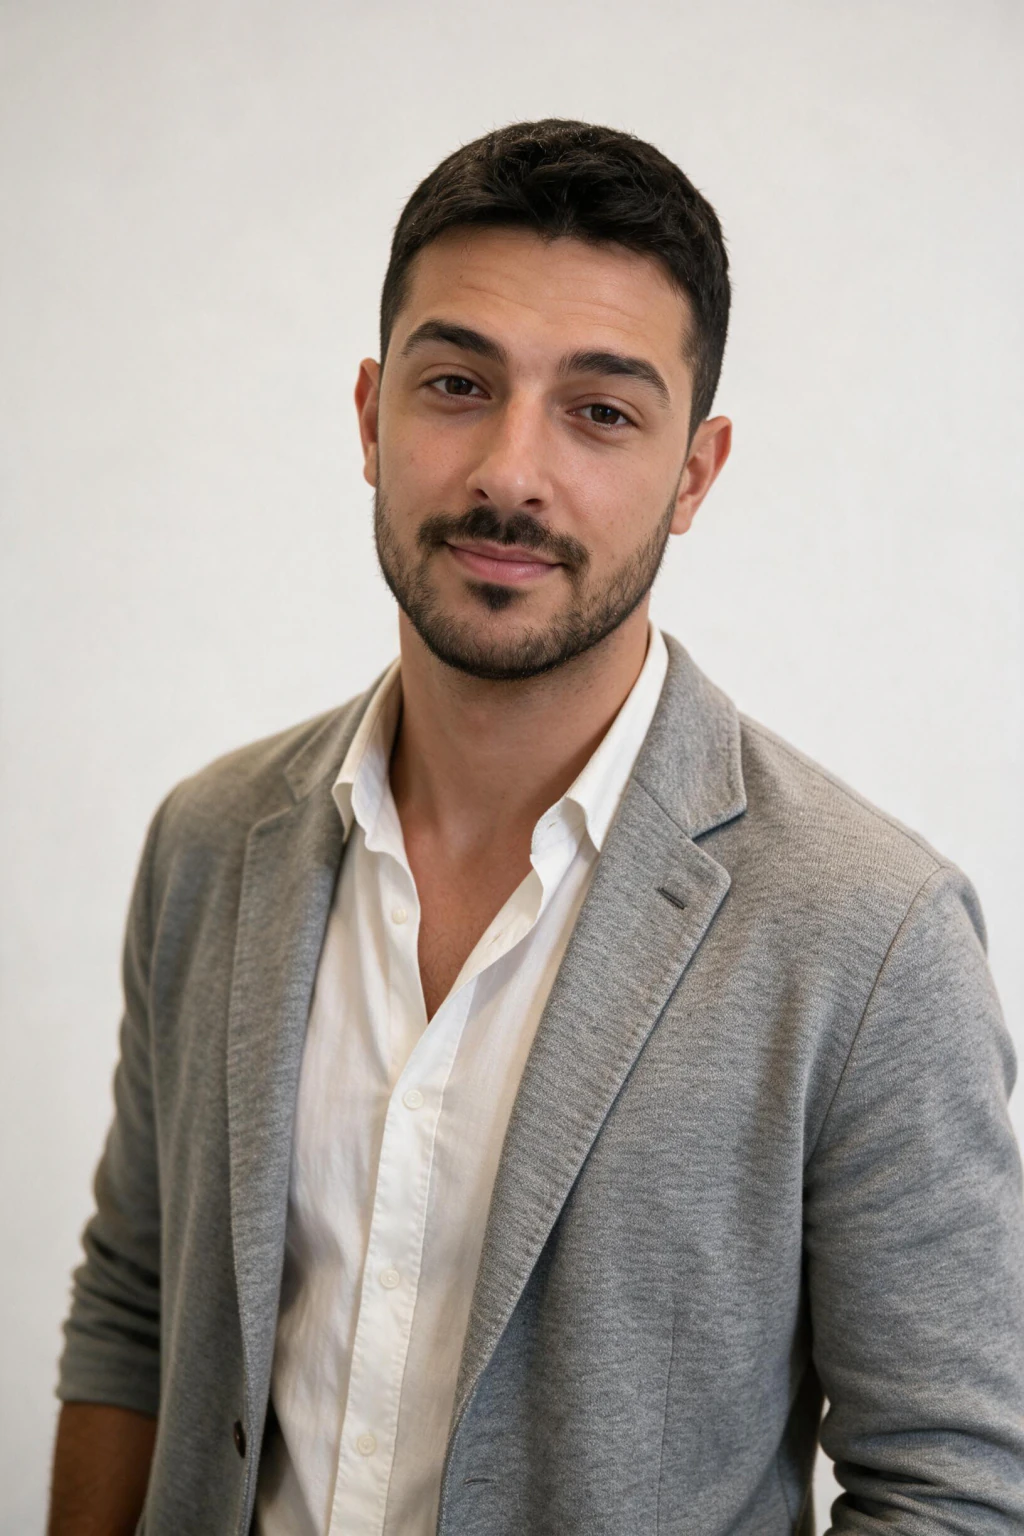
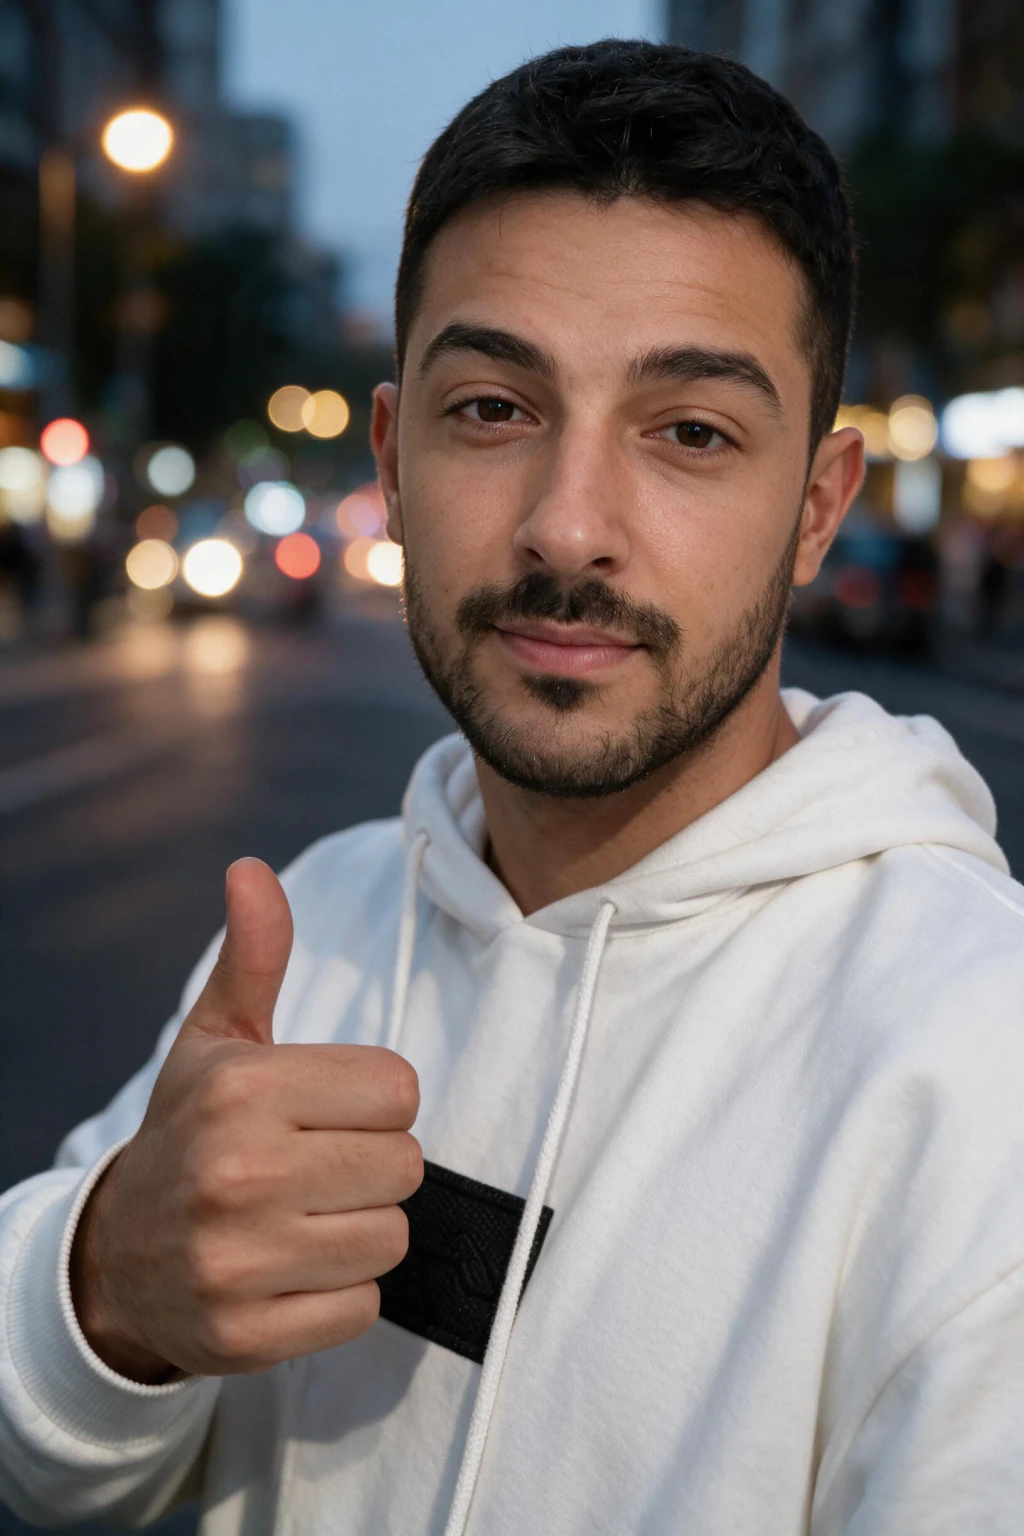
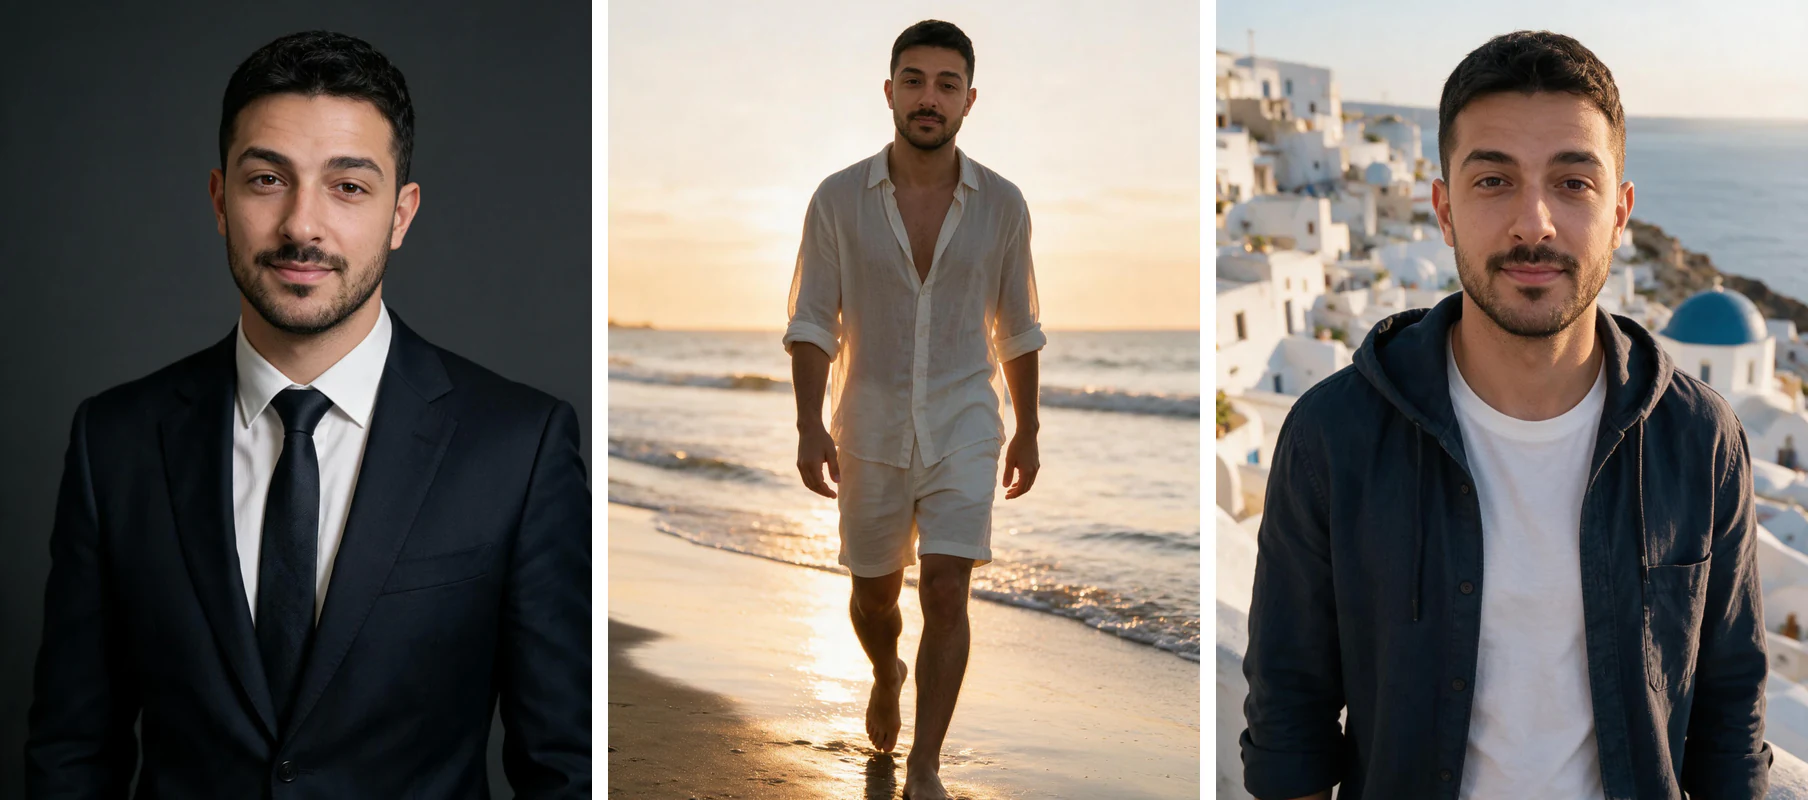
What is an AI photoshoot at home, and what is the actual input?
An AI photoshoot at home is one selfie taken in soft window light at about 45 degrees to your face, on the rear camera, with beauty mode off. That is the entire input. That single frame is read straight into new photographs of you, in settings you never went to, wearing clothes you do not own.
There is no camera to buy, no studio to book, no photographer to schedule and no location to drive to. You supply one photo of your face. The system supplies the wardrobe, the lighting, the backdrop and the lens, which are the four things you would otherwise be paying a professional for.
The catch is that your output quality is almost entirely decided by that one input. A clean window-light frame produces results people mistake for a studio session. A dark, filtered, arm's-length shot produces flat photos that look almost like you, which is the most frustrating result of all.
That is why most of this guide is about a photo you take before you upload anything. The generation side is largely automatic. The part you control, and the part that decides whether you are happy, happens in the two minutes you spend standing near a window.


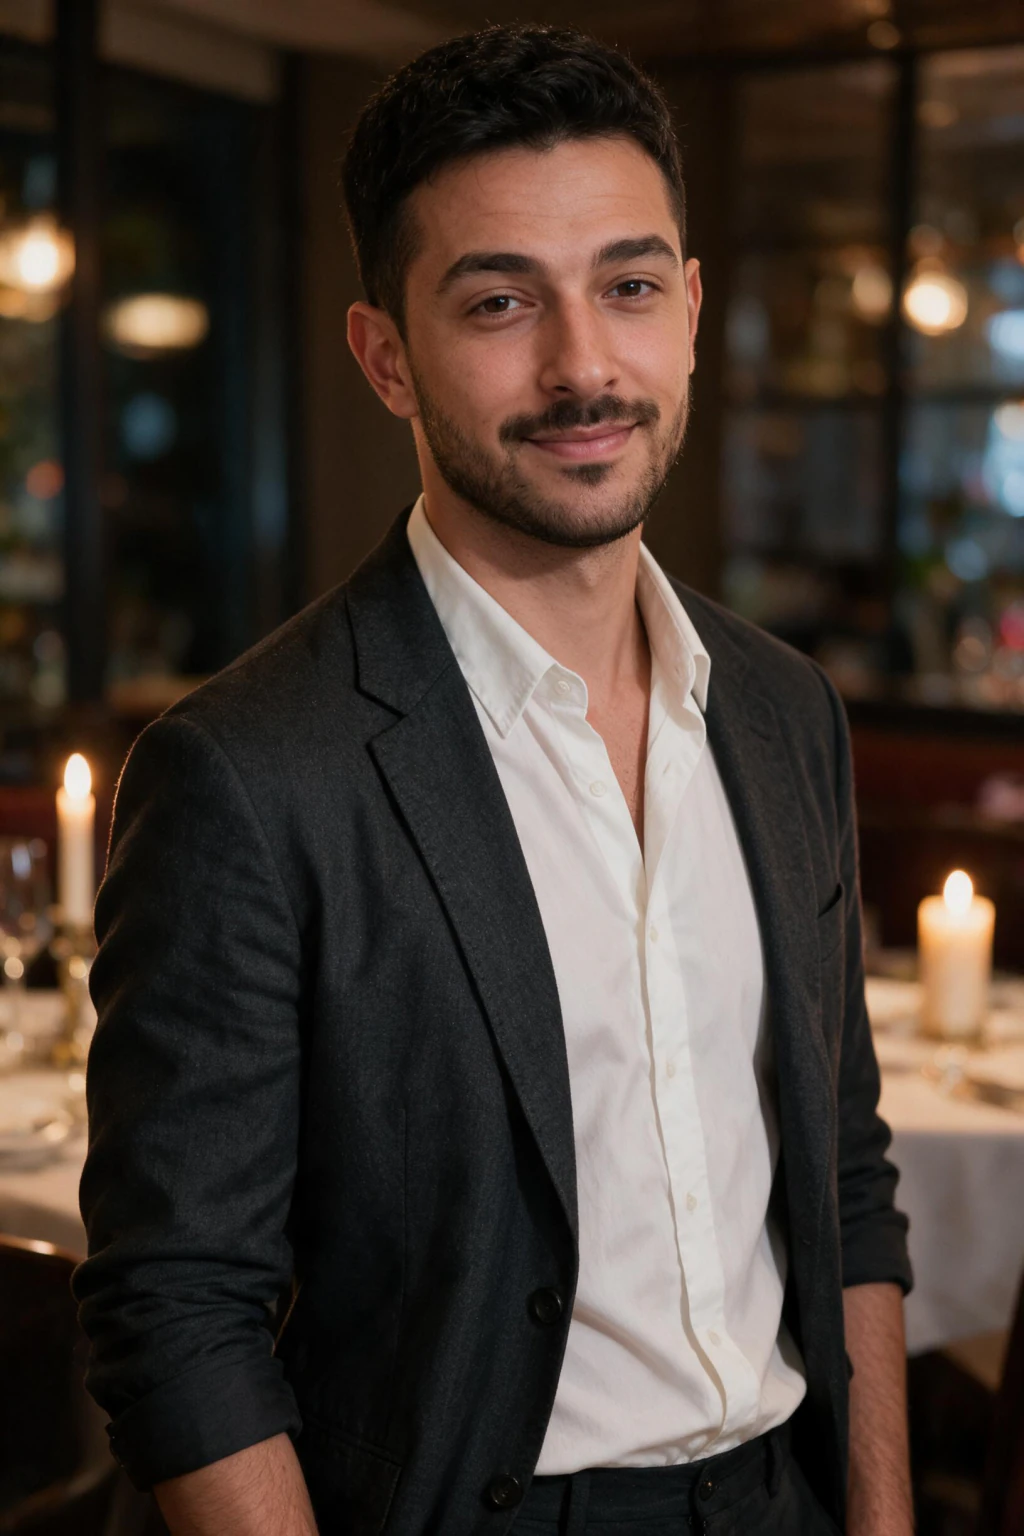
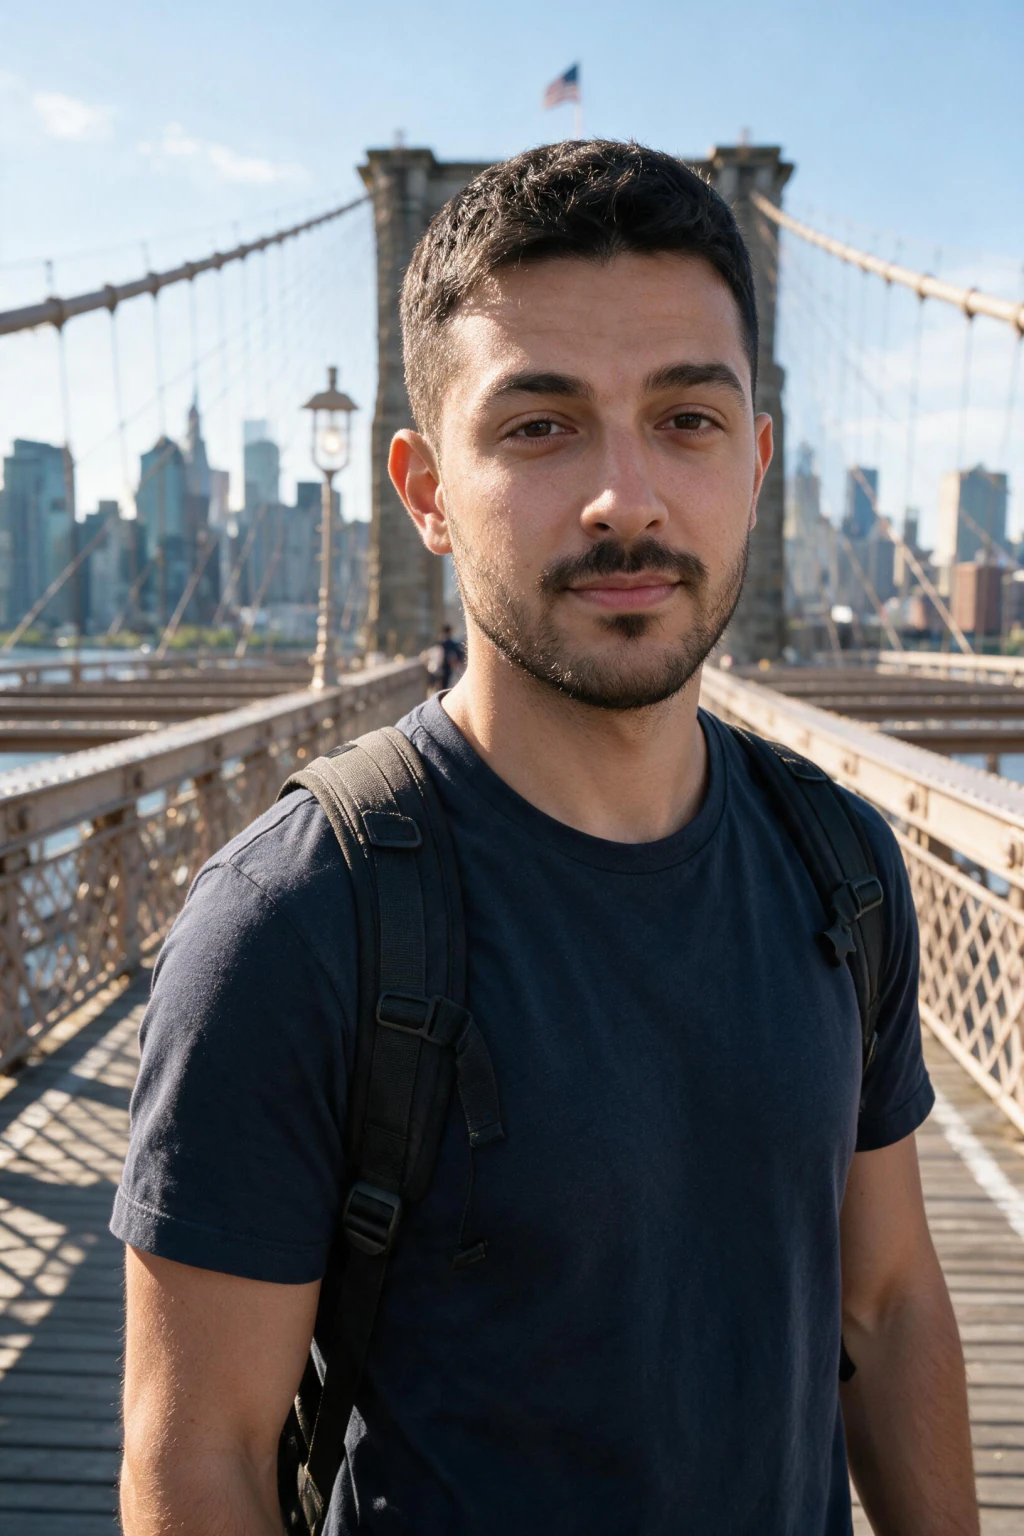
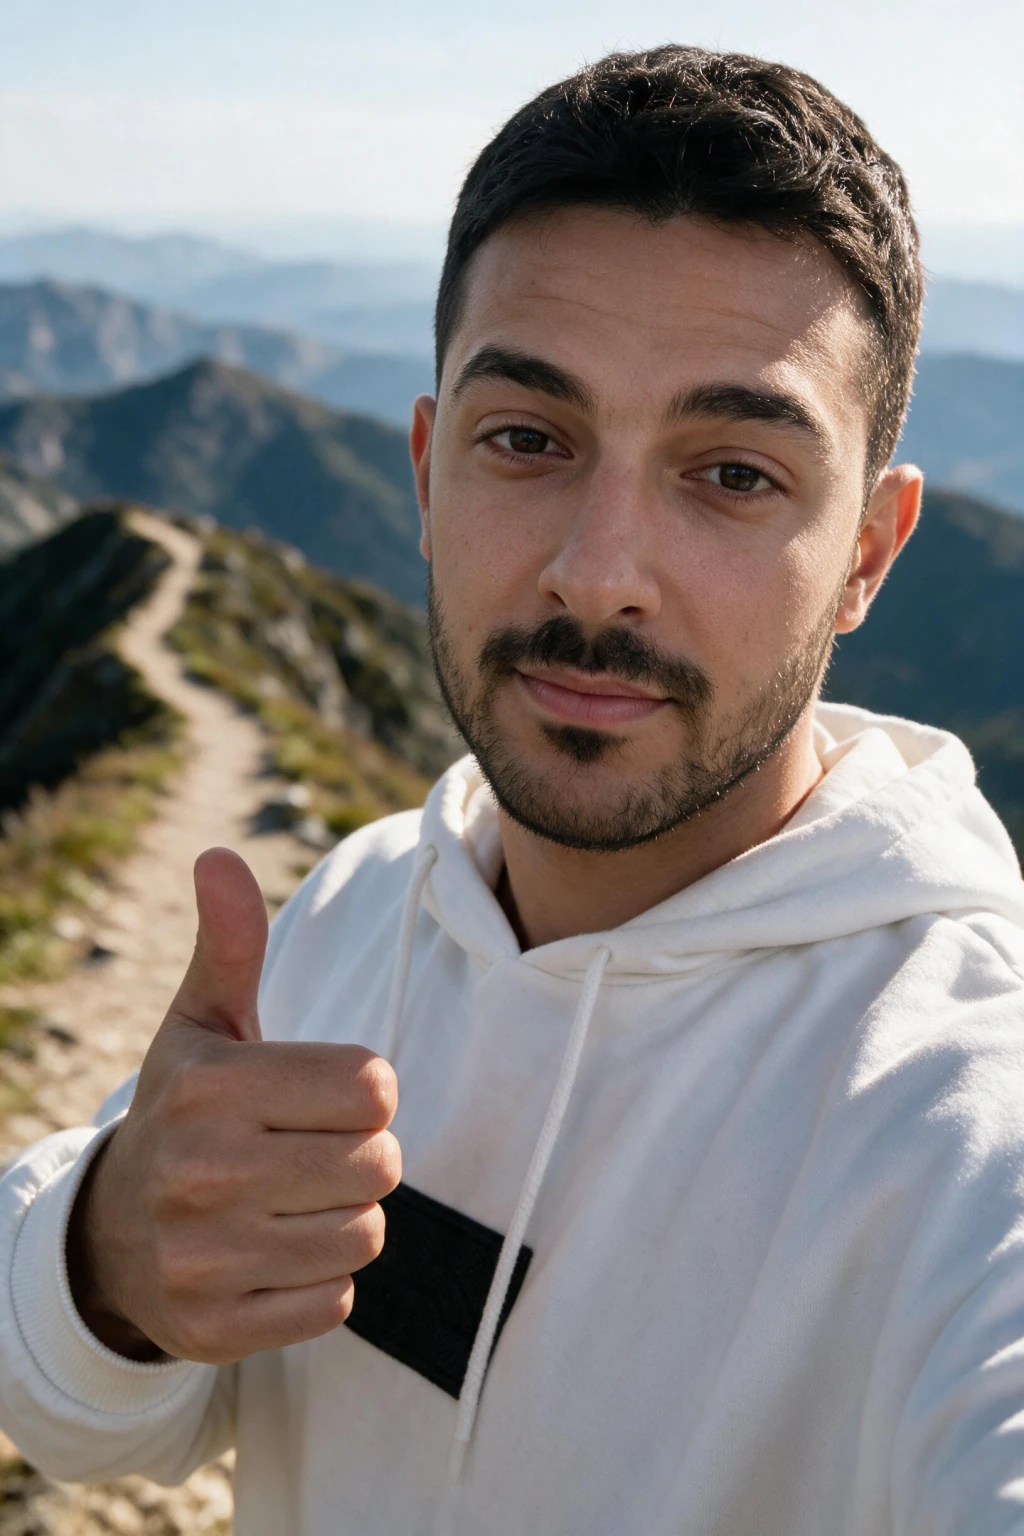
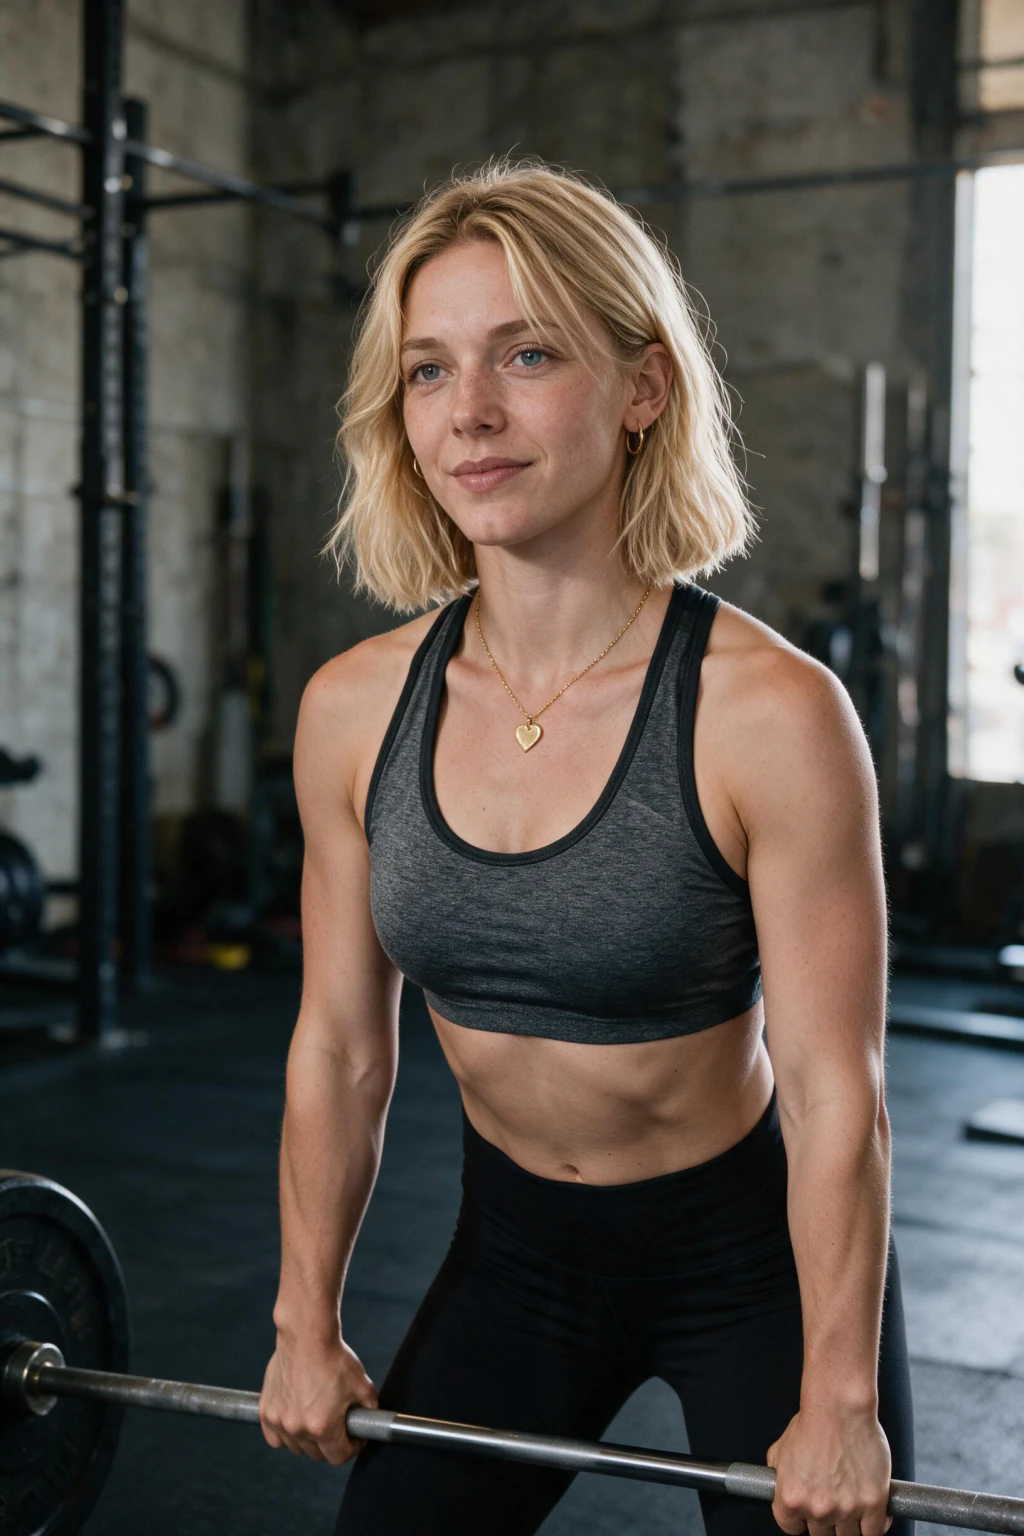
One selfie feeds all of these. Take the window-light shot first, then pick your packs.
Why an arm's-length front-camera selfie quietly ruins the result
This is the single most common reason a home AI photoshoot comes back looking almost right and slightly wrong. When you hold your phone at arm's length and shoot on the front camera, the lens sits maybe fifty centimetres from your face. At that distance, perspective stops being neutral and starts editing your features for you.
The physics is simple. Whatever is closest to the lens is rendered largest, and the closer the lens gets, the more extreme the difference becomes. Your nose is the nearest part of your face, so it grows. Your ears are the furthest, so they shrink and pull inward. Your forehead widens and your jaw narrows.
You never notice this in a normal selfie, because you have seen thousands of them and your eye has normalised the look. A phone screen also shows you a mirrored preview, which further disguises the distortion. It is not a filter, it is geometry, and it is present in every arm's-length photo you have ever taken.
Here is why it matters more for an AI photoshoot than for a normal photo. The model does not know which parts of your input are you and which are the lens. It learns the whole thing as one face. A wide nose and narrow ears become part of your identity in the trained model, and every photo it generates carries them.
The result is uncanny rather than obviously broken. The output looks like your sibling, or like you after a long week. You cannot point at a single feature that is wrong, because nothing is wrong individually, the proportions are just shifted a few percent in the direction the lens pushed them. If your results have that quality, why AI photos of you do not look like you walks through the other causes too.
The fix costs nothing. Shoot on the rear camera and put distance between you and the lens. Prop the phone on a shelf, a stack of books or a windowsill, step back a few feet, and use the timer or a volume-button remote. The rear camera is also the sharper of the two on almost every phone, so you gain detail at the same time.
That extra distance flattens the perspective back to something close to a portrait lens, which is exactly what a photographer would use. Nothing has to be corrected later, because the distortion never enters the training data in the first place. Two seconds of setup buys you more than anything you can do afterwards.
The home setup checklist
Seven things decide whether your input photo is good. Each row below is a choice you make in the thirty seconds before you shoot, and the last column is what that choice does once the model starts learning your face.
Read the last column carefully, because it explains why some rules that feel cosmetic are actually structural. Beauty mode is not a matter of taste here. It removes information the model needs and there is no way to add that information back afterwards.
| Setup element | Do this | Not this | Why it matters to the output |
|---|---|---|---|
| Light source | Soft daylight from a window, at about 45 degrees to your face | Overhead bathroom light, or a window directly behind you | 45 degrees leaves shadow under one cheekbone, which is how the AI reads the depth in your face |
| Distance | A few feet back, phone propped or held by someone | Arm's length | Close lenses enlarge your nose and narrow your ears, and the model learns that distortion as your face |
| Camera | Rear camera, timer or volume button | Front camera | The rear lens is sharper, and every extra inch of distance flattens perspective back toward normal |
| Angle | Lens level with your eyes, face square to it | Held high above you, or low near your chest | A high angle shrinks your jaw and a low one widens it, and both get baked in permanently |
| Background | A plain wall, nothing bright or reflective behind you | Mirrors, posters, other faces in frame | Anything in the frame is a candidate for something the model tries to learn along with you |
| Expression | Neutral or a faint natural smile, eyes open and on the lens | A big held grin, or eyes half closed | A relaxed face gives the model your default proportions instead of a stretched, held version |
| Processing | Beauty mode, skin smoothing and filters all off | Portrait beautification, VSCO, Facetune | Smoothing deletes pore texture, and the output then renders as plastic no matter which pack you run |
What do you actually need for an AI photoshoot at home?
A phone, a window and a plain wall. That is the complete equipment list. No tripod, no ring light, no reflector, no camera and no second person, although a second person makes the rear-camera shot easier if one is available.
Shoot during daylight, roughly between mid-morning and mid-afternoon. Direct hard sun through a small window is the one daylight condition to avoid, because it carves a hard-edged shadow down one side of your face. If that is what you have, hang a thin white curtain or a sheet over the glass and it becomes soft light instantly.
North-facing windows are the quiet favourite, since they deliver even indirect light all day. An overcast day works just as well through any window, because the cloud layer is doing the diffusing for you. Sit closer to the glass on a dull day and step back on a bright one.
For the background, clear anything reflective or attention-grabbing from behind you. A mirror is the worst offender because it can put a second, half-formed face into the frame. A blank wall in an unremarkable colour is genuinely all you want here.
What should you wear for your AI photoshoot selfie?
Your selfie outfit barely matters, because the packs generate the wardrobe. The system dresses you in a suit for a headshot pack and beachwear for a summer pack regardless of the hoodie you were wearing when you took the input photo, so do not overthink this part.
What does matter is anything that touches your face. Skip hats with a brim that shadows your eyes, take off sunglasses, avoid a collar zipped up over your jaw, and pull long hair back off your cheeks. Every one of those hides a region the model needs in order to learn your face accurately.
Glasses are the one judgement call. If you wear them daily and want them in your photos, keep them on and make sure there is no window reflection across the lenses. If you would rather have the option of both, take them off for the input photo, since a face learned without frames is easier to render either way.
A plain solid top is the safe default. It keeps the frame clean and gives the model no busy pattern near your neck to get distracted by. Beyond that, spend your attention on the light and the distance instead of the outfit.
The six-step home photoshoot, start to finish
Step 1, set up the light. Find your window, check the light is soft rather than a hard beam, and stand so it reaches your face at about 45 degrees rather than dead on. Turn slowly and watch your shadow move on the wall. When one cheekbone has a soft shadow under it and both eyes are still lit, stop turning.
Step 2, kill the processing. Open your camera settings and switch off beauty mode, skin smoothing, portrait beautification and any filter that is on by default. Some phones enable this without telling you, so check rather than assume. Pore texture is what makes generated photos read as photographs instead of renders, and once it is gone it is gone.
Step 3, set up the rear camera. Prop the phone on a shelf, a windowsill or a stack of books at eye height, or hand it to someone. Step back so the lens is a few feet away, then use the timer or your volume button. This is the step that keeps perspective distortion out of the photo you upload.
Step 4, take the shot and pick one. Face the lens straight on at eye level, neutral expression or a faint smile, face fully visible. Take a handful of frames rather than one, then zoom in on each and keep the sharpest. Look at the eyes specifically, since eye sharpness is the single best proxy for whether the whole frame is in focus.
Step 5, upload and choose your packs. Open the generator, upload the one selfie, and pick what you need. A professional headshot pack plus one lifestyle pack from the same upload covers most people. Sport packs work slightly differently, since you choose the team and jersey before generating, and switching team re-renders the set.
Step 6, review the photos as they land. Each photo comes back in about 2 minutes, with no model training to wait through. Everything renders vertical by default, which is the shape feeds, Reels and TikTok want, at up to 4K with no watermark and no download gate.

Which packs should you run first?
Start with the pack that solves your most immediate problem. If your profile photo at work is five years old, run a professional headshot pack. If your dating profile has two photos in it, run a lifestyle pack. The first pack you run is the one that decides whether the whole exercise felt worth it.
Then run a second pack from the same upload. Your trained face carries across packs, so the second one costs you generation time rather than another selfie session. Most people pair a professional set with a summer or travel set, which covers the working profile and the social profile in one sitting.
Vary the lighting across packs rather than the outfit. Six professional headshots in identical light look like a contact sheet. A headshot set, a golden-hour beach set and a harder-lit gym set look like three different days of your life, which is what people read as real.
Each pack contains its own list of prompts, and you can preview every one before you generate. Skim that list first and skip the prompts that do not match how you actually dress or where you would plausibly be, because a photo of you somewhere implausible is the one people question.
How to review your AI photoshoot results
Download the set and review each frame at full size rather than in a thumbnail grid. Thumbnails hide exactly the defects that will get noticed later, and they flatter photos that fall apart the moment someone taps to enlarge them on a profile.
Check three things in order. Skin texture first: you want visible pores, not an airbrushed surface. Eyes second: both should carry a catchlight, and the two catchlights should sit in the same relative position. Lighting third: the light on your face should come from the same direction as the light in the background.
Then check the edges, which is where the misses cluster. Hands in complex positions, small jewelry, text on clothing and the exact structure of a specific garment can all come out slightly off. Discard those frames rather than trying to work around them, since you have plenty to choose from.
Pick three to six per use case and stop there. One clean headshot, one business-casual frame and one relaxed shot cover professional needs. One outdoor, one travel and one active shot cover social. If a frame does not have an obvious job, it is not doing one, so leave it out of your final set.
How much does an AI photoshoot at home cost?
It runs on a one-time credit purchase rather than a subscription, and current pricing sits on the pricing page. You pay once, you keep every photo you generate, and there is no recurring charge sitting on your card afterwards waiting to be cancelled.
The comparison worth making is not really about the number. A studio session bills a sitting fee, then retouching, then usage rights, and around that sits the booking lead time, the travel and an afternoon of your calendar. The at-home version costs you a window, a phone and a few minutes.
The economics improve after the first run, too. Your trained face stays linked to your account, so running a new pack in three months does not mean shooting a new selfie or paying a new session fee. A photographer charges the full rate every single time you rebook.
One honest caveat. Because it is inexpensive to re-run, it is tempting to generate far more than you need and then never choose. Decide upfront which two packs you want and which profiles you are updating, and finish the job in one sitting.
Can an AI photoshoot at home replace a photographer?
For profile photos, yes. A studio session locks you into one outfit, one location and one lighting setup for a couple of hours, and hands back a few dozen frames in a single style. A home shoot from one selfie hands back photos across professional, beach, travel, gym, luxury and nightlife styles from the same upload.
Iteration is the bigger difference. Booking a second session means a second fee and a second day off. Running a second pack takes minutes, which matters if you post regularly and need photos that do not all come from the same afternoon two years ago.
The honest limitation is fine detail. Hands in complex poses, the exact cut of a specific jacket, small jewelry and readable text can all come out slightly wrong, so you review at full size and drop the misses. If you need a print-resolution portrait of you in one exact outfit, a photographer still wins that narrow job.
Everything else, the profile photo, the team page, the resume shot, the dating grid, the social header, is a job a home shoot does well. For a broader walkthrough of the whole approach, how to make AI photos of yourself covers what happens after your first pack lands.
Frequently Asked Questions
- What is the best selfie to upload for an AI photoshoot?
- One frame in soft window light at about 45 degrees to your face, taken on the rear camera from a few feet away, with beauty mode and skin smoothing off. Eyes on the lens at eye level, face fully visible, no sunglasses and no hat brim across your eyes. Take several and keep the sharpest one.
- Why should I use the rear camera instead of the front one?
- An arm's-length front-camera shot puts the lens close enough that perspective enlarges your nose and narrows your ears. The model cannot separate that distortion from your actual face, so it learns it as part of you and carries it into every generated photo. Shooting on the rear camera from further back removes it before the render ever begins.
- How many photos do I need to upload for an AI photoshoot?
- One. You upload a single selfie, not eight or ten or fifteen, so the quality of that one frame is what decides your results. Spend two minutes getting the light and the camera distance right rather than uploading a rushed shot and hoping the generator compensates for it.
- How long does an AI photoshoot at home take?
- Taking the selfie takes a few minutes. After you upload, each photo comes back in about 2 minutes, with no model training to wait through. You can shoot, upload, generate and pick your final photos inside a single evening at home.
- Do I need lights or a tripod for an AI photoshoot at home?
- No. A phone, a window and a plain wall is the entire equipment list. If the sun is coming through hard and carving a sharp shadow down one side of your face, hang a thin white curtain or a sheet over the glass and it becomes soft light. A shelf or a stack of books replaces the tripod.
- Why do my AI photos look plastic or airbrushed?
- Almost always because beauty mode or skin smoothing was on when you took the input selfie. Smoothing removes pore texture, and the model then learns a face with no texture and renders every output that way. Turn off all camera beautification, reshoot in window light, and the plastic look goes with it.
- What should I wear for the input selfie?
- Anything that leaves your face fully visible, since the packs generate the final wardrobe anyway. Skip hats, sunglasses and high collars over your jawline, and pull long hair back off your cheeks. A plain solid top is the safest default because it keeps the frame clean around your neck and shoulders.
- Are AI photoshoot photos good enough for professional use?
- Yes, when the input selfie is clean and you review the output at full size. Look for visible skin texture, a catchlight in both eyes and light on your face that matches the direction of light in the background. Output runs up to 4K with no watermark, which covers profile photos, team pages, resumes and personal sites.