How do you put yourself at an NBA game with AI?
You put yourself at an NBA game with AI by picking your team first and letting the whole arena frame render around that choice from a single selfie. One upload, one team, about a minute of waiting, and you have a broadcast-style photo of yourself in the stands.
The scene is generated rather than assembled. Your face is rebuilt inside a new arena: hardwood glare on the floor, floodlights overhead, seats full of people who fall out of focus at the right rate for a long lens. None of it is your selfie with a background dropped in behind it.
The video is a second step, and it comes from the finished photo rather than from your selfie. That is the reason the face you approve is the face that survives to the end of the clip, instead of quietly turning into somebody else halfway through.
All of it runs in a browser on your phone. There is no prompt to write, no app to install and no editing to do afterwards, because what you download is already vertical and already graded to look like a television feed. If you open it from a link inside another app, switch to your normal browser first, since in-app browsers tend to block photo uploads.
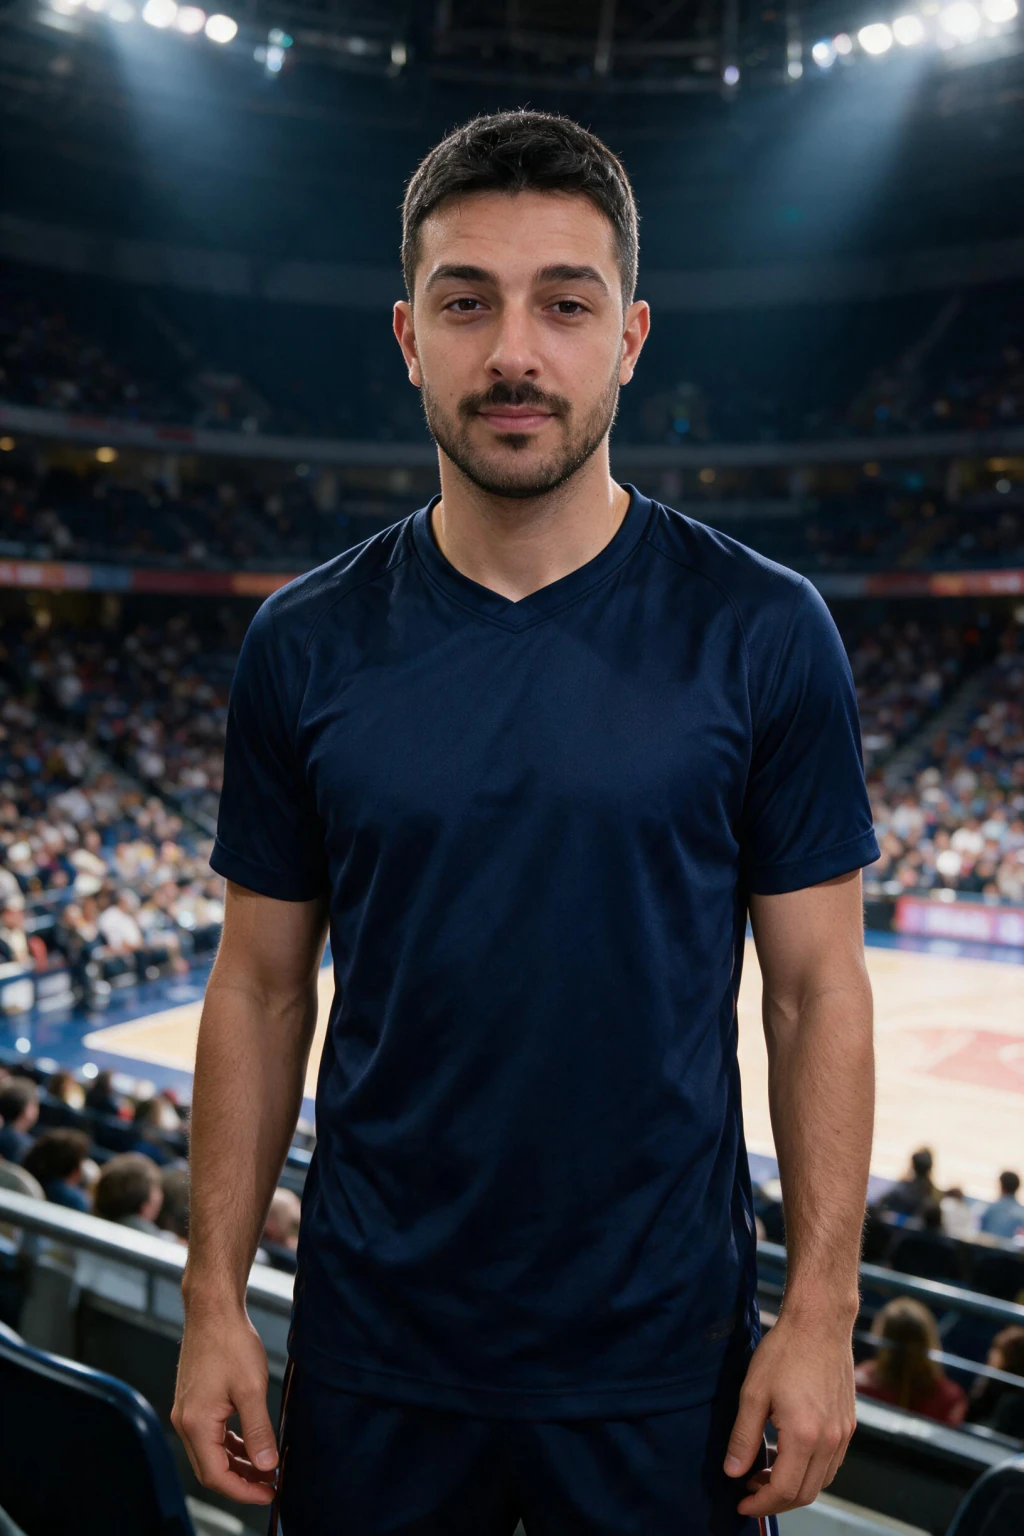
One phone selfie to 5 AI photos of the same person

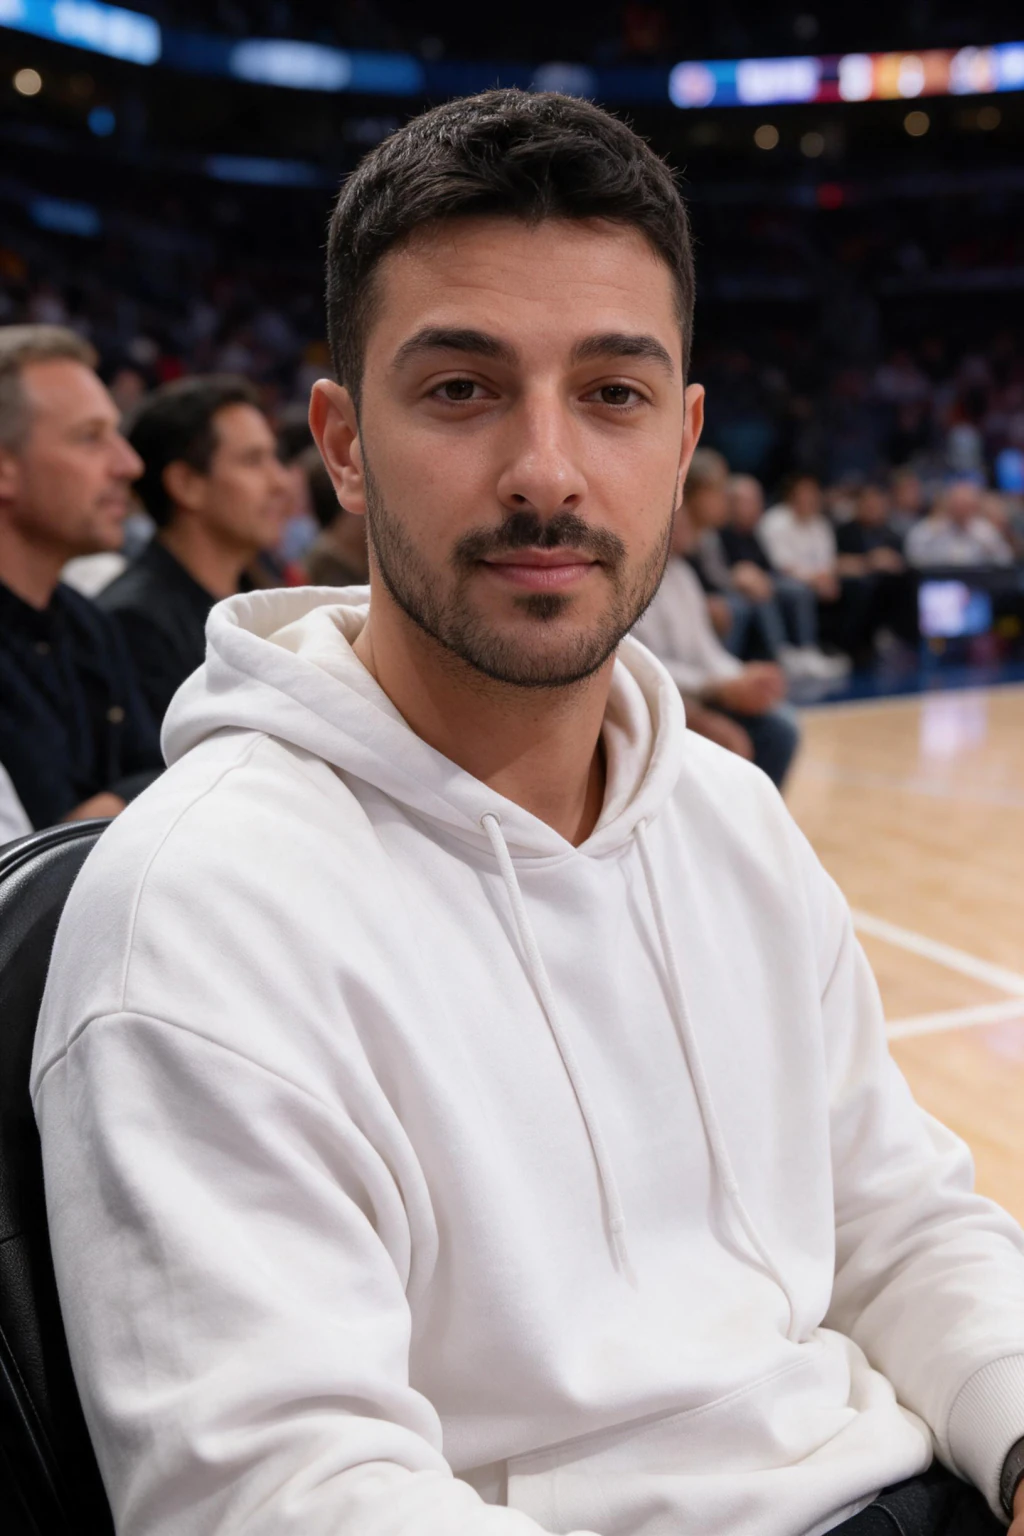
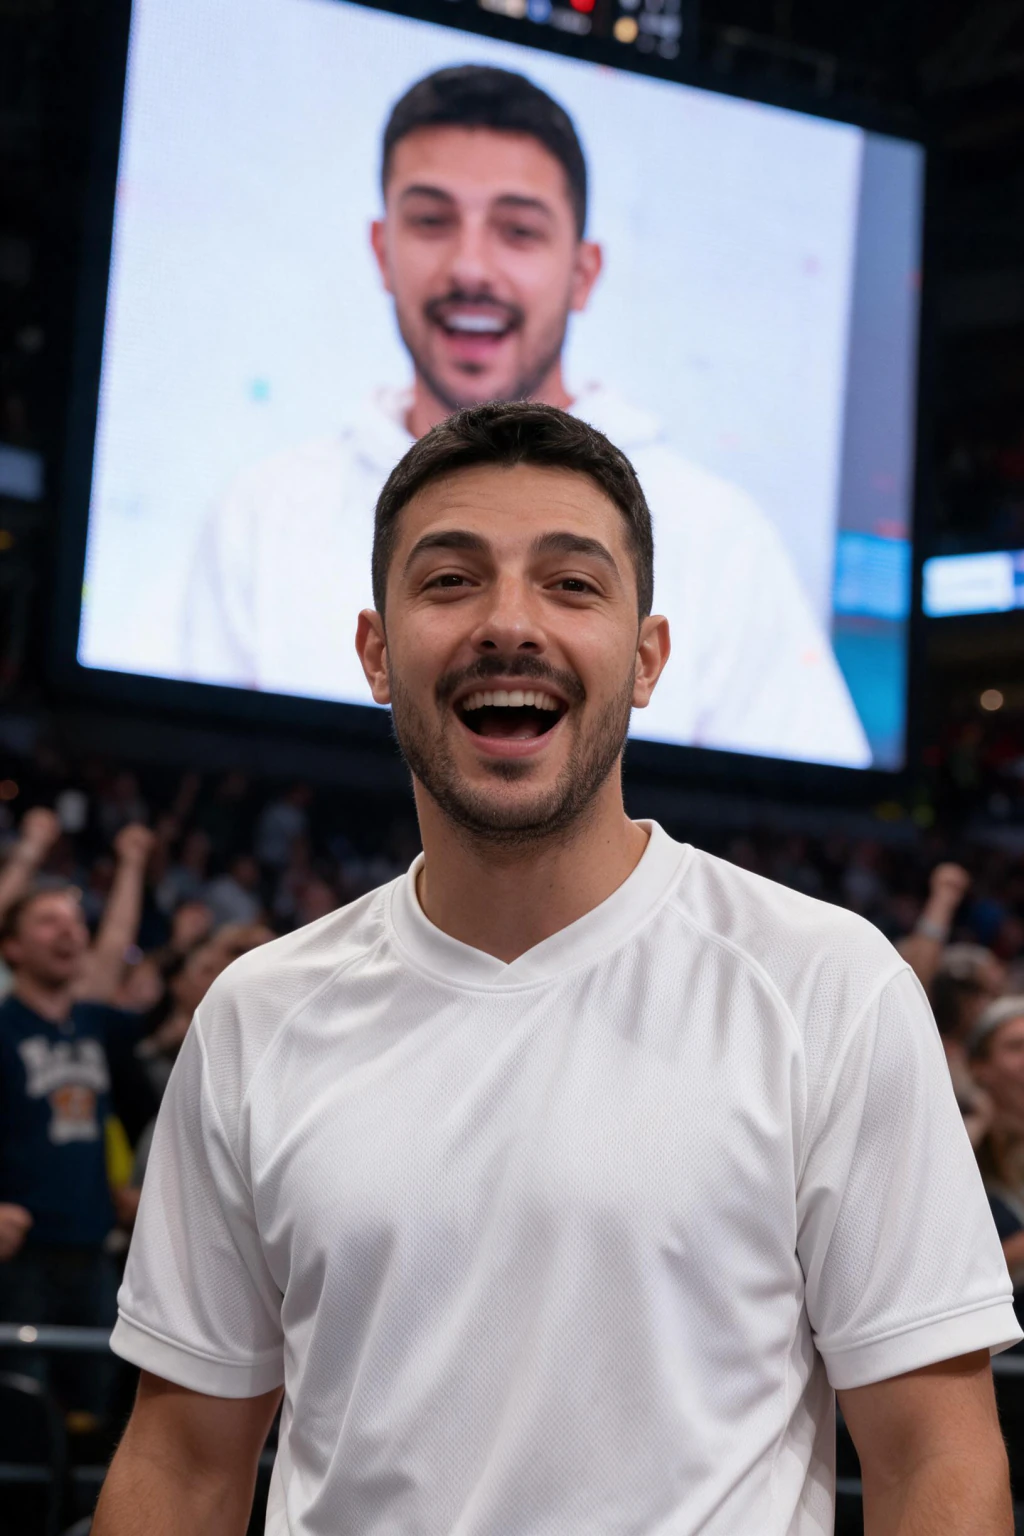
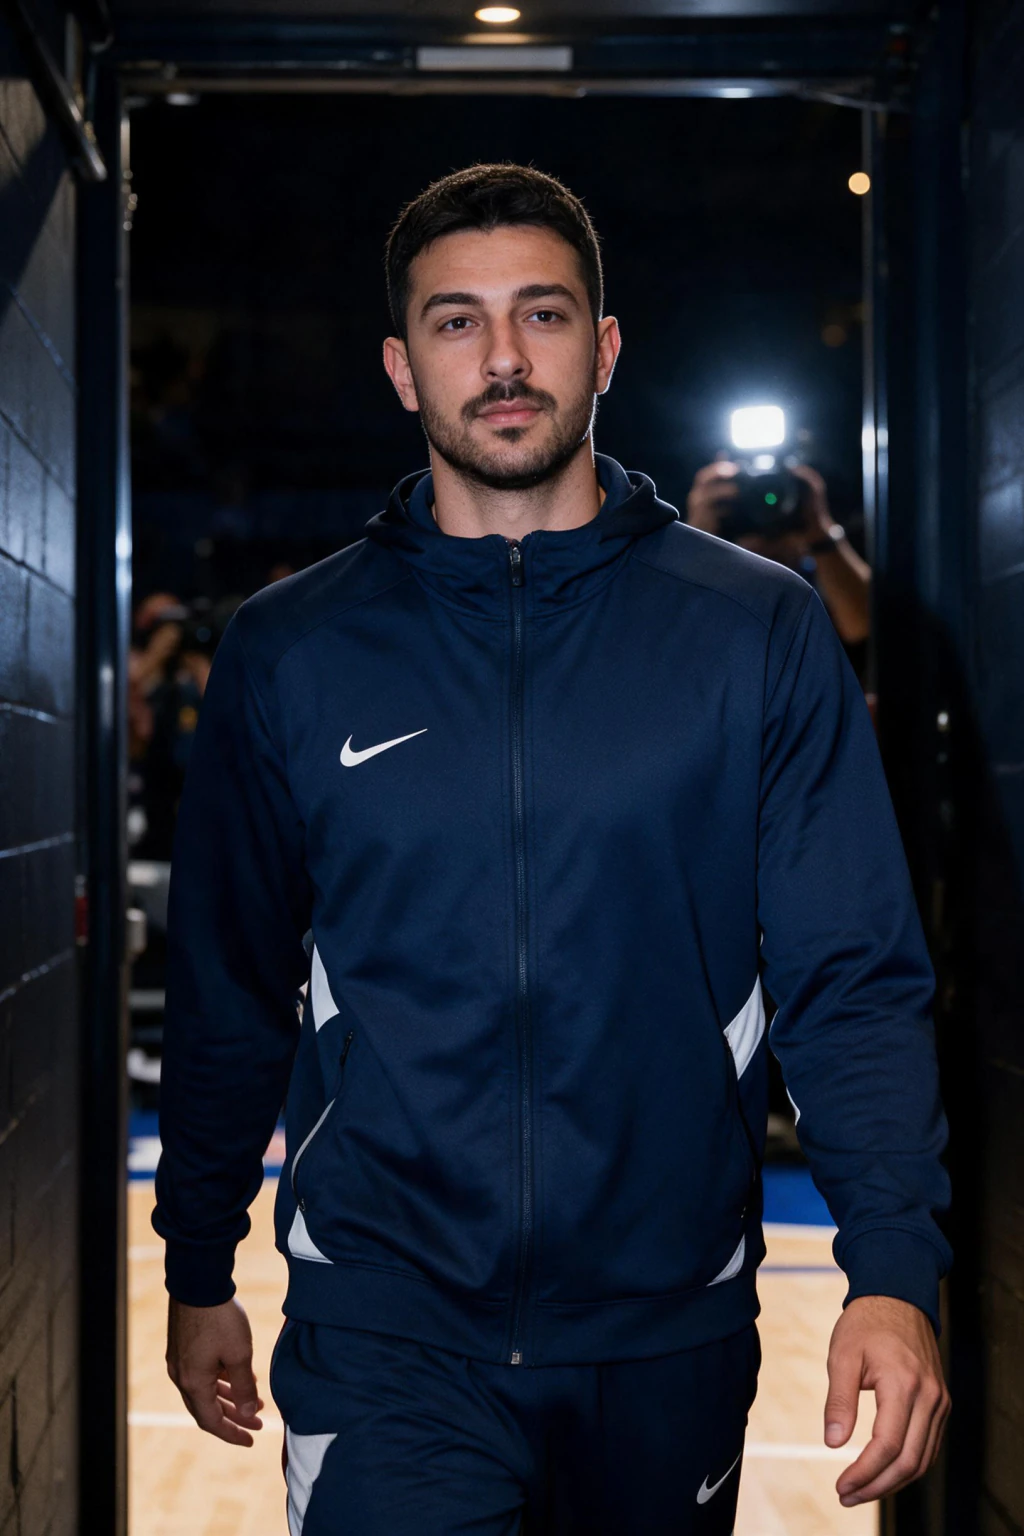
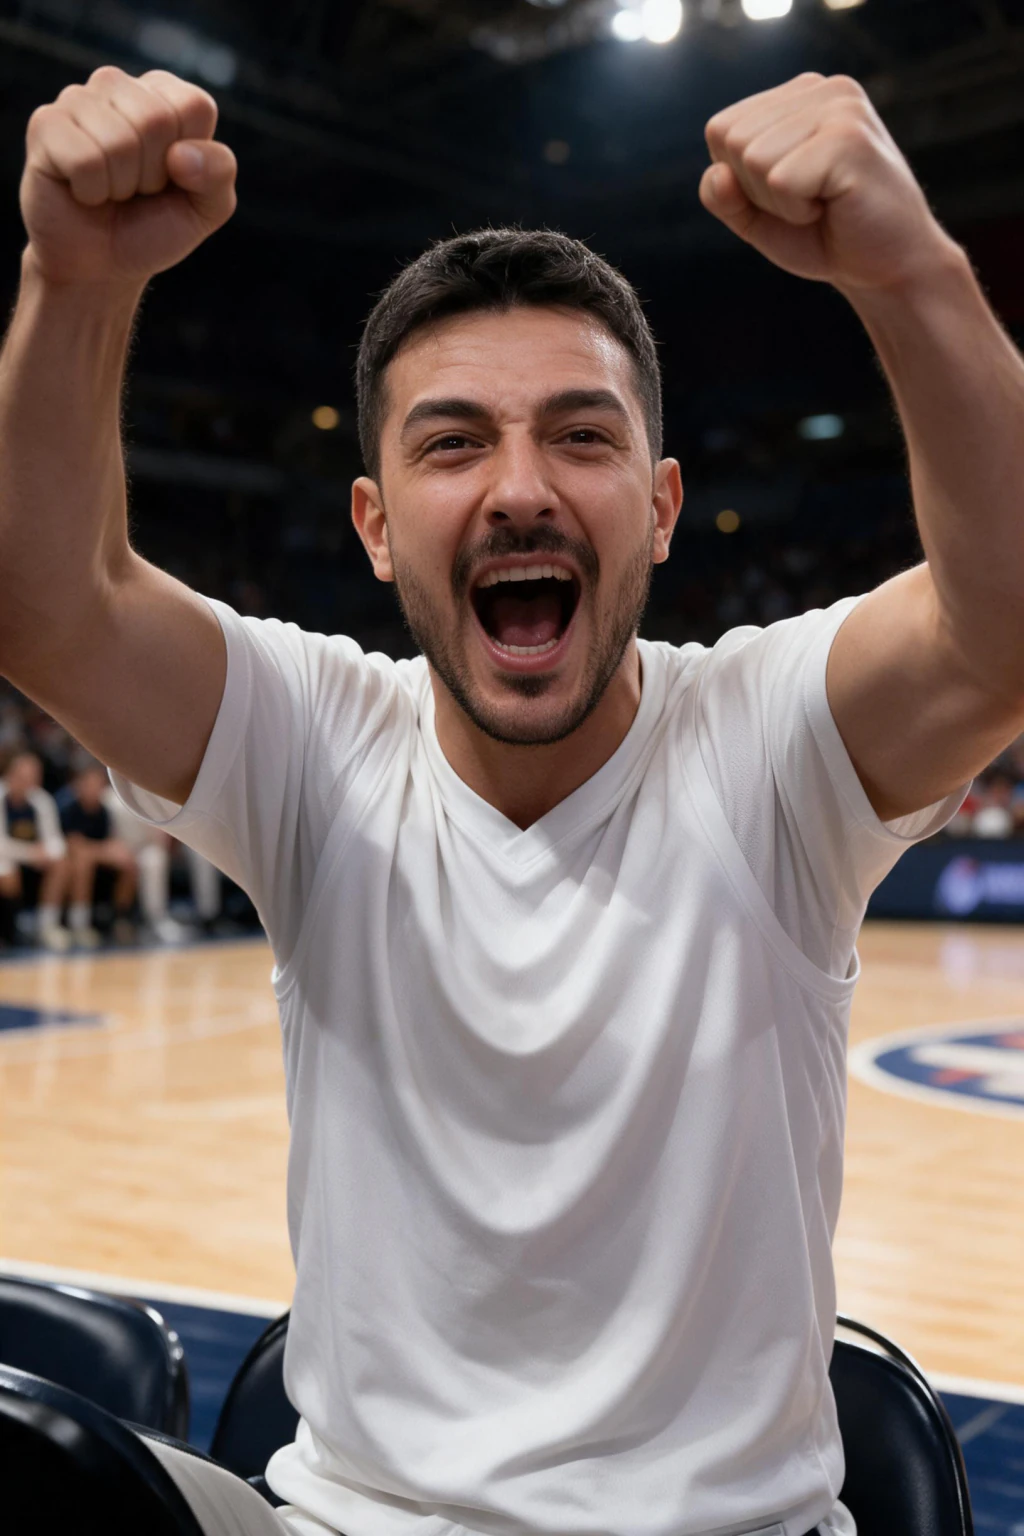
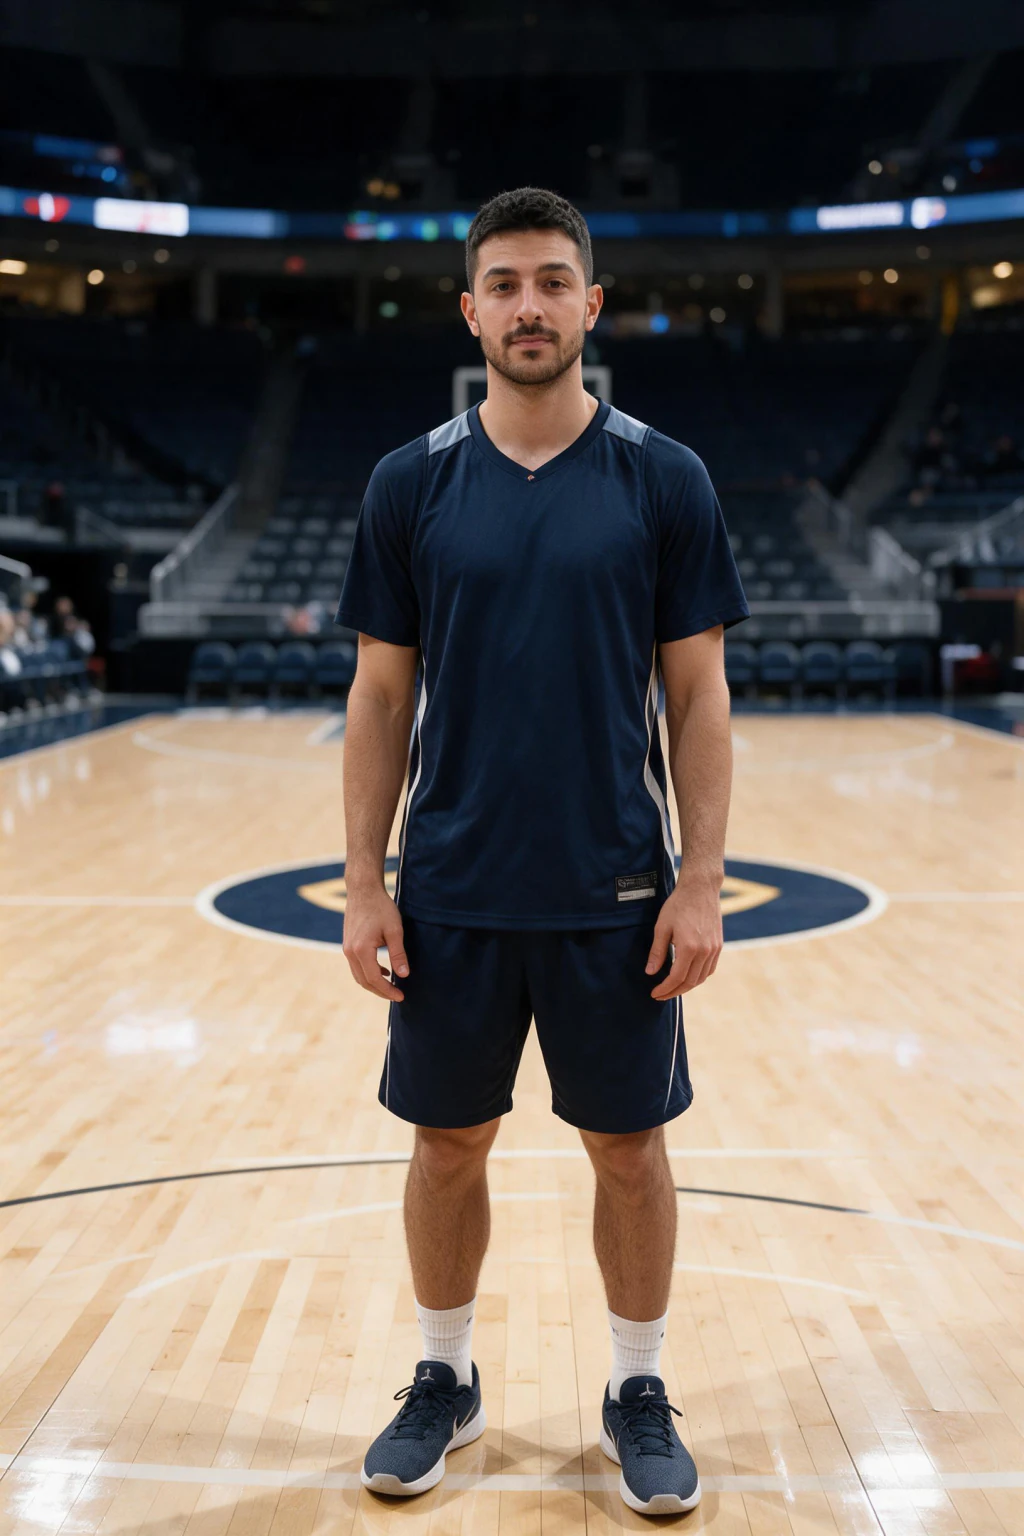
Why you pick the jersey before anything renders
Jersey selection happens before generation, not after, and that single ordering decision is what separates this from a colour filter. Your team is fed into the render as an instruction, so the AI is drawing a person in that kit rather than drawing a person and then tinting the shirt.
Look at what that buys you in the finished frame. The fabric creases the way that jersey creases, with the seams and the shoulder line falling where they should. The light coming off the court and the stands carries a trace of the same colour onto your jaw and your collarbone. The people in the rows behind you are wearing a palette that belongs to the same night.
A recolour cannot produce any of that. It can change a shirt from blue to red, but the light bouncing onto your face stays the colour it was, so your skin tone and your kit disagree in a way viewers notice long before they can explain it. That mismatch is the tell that makes a fan photo look stuck together.
The practical consequence is simple. Changing your mind about the team means a fresh render, not a slider, so decide before you tap create. It costs you another minute if you switch, and in exchange two teams from the same selfie come out looking like two separate photographs taken on two separate nights.
Which arena look should you pick?
The team sets the colour, and the seat you choose sets everything else about the frame: how much of the court you can see, how tight the camera is on you, and how much of the crowd reads as a wall of colour behind your head. Pick the look before you pick the caption.
The table below covers the combinations that hold up best in a vertical feed. None of them depend on a specific club, so read the colour column as a direction rather than a licence, and use whatever kit you would genuinely wear to a game. The seat you choose changes the shot far more than most people expect it to.
| Look | Colour direction | Where you are sitting | Reads best as |
|---|---|---|---|
| Front row | Deep team colour, warm bounce off the hardwood | Beside the floor, court in the background | A flex photo or a profile picture |
| Lower bowl crowd cam | Team colour repeated through the rows around you | Ten or twelve rows up, camera on a long lens | A broadcast cutaway on game night |
| Upper bowl wide | Cooler light, colour spread across the whole tier | High in the stand with the bowl behind you | A scale shot that proves the size of the room |
| Tunnel walk | Dark surround, one strong colour on the kit | Corridor light before you reach the seats | An arrival clip with movement in it |
| Arena concourse | Mixed warm interior light, kit still the anchor | Behind the stand, crowd flowing past | A candid moment rather than a posed one |
| Big screen cut | High contrast, colour pushed for the screen | Anywhere in the bowl, framed as the screen feed | A reaction post with a short caption |
Five steps from one selfie to a courtside clip
The whole run takes about two minutes on a phone. Two of these five steps are judgement calls rather than taps, and they are the two that decide whether you post the result or bury it. Give each of them half a minute and the rest happens on its own.
Step 1, choose the selfie carefully. Find one sharp, front-facing, head-and-shoulders photo in even daylight, ideally shot on the rear camera rather than at arm's length. Wide front lenses stretch the nose and shrink the ears at close range, and the render treats that distortion as your actual face.
Step 2, pick your team before you tap anything else. Lakers, Warriors, Celtics, Knicks, Heat and Bulls are one tap, and you can type any other team instead. Everything downstream is built from this choice, so a change here later is a new render rather than an edit.
Step 3, generate the arena photo and give it a minute. The AI builds the seats, the floodlights, the hardwood and the kit around your face in one pass, then grades the whole thing with the compressed telephoto look a courtside camera gives you. Nothing here is a background swap, which is why the result survives a full-screen look.
Step 4, judge the still at full size before you go further. Eyes first, then jaw, then hairline. If those three read as you, the clip will too, because it is generated from this exact image. If they do not, change the selfie rather than the settings and run it again.
Step 5, create the short clip. Head motion, crowd movement, a slow camera drift and arena audio are layered onto the frame you approved. Save the vertical file and post it while the game is still being talked about, since a fan cam ages faster than almost anything else you can make.
Six arena frames built from the same face
One selfie can carry a whole set of looks, because the seat, the kit and the light are decided per render rather than baked into your upload. Run the frame you want most first, then try a second one if the likeness came out strong.
The tiles below show the range: a courtside seat, a wider view from inside the bowl, a strong team-colour look, a crowd cam pick-out, and two frames closer to the tunnel and concourse end of a game night. Use them to decide what you are aiming at before you spend a render finding out.
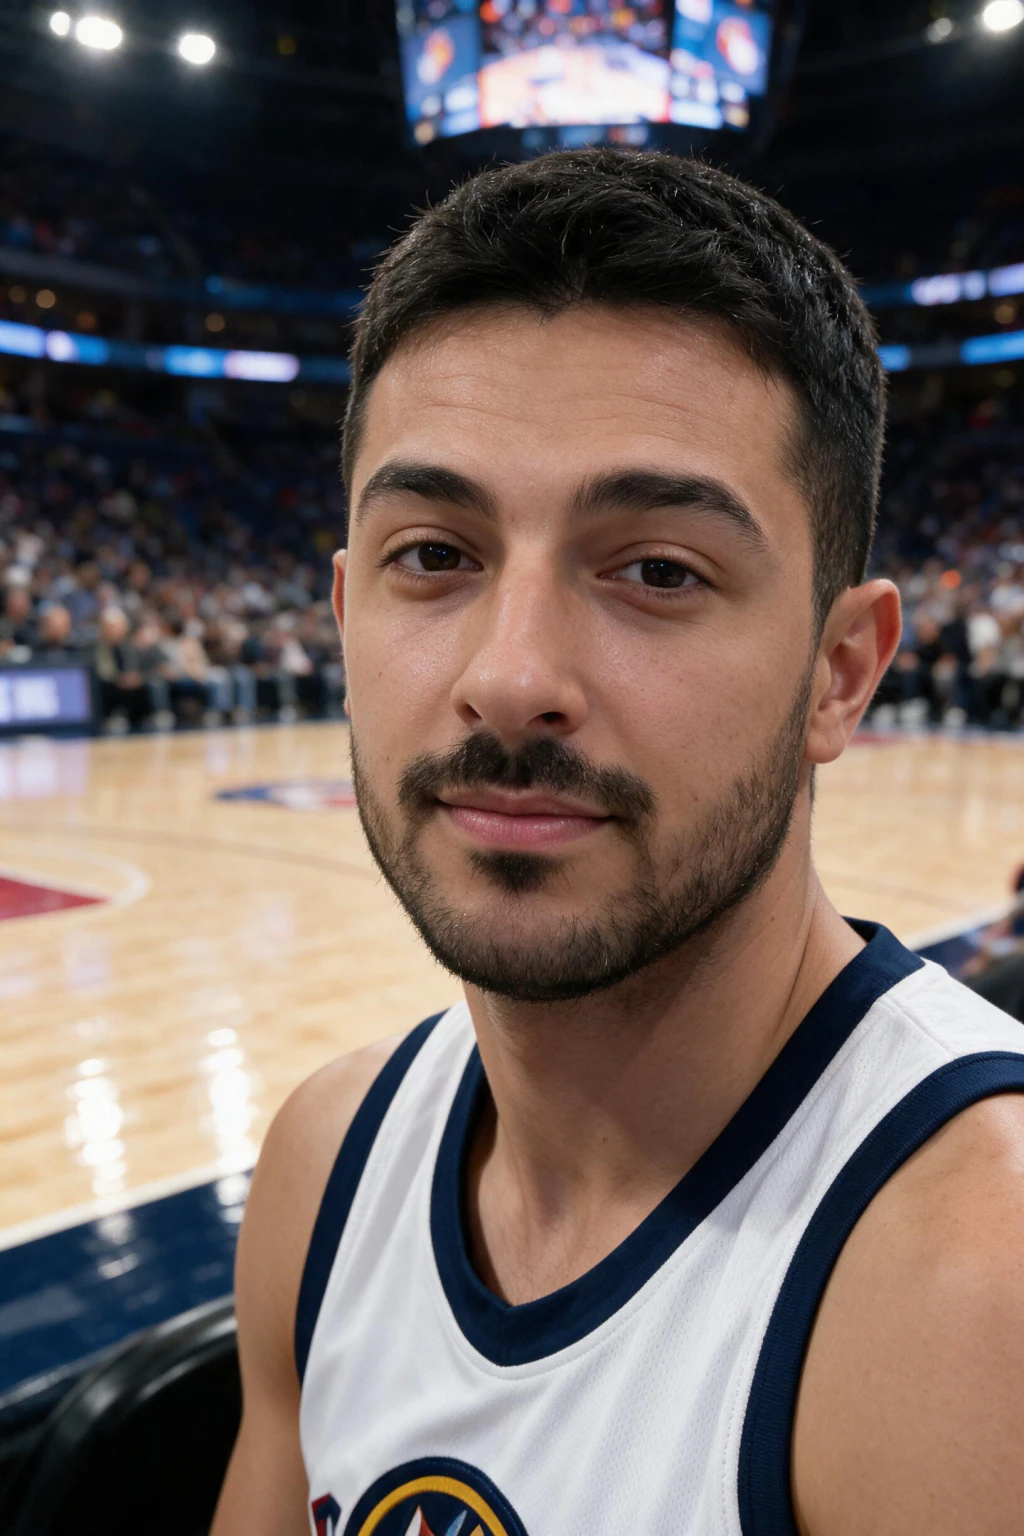
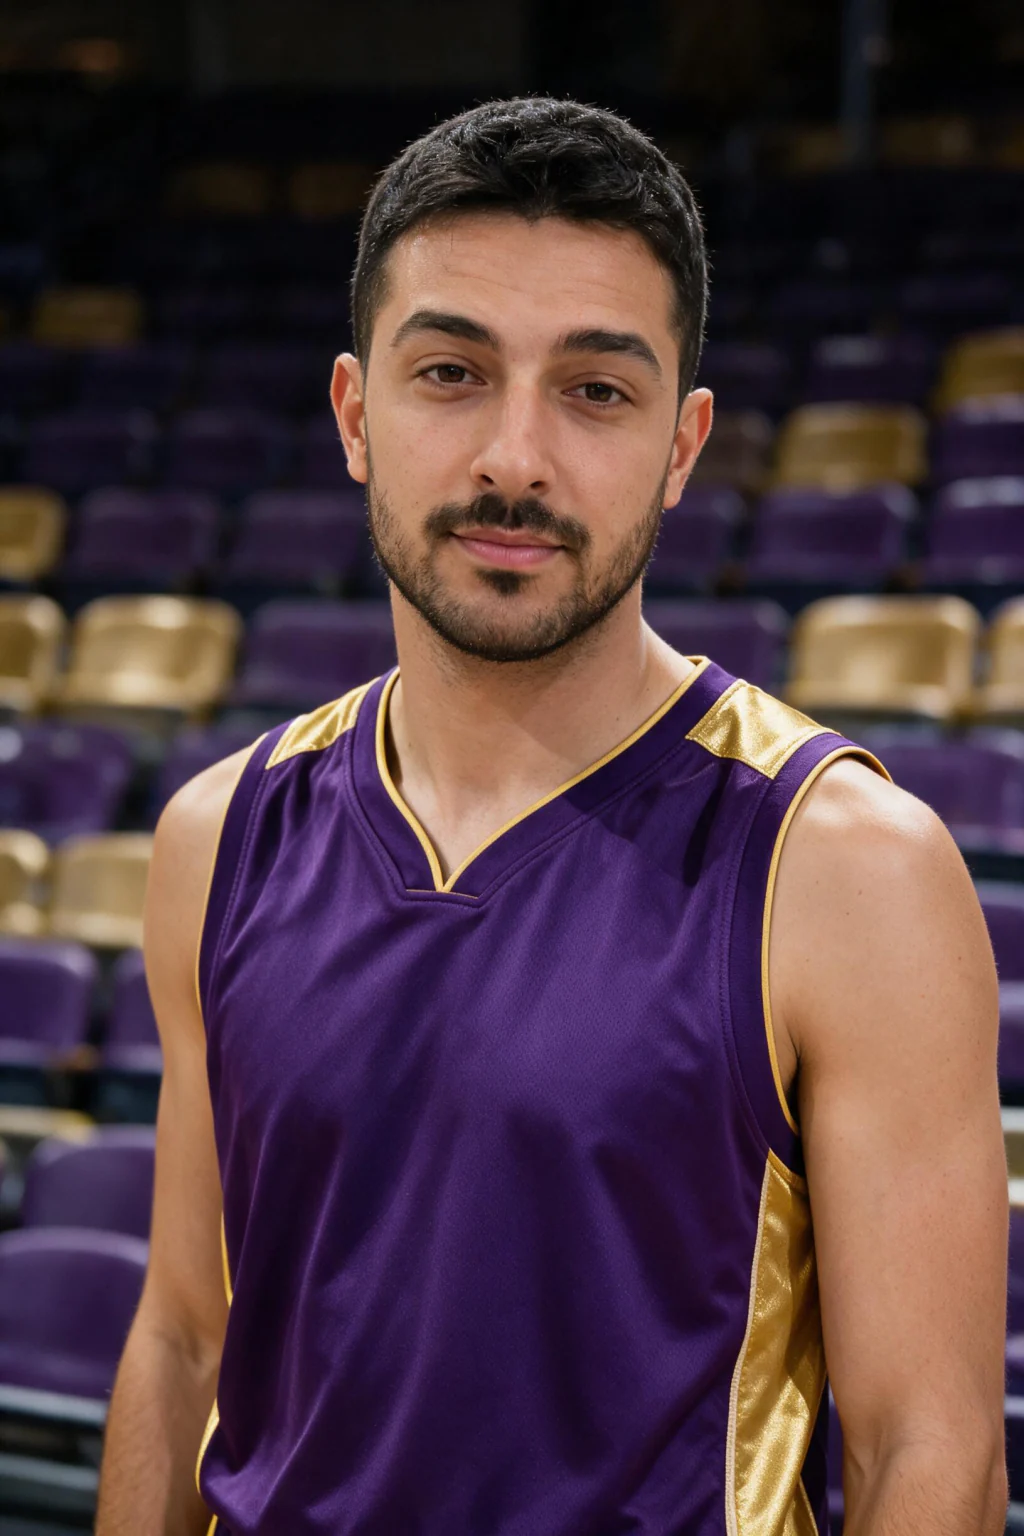
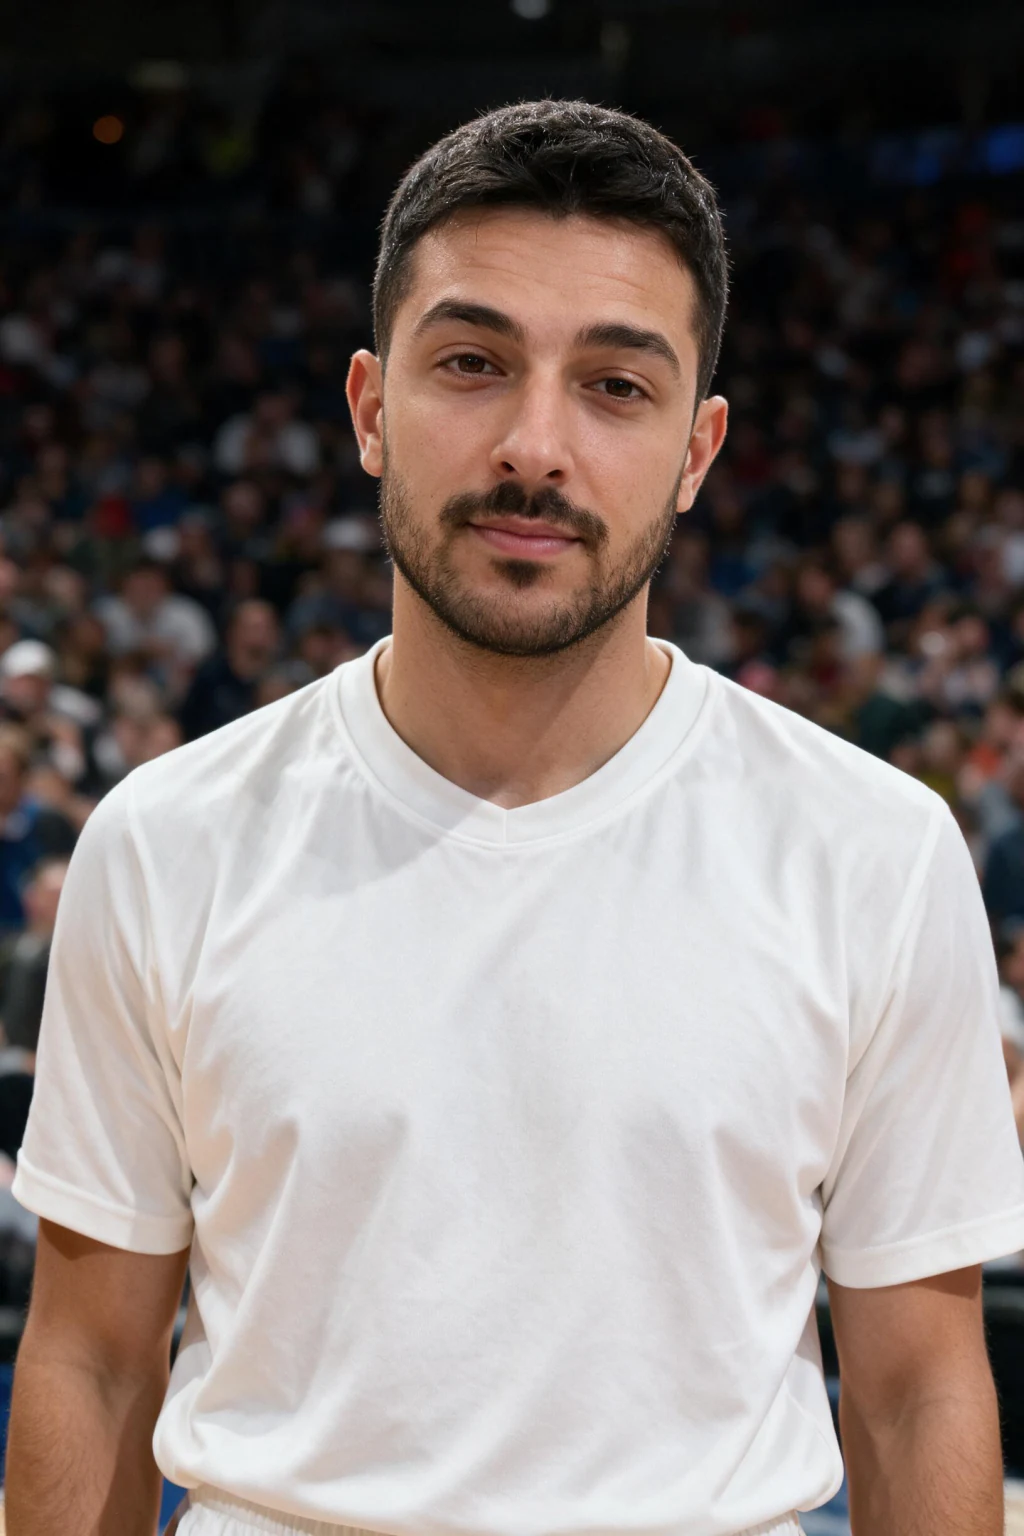
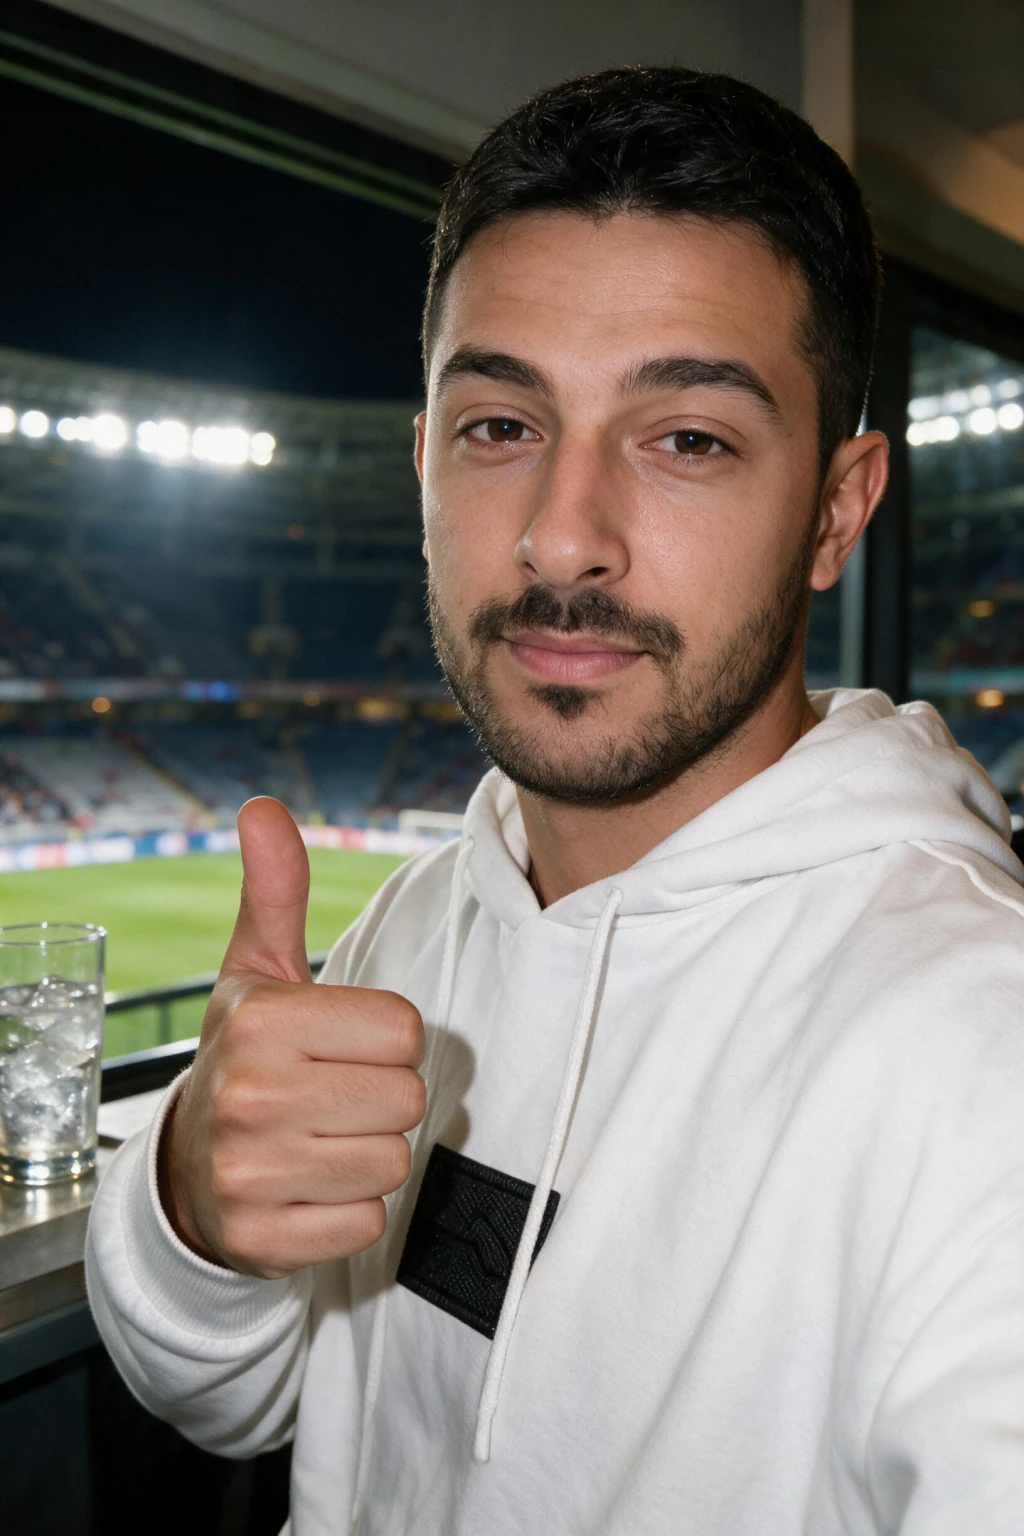

Decide the seat and the kit first, then render the one you would actually post.
What kind of selfie gives you the strongest likeness?
Your input photo does more for the result than any other choice, including the team. Soft window light at roughly 45 degrees gives the model clean shadow along your nose and jaw, which is what it needs to rebuild the same head under arena floodlights coming from a completely different direction.
Turn beauty mode and skin smoothing off before you shoot. Those filters strip out pores, stubble and fine lines, and the render then has to invent skin texture from nothing. Invented texture is precisely what makes a viewer feel that a photo is wrong without being able to point at the reason.
Keep your whole face visible. Sunglasses remove your most recognisable feature, a cap brim adds a hard shadow across the eyes, and a three-quarter angle gives the model less to work with than a straight-on shot. A group photo is the weakest input of all, because your face occupies too few pixels to rebuild.
Courtside seat or the big screen: which one should you make?
The courtside frame looks like a camera operator found you in the expensive seats. Telephoto compression, hardwood glare, a blurred shoulder crossing the foreground. It is the version that works as a still, and it holds up as a profile picture long after the game it references has been forgotten.
The big screen version recreates being caught by the arena display mid-cheer, and it reads as more candid for the obvious reason that nobody poses for it. It suits a reaction caption and a short clip more than it suits a static post, since the whole joke is the surprise of being on the screen.
If you are only making one, take the courtside frame for something you will keep and the screen frame for something you will post today. Both start from the same selfie and the same team choice, so the second one costs you a render rather than a new upload. The step-by-step for the trend itself is in how to do the NBA courtside trend.
How to post an AI arena photo without misleading anyone
It is your own likeness in a scene that never existed, which is a fan post rather than a claim. Say it is AI-made in the caption and the whole question disappears. The people who enjoy these clips enjoy them because they know what they are looking at.
Keep real players, recognisable courtside celebrities and broadcaster graphics out of your frame. A generic seatmate and an anonymous crowd keep the picture clean, and they keep you clear of publishing somebody else's likeness in a photo you did not have permission to build. It also happens to look better, since an invented star pulls the eye straight off you.
Do not caption it as evidence that you were at a game you did not attend, especially if you are tagging a date or a venue. That is the one line that turns a fan trend into a lie, and it is also the fastest way to get the comment section arguing about the wrong thing.
What it costs and what you keep
The generator runs on credits with no subscription, and the arena photo and the short clip are charged separately. That split is why the check-the-still step matters: you never spend anything animating a face you were not happy with. Current credit packs are listed on the pricing page.
Whatever you generate stays yours. Both files download at full quality with no watermark across the corner and no gate on the download button, so the version sitting in your camera roll is the version you can post anywhere, at any size, for as long as you want it. Nothing expires and nothing needs buying twice.
If you want the flow itself rather than the theory, the AI NBA courtside photo generator is where the upload, the look picker and the video button live. One selfie is enough to start, and the first render tells you quickly whether your input photo was the right one.
Frequently Asked Questions
- How do you put yourself at an NBA game with AI?
- Upload one clear front-facing selfie, pick your team before you generate, and the AI renders an arena photo with you in the stands in that kit. Then turn the photo into a short clip with crowd audio. Each step takes about a minute in a browser.
- Why does the team get picked before the photo is generated?
- Because the kit is an input to the render rather than a coat of paint applied at the end. Picking first means the jersey folds, the light bouncing onto your face and the colours in the crowd behind you are all produced together, so they agree instead of looking layered on top of each other.
- What happens if I change my mind about the team?
- You get a fresh render, not a recolour. Switching teams rebuilds the whole frame, which costs you another minute but gives you a genuinely different photograph rather than the same one with the colours swapped. Decide before you tap create and you will usually only need one render.
- Is the AI NBA photo a real photo or a filter?
- It is generated, not filtered. The arena, the crowd, the kit and the light on your face are built in the same pass, which is why the angle and the lighting match. A filter can only sit on top of a photo you already took, so the light on you never fits the room behind you.
- What NBA teams can I choose?
- Any team. Lakers, Warriors, Celtics, Knicks, Heat and Bulls are one tap on the generator, and you can type any other team to set your kit and the arena colours. The choice is made before generating, so it shapes the whole frame rather than just the shirt.
- Why does the photo not look like me?
- Almost always the input selfie. Heavy beauty filters, sunglasses, a side angle, a cap brim across the eyes or a dim room all cost the model the face detail it needs. Shoot one front-facing photo in soft daylight with smoothing switched off and run it again.
- Can I make a video, not just a photo?
- Yes. Generate the arena photo first, then tap create video. The clip is built from that finished still, so the face you approved is the face that holds through the whole thing, with head motion, crowd movement, a slow camera drift and arena audio added on top.
- Can I post an AI NBA game photo without breaking any rules?
- Yes. It is your own likeness in a generated scene, which platforms allow. Label it as AI-made, keep real players and broadcaster logos out of the frame, and do not caption it as proof you attended a game. Posted that way it reads as a fan trend rather than a deception.