What Are the Best Poses for a Witch Costume Photo?
A witch costume photo comes down to five details every time: what your hands do, where your feet land, the tilt of your chin, where your eyes point, and the light hitting your face. Six poses cover most of what a witch costume photo needs, and each one only reads correctly if those five details line up.
Stock libraries and Pinterest boards show the finished frame and stop there. None of them say how to stand. Here is what to do with your hands, feet, chin and gaze in each pose, plus the light and setting that make it read as a real photo instead of a costume snapshot.
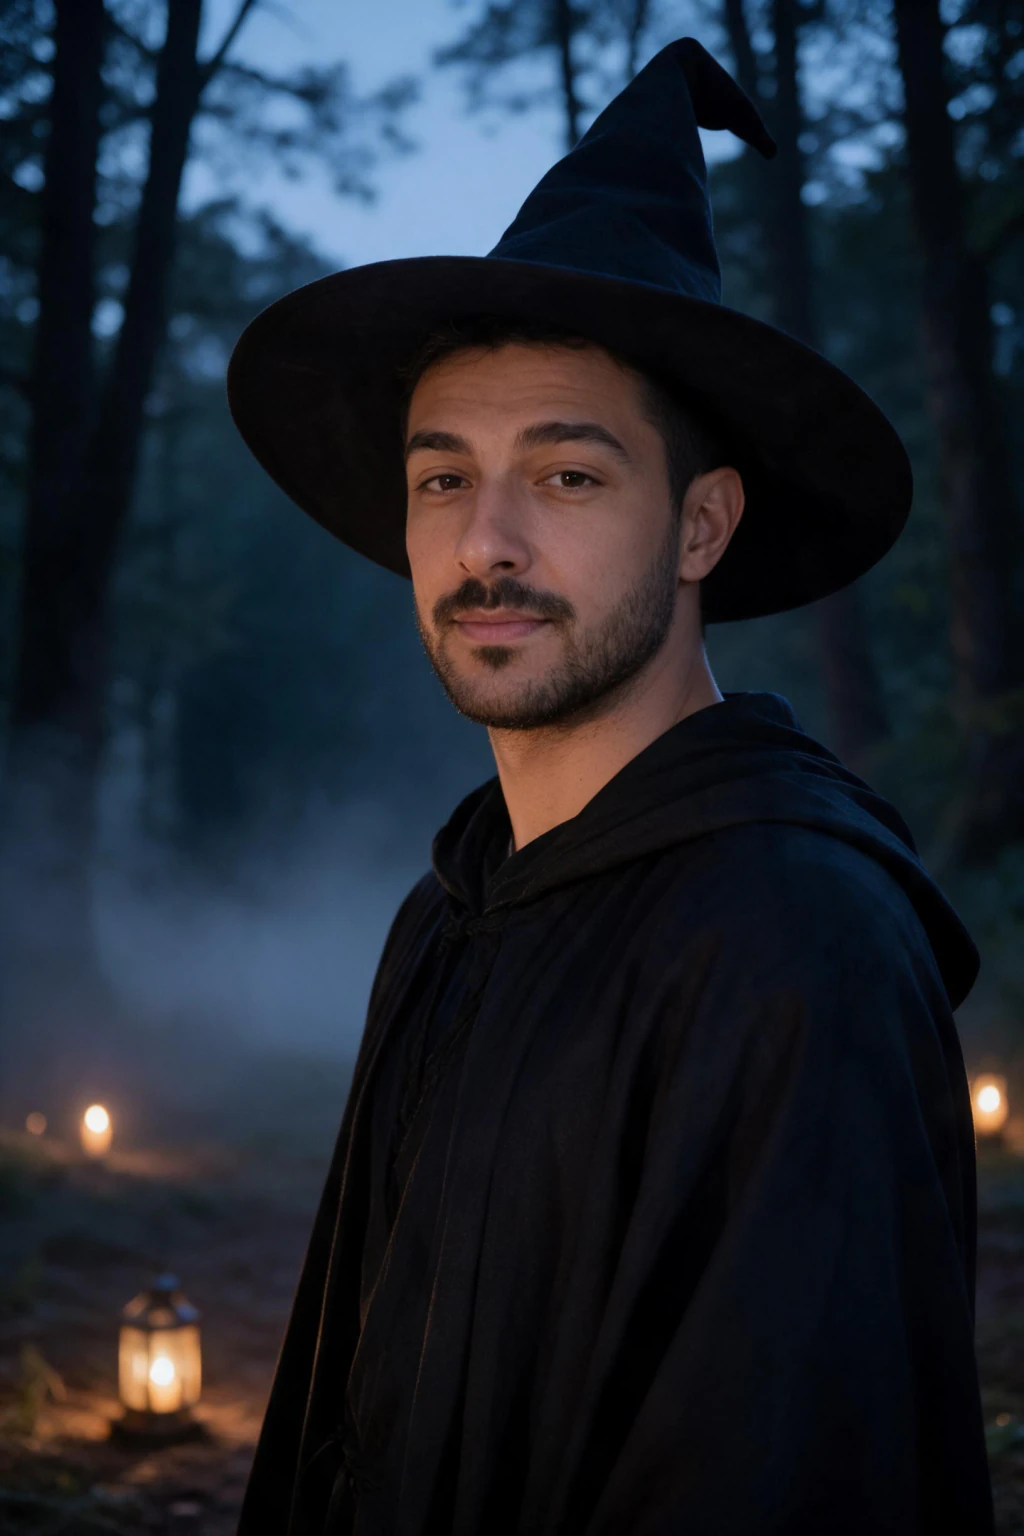
1. The Lantern-Lit Portrait. Hands relaxed at your sides, one resting near the fold of the robe. Feet shoulder width, weight on the back foot, body turned three-quarters to the camera. Chin level, maybe a hair down. Gaze steady into the lens. Light: warm lantern glow on the face, cool moonlight and mist behind you. Setting: standing among the candle lanterns on the ground in the clearing. This is the pose generated for the witch look on MakeAiPhotos, so you can see the finished result before staging it yourself.
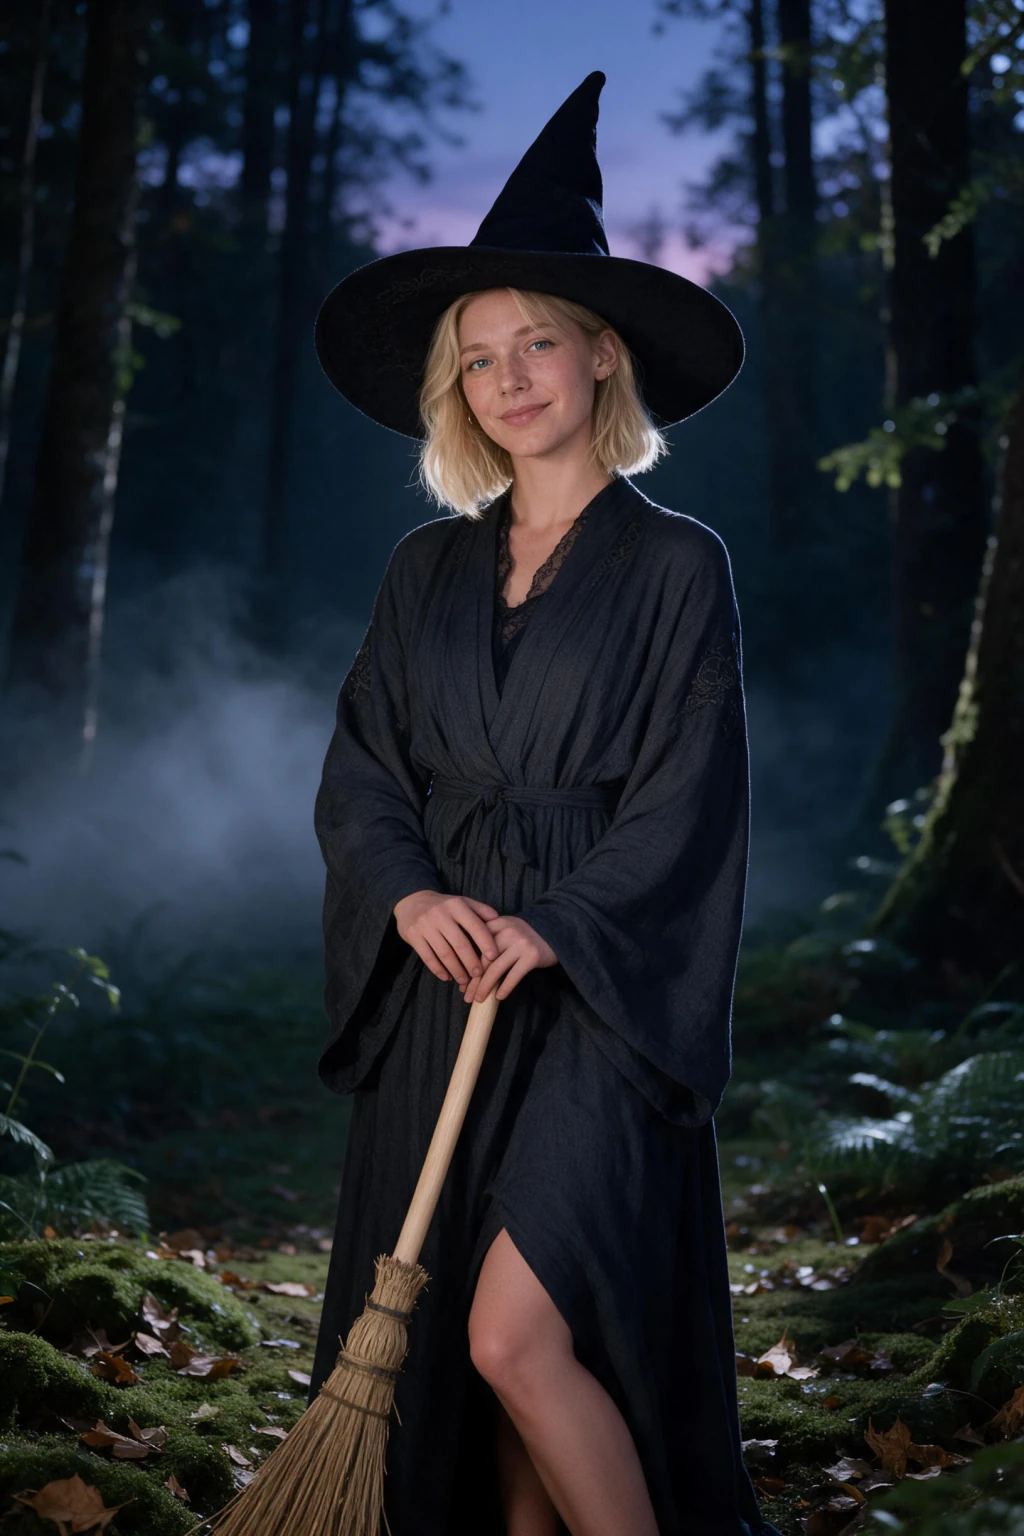
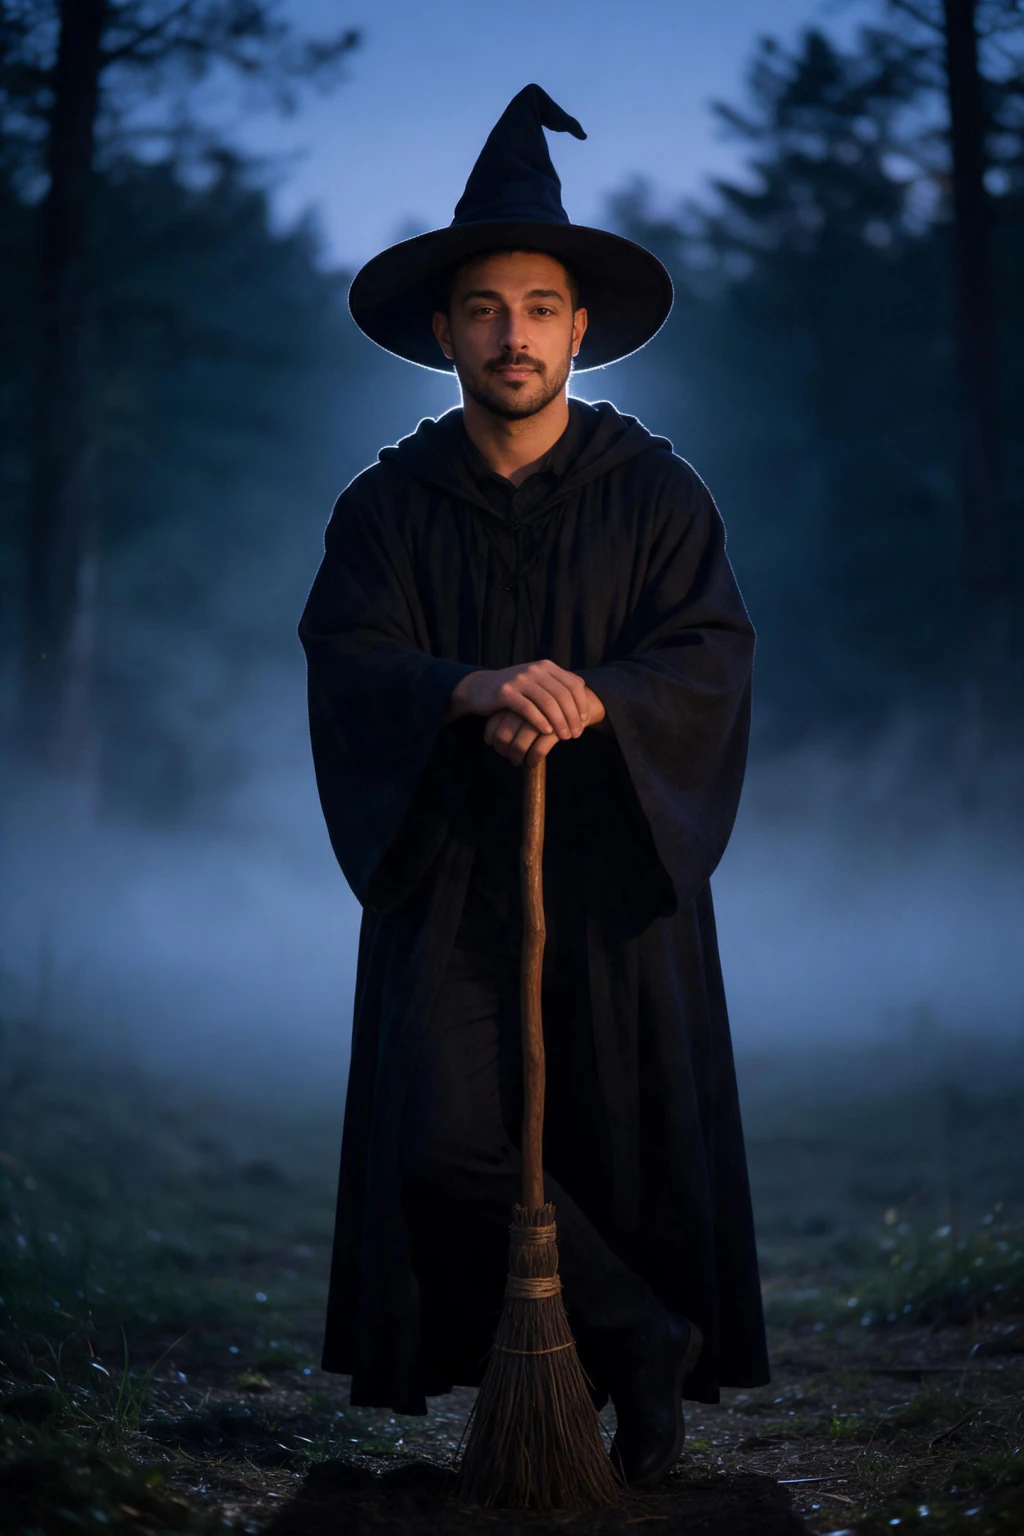
2. The Broom Lean. Hands both resting flat on top of a broom handle planted upright in front of you. Feet crossed at the ankle, weight shifted onto one hip. Chin slightly up, unbothered. Gaze off to the side, past the camera, not posed-looking. Light: a cool moonlight rim behind you, lantern glow catching one side of the face. Setting: the edge of the clearing, broom planted in the leaf litter. This is the second MakeAiPhotos witch pose, generated the same way from one selfie.
3. The Hat Tip. Hand at the brim of the hat, fingertips only, not a full grip. Feet with weight on the front foot, a slight forward lean. Chin tilted down. Gaze up, under the brim, toward the camera. Light: one warm source below or beside the face, a candle or a lantern held low, so the shadow falls under the brim instead of across the eyes. Setting: a candlelit study, or outdoors with a lantern set at waist height. This one is for your own shoot. Grip the brim lightly. Too tight and the hat photographs like it is being held on in the wind, not adjusted.
4. The Cauldron Stir. One hand extended holding a long spoon or stick over a pot or bowl, the other resting on your hip or the pot's edge. Feet staggered, one slightly forward, knees soft. Chin down, focused on the pot. Gaze down at the pot, never at the camera. This is the one pose on this list where looking at the lens breaks it. Light: from the pot itself, low and warm, a lantern set inside or beside it. Setting: a low table or flat stone holding the pot.
5. The Spellcasting Reach. One arm extended, fingers spread and relaxed, the other hand held close to the chest. Feet with the back foot planted and the front foot stepping into the reach. Chin up and out toward the reaching hand. Gaze fixed on the hand or past it into the dark. Light: a rim light from behind so your outline reads against the mist. Setting: open space with room behind you for the moonlight and fog. This is the hardest pose on the list. Keep the fingers loose, stiff camera-aware fingers read as a peace sign, not a spell.
6. The Over-the-Shoulder Glance. Hands loose, or holding a fold of the robe. Feet and body turned away from the camera. Chin turned back over the shoulder. Gaze back toward the lens, slightly narrowed. Light: on the visible side of the face only, the far side left in shadow. Setting: walking into the clearing, caught glancing back. Turn only the head and shoulders, twisting the whole body reads as caught, not posed.
| Pose | What it says | The mistake that kills it |
|---|---|---|
| Lantern-Lit Portrait | Quiet confidence, in on the character | A flat gaze with no chin tilt reads like a school photo, not a witch |
| Broom Lean | Grounded, patient, comfortable in the costume | A white-knuckle grip or a rigid stance reads stiff instead of at ease |
| Hat Tip | A little mystery, a little coy | Pulling the brim too low hides the eyes and the photo loses its subject |
| Cauldron Stir | Caught mid-spell, storytelling over posing | Looking at the camera instead of the pot breaks the illusion instantly |
| Spellcasting Reach | Drama and power | Stiff, camera-aware fingers read like a peace sign, not a spell |
| Over-the-Shoulder Glance | Intrigue, caught mid-step | Twisting the whole body instead of just the head and shoulders looks like you got caught, not posed |
Why Does Light Matter More Than the Pose Does?
Light decides whether a witch costume photo looks staged or real more than the pose itself does. A single flat light, like a camera flash or an overhead bulb, erases the depth a witch scene depends on and flattens even a well-executed pose into a snapshot.
The fix is two light sources at two temperatures: one warm and close, a lantern, a candle, or a phone flashlight behind orange gel, aimed at the face, and one cool and far, moonlight, blue hour sky, or a cool bulb behind you for a rim or a misty background. The warm light should hit only the face and hands. Everything the warm light misses should read cool.
This is the exact mix the MakeAiPhotos witch look is built around: cool moonlight through a misty forest clearing, with warm lantern and candle light on the face. It is also the hardest part of a witch costume photo to get right with a phone and a friend holding a flashlight, which is why the pose alone rarely saves a flatly lit shot.
How Do You Dress Up a Witch Costume for Photos?
Layer one long, dark piece over a shorter one so the outfit reads as dressed rather than thrown on: a floor-length robe or cloak over a dress, or a long coat over layered black separates. One dominant silhouette photographs better than several competing pieces.
Add texture at the hands and neck: gloves, a few rings, or a simple pendant. A wide-brim or pointed hat anchors the silhouette from a distance, and boots read better than sneakers if the frame shows your feet. Skip anything glossy or plastic-looking near the face, it catches flash and reads cheap in a still photo even when it looks fine in person.
How Do You Dress Like a Modern Witch?
A modern witch photo trades the pointed hat for a wide brim or none at all, and builds the look around tailoring instead of a costume shape: a long dark coat, a structured blazer over black, or a slip dress under a duster. The silhouette should look like it belongs on a street, not a stage.
Keep one traditional detail so the reference still reads without a hat doing all the work: a single lantern, a ring, dark nail polish, or a pendant. Muted, matte makeup photographs better under mixed warm and cool light than anything glittery, which throws odd reflections under lantern light.
What Goes Well With a Witch Costume?
A prop that gives your hands a job. A broom, a lantern, a small pot, or a closed book solves the single most common problem in a costume photo, which is not knowing what to do with your hands. Pick one prop, not three, so the frame has a clear subject.
Dark jewelry, rings or a pendant, adds texture without competing with the outfit or the prop. A cat, real or a small figure, gives you something to look at that is not the camera, which almost always reads better than posing alone.
How Do You Style Your Hair for a Witch Costume Photo?
Pull hair back from your face so a hat brim or hood does not hide your eyes: a low bun, a deep side part, or loose waves tucked behind one ear all work. The goal is a clear sightline to your eyes from the camera, not a specific style.
Leave a few strands loose at the front for movement in the mist or wind, it reads as caught mid-motion rather than styled. Fully covering the hair under the hat reads as a wig rather than a look, even when the hat itself is convincing.
How Do You Get These Poses Already Lit and Posed Correctly?
Every pose above still needs someone to hold the camera, get two light sources at two temperatures right, and catch the gesture without it looking held. That is the part a Pinterest board or a stock photo cannot solve for you, since the pose is only ever shown on someone else.
MakeAiPhotos generates the lantern-lit portrait and the broom lean already staged in the misty clearing, with the cool moonlight and warm lantern light already mixed on your real face, from one selfie in about 2 minutes. You see your own result before anything is charged.

Frequently Asked Questions
- What are the best poses for a witch costume photo?
- The lantern-lit portrait, standing still with a level chin and warm light on the face, and the broom lean, both hands on a planted broom with one foot crossed, work for most people. Add the hat tip or a cauldron stir for variety. In any pose built around a prop, look at the prop, not the camera.
- How do you dress up a witch costume for photos?
- Layer one long, dark piece over a shorter one so the outfit reads as dressed, not thrown on: a floor-length robe over a dress, or a coat over layered black. Add a wide-brim hat, gloves or a few rings for texture, and boots if the shot shows your feet. Skip anything glossy near the face.
- How do you dress like a modern witch?
- Trade the pointed hat for a wide brim or none at all, and build the outfit around tailoring instead of a costume shape: a long dark coat or a structured blazer, minimal dark jewelry, and matte makeup. Keep one traditional detail, like a lantern or a ring, so the reference still reads.
- What goes well with a witch costume?
- A prop that gives your hands a job: a broom, a lantern, a small pot, or a closed book. Dark jewelry, a ring or a pendant, adds texture without competing with the outfit. A cat, real or a small figure, gives you something to react to, which reads better than posing alone.
- How do you style your hair for a witch costume photo?
- Pull hair back from your face so a hat brim does not hide your eyes: a low bun, a deep side part, or loose waves tucked behind one ear all work. Leave a few strands loose at the front for movement in the mist or wind. Fully covered hair reads as a wig, not a look.
- How do you spice up a plain witch costume for photos?
- Change the light before you change the outfit: one warm source, a lantern or candle, against a cooler background makes a plain costume look intentional. Add one prop to give your hands a job, and pick a setting with real depth, like a tree line or a doorway, instead of a flat wall.